Monday, August 22, 2011

Around The Culinary World

Good evening everyone! We're back to our regularly scheduled blogging for this week - and boy oh boy has the culinary world delivered. We're packed to the brim with new and interesting stories for this week's feature. So, in a world where Libya is in turmoil, our economy is circling the drain and US politicians are proving themselves even more dense than we first thought... let's distract ourselves with stories about food & cooking!


It's tough to be a fan of alcohol in Utah (apparently). The state is well known for its tight restrictions on restaurants and other vendors and it's trying to add to its no nonsense booze stance by banning mini-kegs. Of course, the consumer (and manufacturers) are one step ahead of the state's new law that bans 5.0 liter kegs. Recently introduced into the market? 4.99 liter kegs! Read the story HERE.

Fare thee well, tiny keg


In a move that is LONG overdue - Burger King announced this weekend that it was firing their 'King'. The large headed plastic harbinger of fear mascot will no longer appear in television commercials or print ads. Frankly, this campaign was stale before it started. The ads came across as creepy and not at all funny. The new campaign is supposed to feature fresh ingredients and play up avocados as a new healthy menu item. Huh - I guess originality isn't that important to BK then? Read about the firing of the 'King' HERE


Did you know you're not supposed to use ketchup on your hot dog? No seriously - there is a council (The National Hot Dog & Sausage Council) Yes, it's real - that has codified the rule in their 'Hot Dog Etiquette and Everyday Guidance For Eating America's Sacred Food' Yeah - apparently this is a big deal to some people. In fact, this debate has gone all the way to court - Oscar Meyer recently found themselves defending their 'America's Favorite Hotdog' claim and when the issue of adding ketchup to the dog was raised the judge alluded to this very paper!  This is a fairly complicated (yet oh so unintentionally humorous) story. President Obama even weighs in - Read all about the great hot do debate HERE


Here's a great example of how a company can use their social networks to reach out to customers and fix their mistakes. Chipotle almost fell into a PR disaster last week when it was revealed that their pinto beans were being cooked in bacon grease. What's the big deal you ask? Well, if you're a vegan - that undisclosed bacon grease causes to break your vegan ways. When one customer noticed this disclosure in the fine print they called Chipotle on it via Twitter. Instead of feeding the guy a PR line and simply hoping this issue would go away, Chipotle stepped up to the plate. They fixed their menu to disclose this issue and Chipotle's CEO directly contacted the customer in question to discuss the issue and inform him of the fixes they were putting in place. Round of applause for Chipotle for not only fixing their mistake but making use of social media as a way to improve their customer service. Well done! (Read the full story HERE). 


On the opposite end of social media PR is the Houston based bar Down House. A patron of this bar issued a tweet (let's just say it wasn't the nicest tweet) in regards to the bartender and her opinion about him. The manager of Down House saw this tweet and proceeded to call the bar and (allegedly) yell at the customer over the phone before throwing her out. Now - is the customer in question deserving of some of this fire? Yes, I think you have to be careful about what you say about people, especially in today's social media heavy world. However, the manager of Down House has to realize that even if the customer is 100% deserving of begin thrown out - there are better ways to handle the situation than completely blowing up and tossing the patron out of the bar. In the end, both sides look bad and nobody really 'wins' this dispute. All anyway can take away from this is that social media can be your best friend or a complete nightmare - it's all in how you manage it. 


Ready for a trip down memory lane? Buzzfeed has composed a list of 25 foods that you'll never be able to eat again (not in a - now that you know about X, you'll never want to eat X again way. It refers to foods that are no longer made). How many foods on this list did you used to enjoy? I have quite a few that I remember as a kid. I think I might be the only person that actually liked Pepsi Blue... See the slideshow HERE


How do children convince their parents to buy them junk food - one scientist has a theory and it's called the "Nag Factor" Read about the study (and why children feel the need to feed their faces with this junk) HERE

BUY ME BUY ME BUY ME!! 


There you have it folks! All the news that's fit to blog about for this week. We're back to a regular schedule for the rest of the week with two new recipes on Tuesday and Thursday night. Be sure to stop in Tuesday night to see what we've got cooking. Until then, 

~Cheers


Thursday, August 18, 2011

Classic Comfort Food

Good evening everyone! After last week's busy schedule forced me to bow out of cooking for the week, I'm back tonight and ready to jump back into the kitchen. My dish tonight comes from France - but not in the way you might assume. Dishes like Coq Au Vin and Chicken Cordon Bleu are probably the most common things you think of when some one says 'French cooking' - and for the most part - you'd be correct. My dish tonight, however, comes from the more traditional French cookbook - French country beef stew is France's version of 'leftover stew' or at the very least on of the more common meals cooked for the average French household. Composed of common items that would be found in any pantry - this dish is the ultimate low cost, high yield recipe. Let's get cooking!


The Recipe: French Country Beef Stew
Original Recipe Found On: Eatingwell.com


What You'll Need:

2 Teaspoons Extra Virgin Olive Oil
4 Slices Turkey Bacon (Chopped)
1 1/2 Cups Finely Chopped Onion (Roughly 2 Medium)
1/2 Cup Diced Celery (1 Rib)
1 1/2 Cups Diced Carrots (2 Medium carrots)
3 Cups Reduced Sodium Beef Broth
2 Cups Red Wine
1/2 Teaspoon Dried Thyme
2 Bay Leaves
3 1/2 - 4 Pound Beef Shank or 2 - 3 Pound Stewing Beef (We are using stewing beef)
1/2 Cup Chopped Fresh Parsley
Egg Noodles or Rice To Serve Upon (Optional)


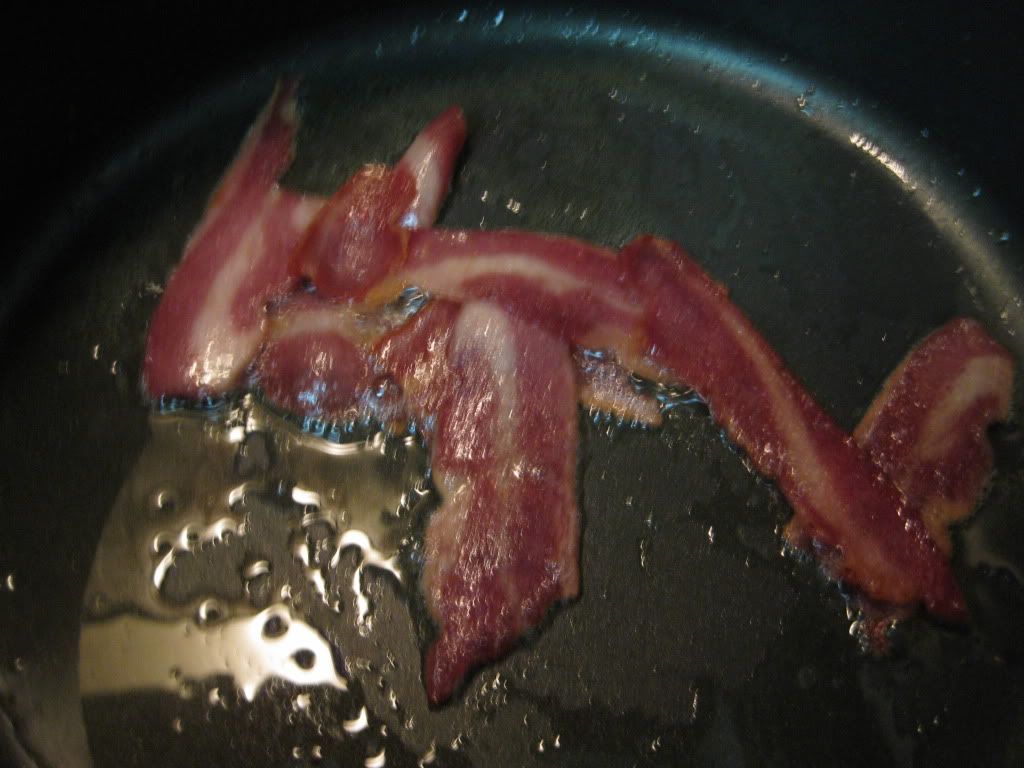
Begin by heating your oil in a large dutch oven until the oil begins to shimmer. (Medium heat) Next, add the chopped slices of bacon and cook until golden brown, roughly 5 to 7 minutes. You may notice in the picture that my bacon slices are rather large. I was using bacon that we had stored in the freezer (from a previous recipe) and so I approached this step slightly differently. I cooked the bacon until it was thawed, then, using kitchen scissors, I chopped up the bacon right in the dutch oven.


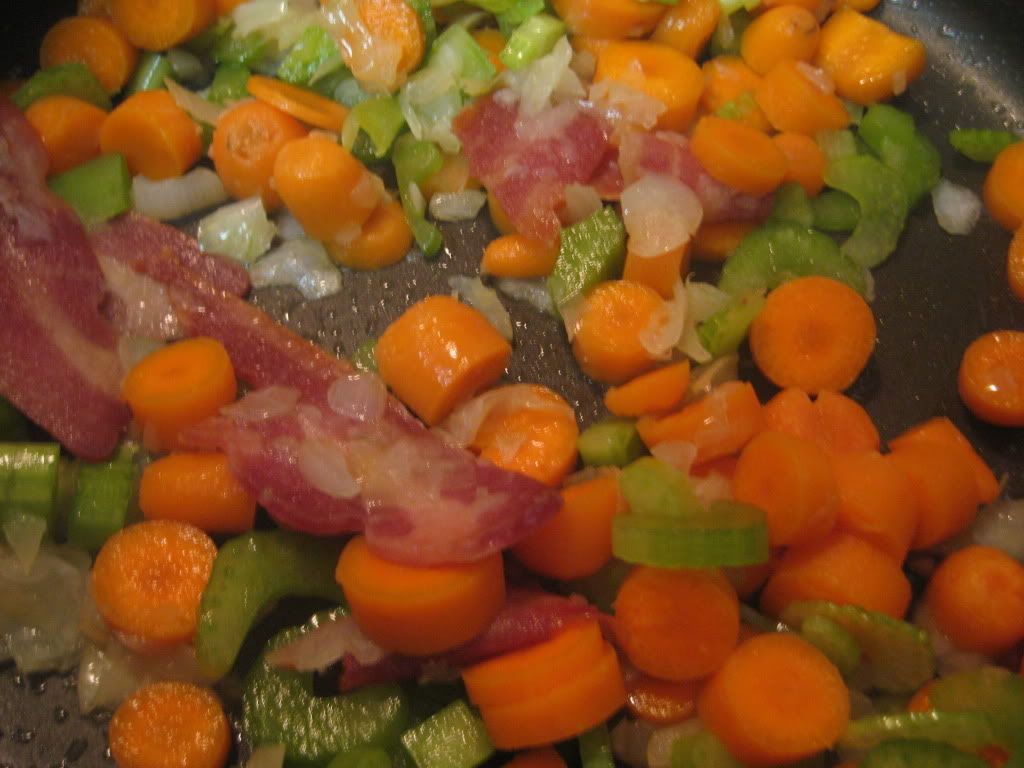
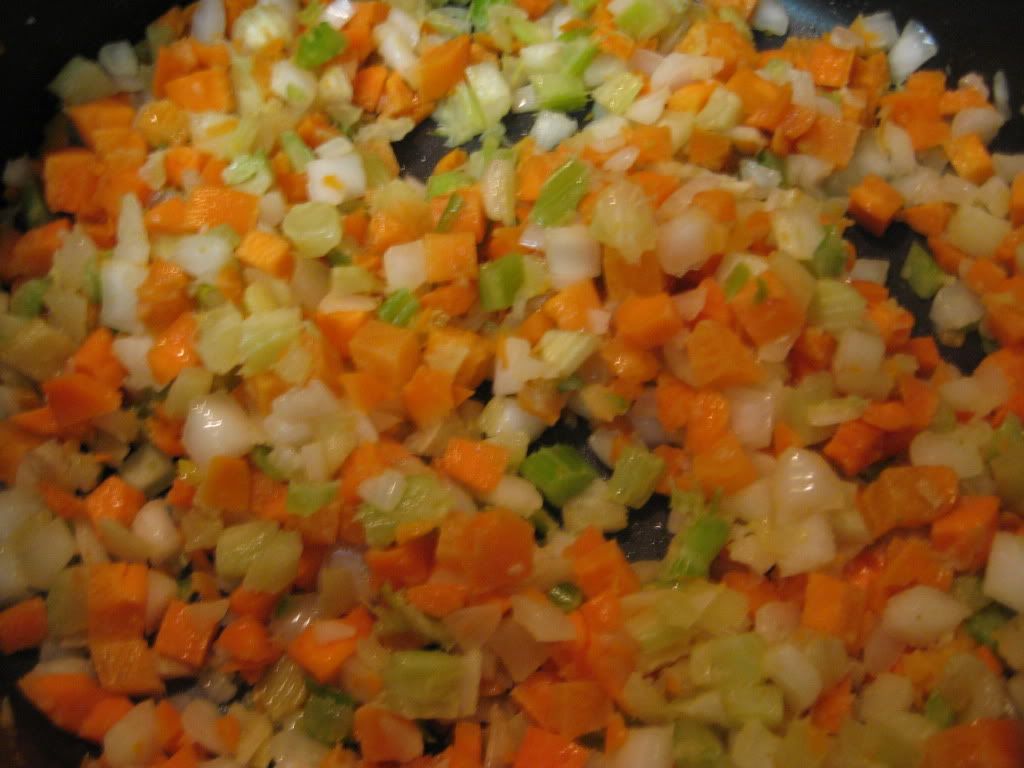
Next, add the onions, carrots and celery and cook (stirring often) until the vegetables soften. This should take about 8 to 10 minutes.


This celery, onion & carrot mixture is known as mirepoix - and if you do a lot of French inspired cooking, chances are you've seen this a lot. Mirepoix is a great base for stews and soups - in fact, even the roast I made two weeks ago used mirepoix as a base at the beginning. Pay attention to the next roast, stew or soup recipe you make - you might be surprised to see that mirepoix is the base of the dish.

Once the vegetables are softened, add the beef broth, red wine, thyme and bay leaves and bring the mixture to a boil.

This beef broth and red wine mixture is another common base for stews and soups. Beef broth and red wine naturally combine to create a rich flavor and the when reduced, both will intensify that flavor. As such, any stew or slow roast recipe you try (that involves beef) will likely use this old time French staple. It's funny to see how some of these classic cooking ideas have endured throughout generations. Mirepoix and beef broth/red wine are as old as French cooking itself, and yet they still routinely show up in many of today's contemporary dishes.

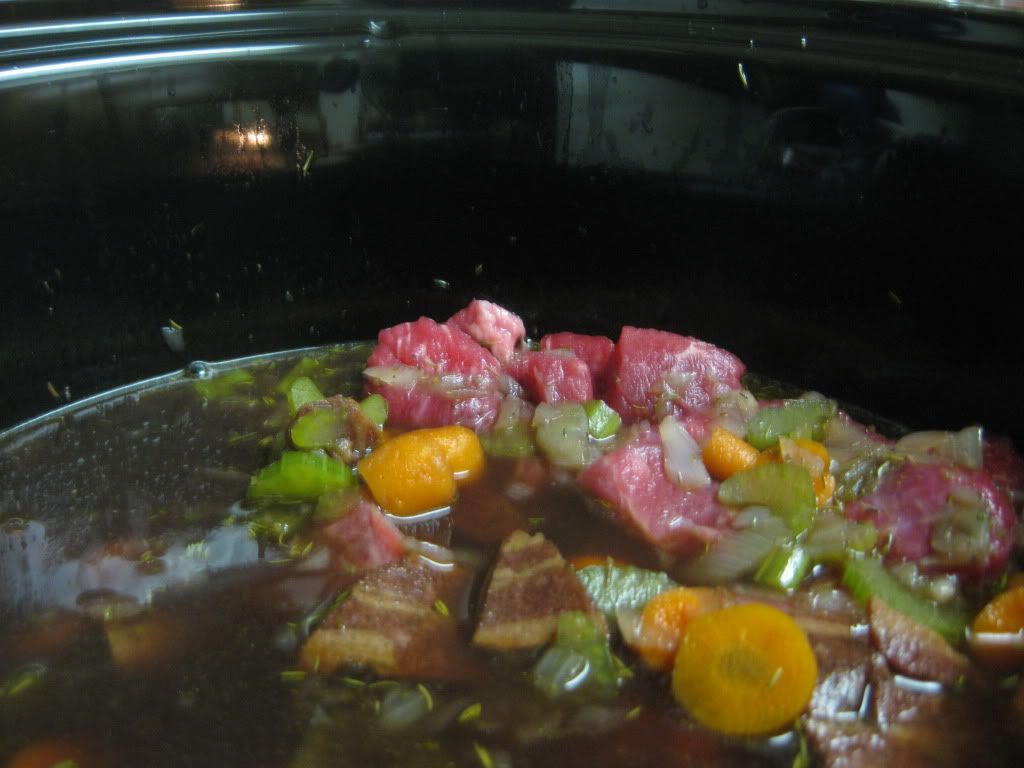
Once the mixture is boiling, place your beef shank or stewed beef pieces (cubed) into a slow cooker. Pour the vegetable mixture over the top of the beef and set the cooker on low. Allow this to cook for about 6 hours before moving on to the next stage.


Once the beef has roasted the day away, it's time to reduce this great sauce you've created. Reducing the sauce will do two things. First, it will thicken the mixture by boiling a lot of the excess moisture (read: water) from the sauce. Secondly, it intensifies the flavor of the sauce - because, as we said - you're boiling out the water. (Less water to dilute the natural flavors means more flavor!)


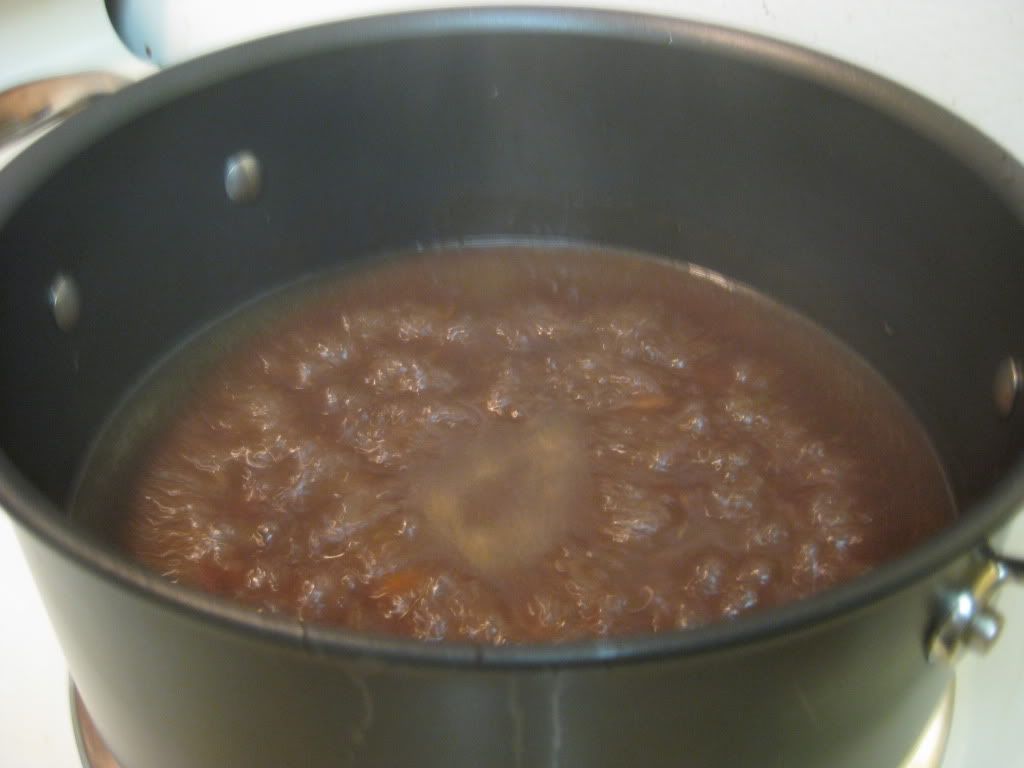
Carefully fish out the beef pieces and set them in a bowl momentarily. Remove and discard the bay leaves.  Pour the sauce/vegetable mixture into a large saucepan and set the pan on medium high heat. Bring the mixture to a boil and cook for 10 to 15 minutes or until the sauce begins to thicken. Return the beef to the sauce and heat through (roughly 5 minutes) - serve this stew over egg noodles, rice, barley or any other grain of your choice and enjoy!


The Results:


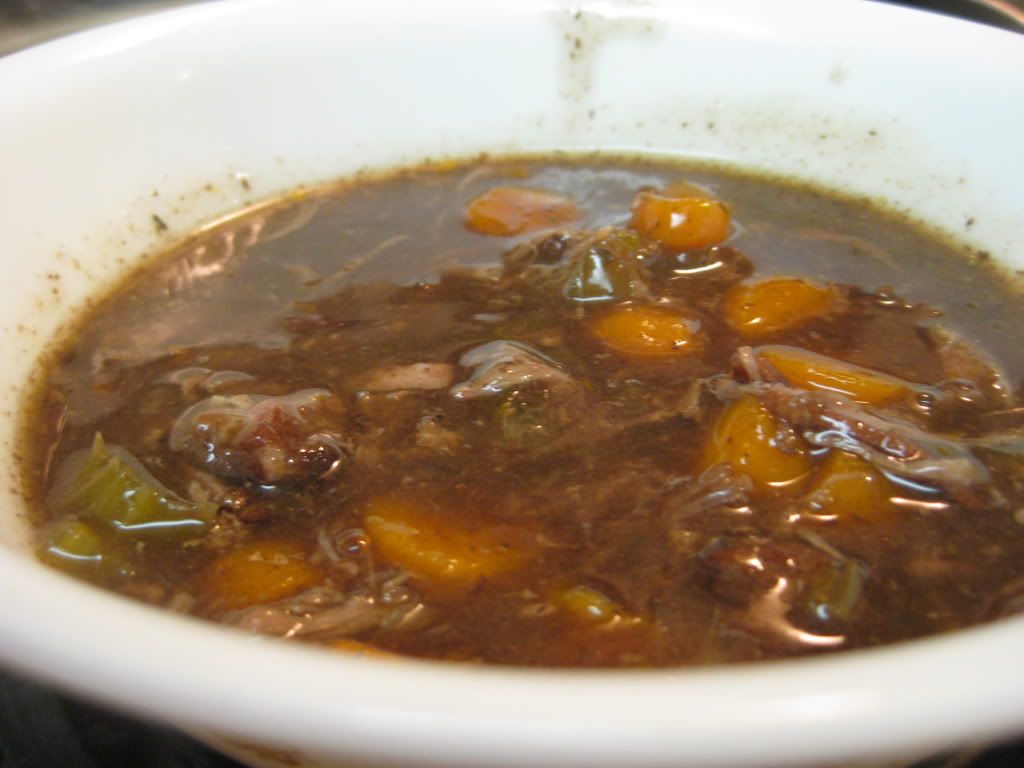
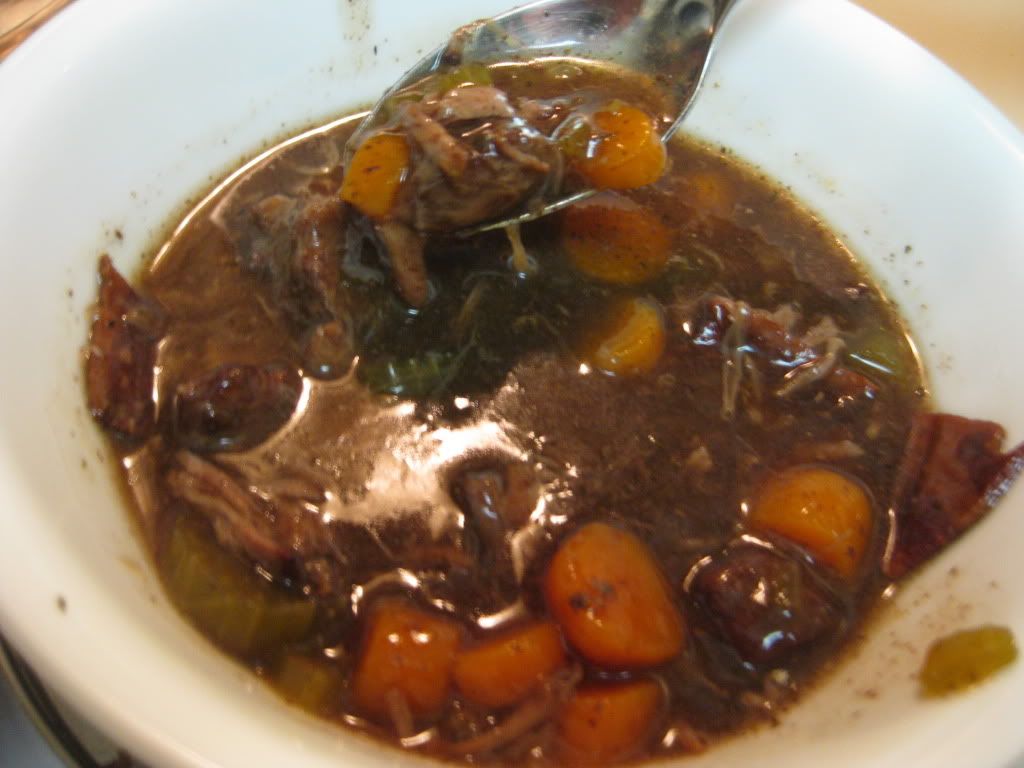
If we've said it once, we've said it a thousand times. Sometimes, simplicity is the greatest victory in cooking. This dish is based on two very simple concepts - mirepoix and beef broth + red wine. What you end up with is a brilliantly deep and complex flavor that simply blows any other beef stew you've ever had right out of the bowl. There is a reason some of these cooking traditions have lasted as long as they have!

I ended up making a last minute change to this recipe. Instead of serving it as a sort of gravy over the noodles, I opted to add corn starch and thicken up the mixture to a more stew like level. This little tweak is the nice part about cooking. You can make, adapt and tweak a recipe to your needs and whims.

That's all we have for you this week. We're back on a regular schedule on Monday with another edition of Around The Culinary World and two new recipes will follow during the week. Until then,

~Cheers

Tuesday, August 16, 2011

Super Salmon

Good evening everyone! After a sligthly longer than usual hiatus from blogging (thanks in part to us traveling back home to attend the wedding of a good friend of ours from high school) we've returned to the cooking world! Maggie is getting us started this week after a lot of 'learning experiences' from last week's recipe. I'll turn the keyboard over to Maggie and let her jump right in!


Hello again everyone! After last week's forray into the smoking chicken (and our apartment smelling like smoke,) its time to dust myself off and try again. I'm dabbling into fish and I find myself a tad nervous, per usual. Fish is a very finicky item to cook, especially if you're not used to it. Tyler has used it enough that he's mastered the ins and outs of the little buggers - I haven't had the fortune of as much experience. Tonight incorporates a new method of cooking that I haven't used before too! Hopefully it will result in something rather tasty!


The Recipe: Pepper and Garlic Panko Crusted Salmon
Original Recipe Found In: www.princesshouse.com (They have excellent kitchen items for sale)

What You'll Need:

⅔ Cup Panko (Japanese dried bread crumbs)
2 Tablesppoons Fresh Parsley, minced
1 Teaspoon Garlic, Pepper, Salt Seasoning Blend
3 Tablespoons Grapeseed Oil, divided
4 (6-8 oz.) Salmon Fillets, skin on
2 Tablespoons Dijon Mustard
1 Lemon, cut into wedges

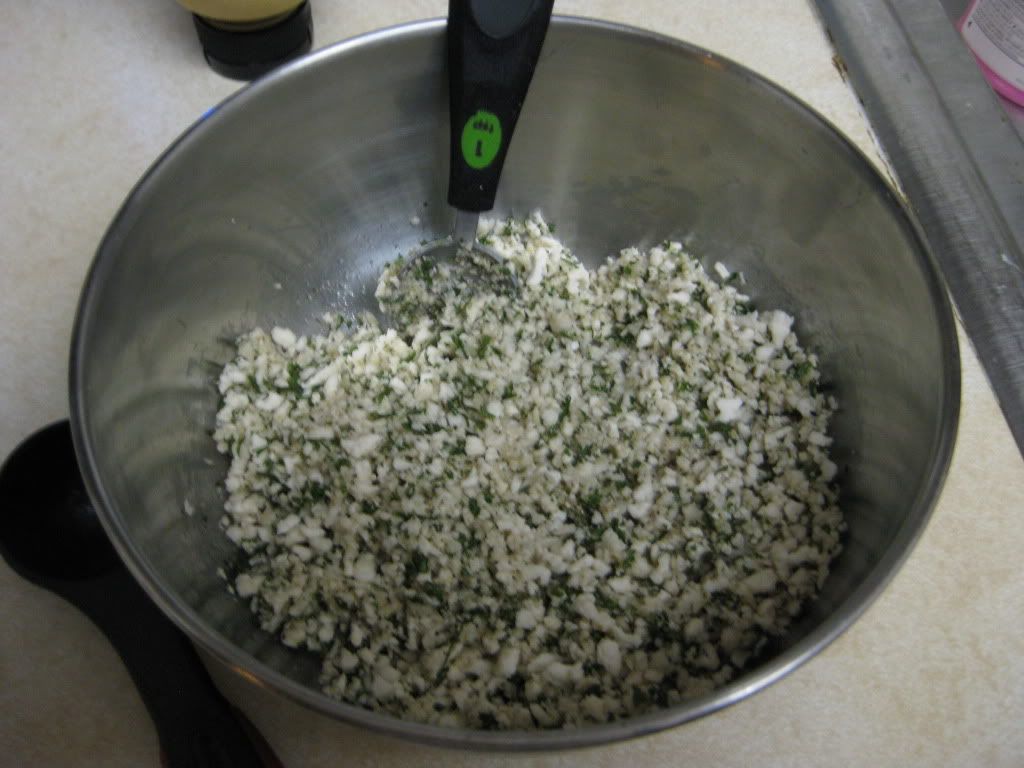
To start, preheat an oven to 425 degrees.  Meanwhile, mix together, in a small bowl, the panko, parsley, and seasoning blend.  Drizzle this combination with the oil until the crumbs are evenly coated.  Since I did get this recipe out of a catalog that sells kitchen utensils and one of the ingredients of the recipe is the seasoning blend (customized for the catalog), I thought it might be hard to adapt.  But, you can use equal parts of garlic powder, pepper, and salt and create a seasoning blend with that - it might not be the same thing but at the very least you can come close.  Once again, creativity strikes in the kitchen!  


Panko, parsley, and seasoning blend, ready to roll!


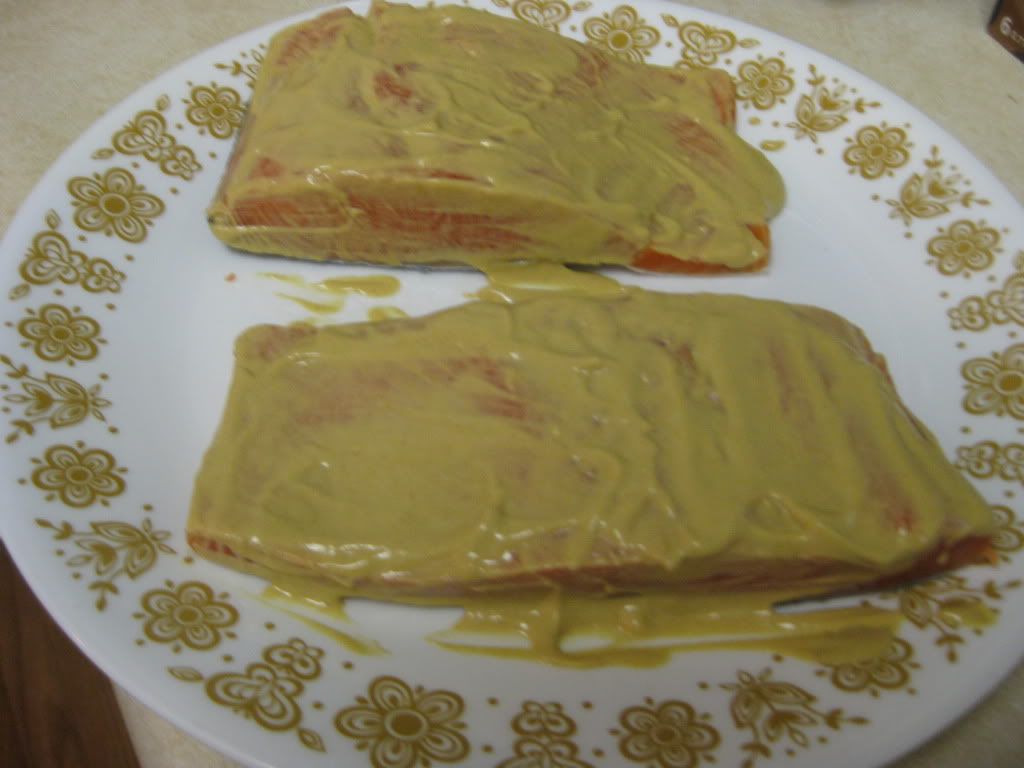
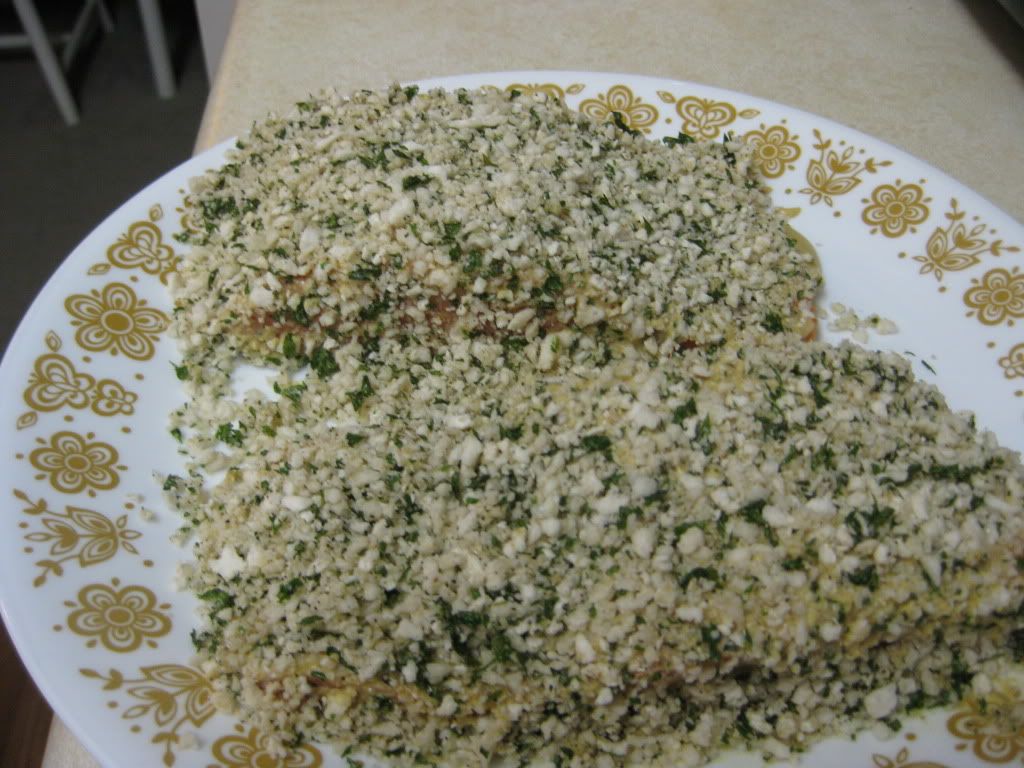
Place the salmon fillets skin side down and generously top with mustard.  Press the panko mixture thickly on top of the mustard covered salmon fillet.


Smothered in mustard


Ready to sear and bake!


Heat one tablespoon of oil over medium high heat in a oven-safe skillet or Dutch oven.  When the oil is shimmering, add the salmon fillets skin side down.  Sear for three to four minutes, without turning, to brown the skin.  Transfer the pan to the oven and cook for five to seven minutes, until the salmon is almost cooked and the panko is browned.


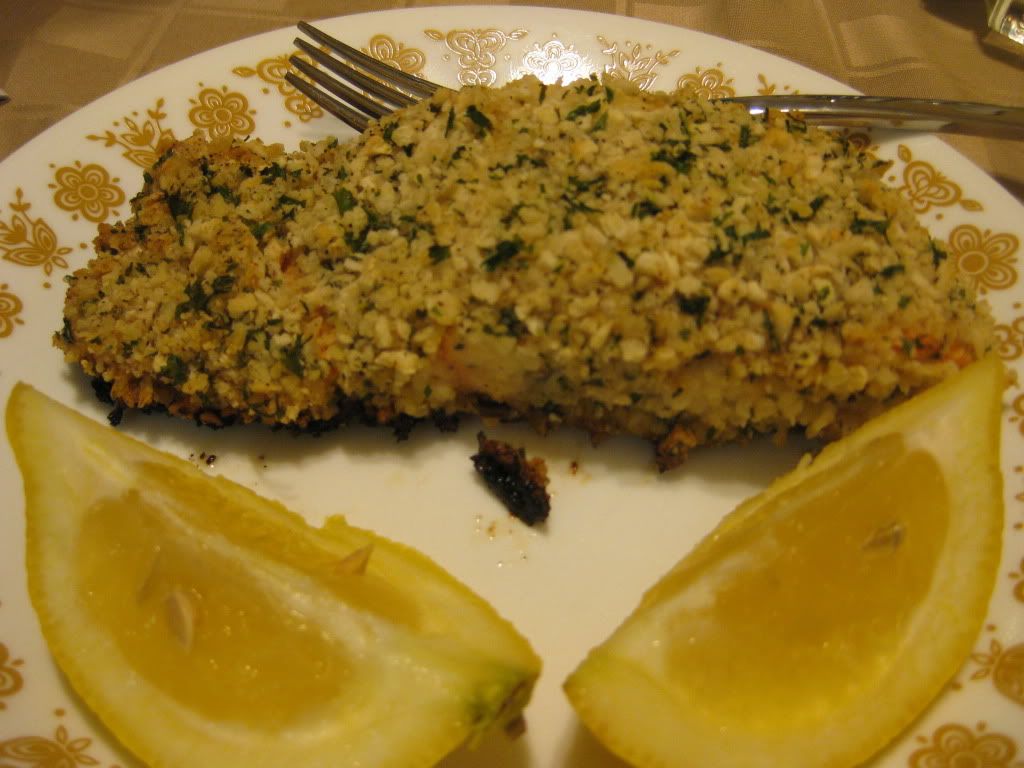
Remove from the oven, cover with a lid and allow to rest for five to ten minutes.  I have never seen this method used before in cooking.  I know that fish doesn't take that long to cook, but I think covering it will allow the heat from the pan to circulate in the covered dish.  Thus cooking it more and giving it a better flavor - almost like it was roasted.  After ten minutes, serve the salmon with lemon wedges, and enjoy!

The End Result:


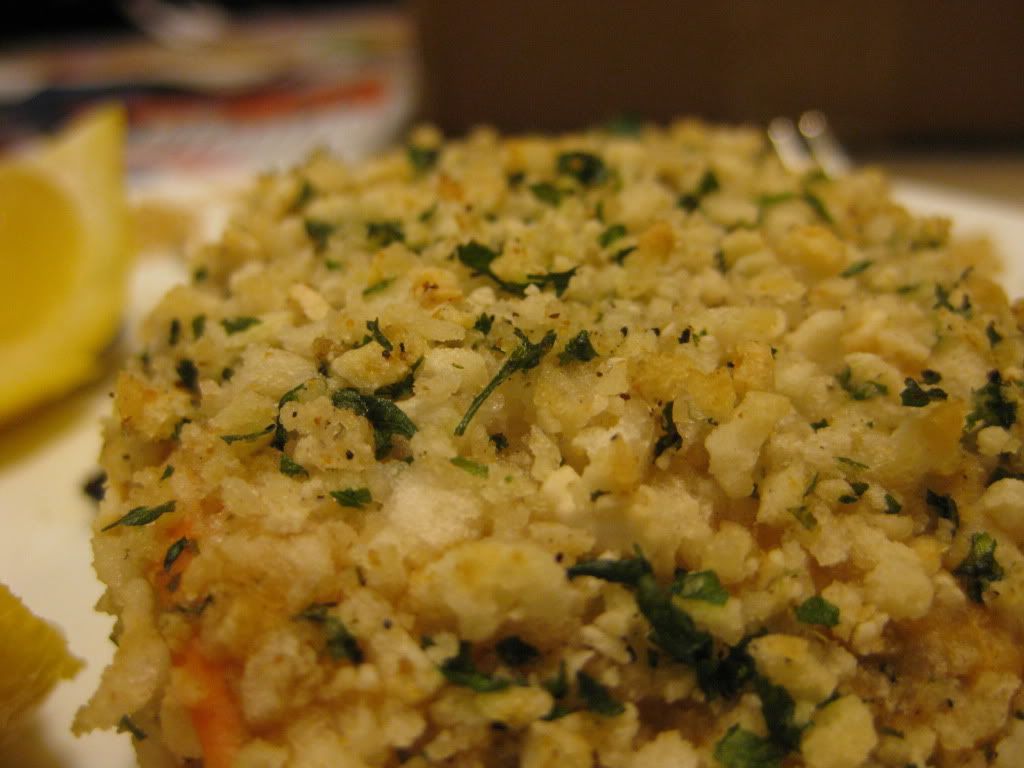
Oh my goodness!  Even if you aren't a fish fan, or salmon for that matter, this dish will definitely change your mind.  The breading is quite fantastic - the panko adds a nice crunch and the parsley and the seasoning blend creates a flavorful burst.  The mustard base gives the salmon an extra oomph.  The unique way of cooking made the salmon really moist and cooked out almost all the fishy flavor. The slow cook method at the end prevented the fish from 'oozing' like salmon is prone to do as well. Overall, one great dish that I can add to my fish recipe repertoire.  


Join us as Tyler takes to the kitchen on Thursday with a classic dish with French inspirations.  Until then,

~Cheers!

Thursday, August 11, 2011

Recipe Flashback: Fried Chicken (And a little science to boot!)

Good evening everyone! After Maggie's learning experience with smoke point & chicken last night - I got to thinking about a similar run in I had a little over a year ago. Since our work schedule this week is - to put it nicely - hectic, we only really had time to work in one new recipe for the week. So, with our learning experience from last night fresh in our mind I thought tonight would be a great time to feature a dish from last summer where I learned all about smoke point.

For those who aren't aware, smoke point is the point where a liquid (usually a fat or an oil) will begin smoking when it reaches a certain temperature. The temperatures usually vary between oils - that's the reason you'll see some recipes call for a light vegetable oil or a heavier olive oil. The chef is taking in to account pan temperature and is trying to bring out or avoid the smoke point of the oil.

Certain oils undergo a flavor transformation when they hit or near their smoke point - which is why some recipes call for the oil to be heated until just smoking. Usually these recipes typically add something immediatly to the skillet or pot, which instantly drops the temperature of the oil - thereby ending the smoking. The flavor transformation has happened and the smoking has stopped - win win for the at home chef.

Last night, Maggie ran into an insteresting situation that I didn't anticipate. She switched the called for chicken - drumsticks - for chicken we had on hand - chicken thighs. Typically this wouldn't raise a problem in a recipe. The two perform fairly similarly and aside from adjusting cooking time slightly - you don't really have to worry about much change.

However, there was one difference between drumsticks and thighs that came into play - fat content. Chicken thighs are significantly fatter than drumsticks (logically, look at 98% of human legs for example. You thighs are likely larger and a bit more fatty than your legs). Her recipe called for 12 drumsticks, which she reduced to 4 chicken thighs (only cooking for two - we didn't need any more). She otherwise followed all of the instructions and created an unintentional perfect storm in the oven.

Now, I'm only theorizing here because I don't have the exact temperature measurements from the oven, but I believe that this is what happened. Fewer pieces of meat in an oven without adjusting the original temperature likely resulted in each piece of chicken being cooked at a slightly higher temperature. (It's the 'crowded skillet' theory - the more you add to a skillet, the more the heat is distributed, thereby lowering the overall temperature of each item in the skillet - the same concept should apply in the oven)

This higher temperature caused the fat from the chicken to melt earlier in the cooking process, creating a fatty 'oil' at the bottom of her baking sheet. Now, as we said there is more fat on a thigh than a drumstick, so you are creating more oil. After about 10 minutes cooking, light smoke began to rise from the baking sheet - this was actually expected (this is a common problem with chicken in an oven) and was nothing that our overhead range couldn't fan away. After another 5 minutes, however, we clearly had an issue. The oven was producing more smoke than the fan could keep up with and we were quickly opening windows and attempting to pull the air from the apartment.

So in short: 1) fewer pieces of meat in an oven set for 12 pieces resulted in each piece heating up faster and at a higher temperature than called for. 2) This resulted in the fat melting into an oil earlier than it would have with 12 pieces. 3) Thighs in place of drumsticks allowed for much more fat to be melted. 4) Larger pool of oil earlier in the cooking process allowed the smoke point to be reached about 1/2 way through cooking - causing a lot of smoke during cooking.

In the end, it still turned out to be a fairly good recipe! I'd caution against following Maggie's method to a 'T' however. You can use thighs, I would simply drop the temperature by 25 degrees and increase the cooking time by about 5-10 minutes. That should prevent the fat from hitting a smoke point - or you could simply follow the original recipe as 12 drumsticks will likely not hit a smoke point until the very end of cooking and will likely not produce much smoke at all.

All in all we learned a lot. I thought I'd start tonight's blog off by sharing what exactly went wrong with last night's recipe and how we found to correct it. Maggie doesn't like to be as verbose in her blog posts as I do and she sort of skimmed over the 'why' last night.

Now, let's get into the real reason you're all here - RECIPES! Maggie's learning experience brought up memories of my very own smoke point learning experience - and just like Maggie I still ended up with a decent recipe despite all of the rolling smoke. Let's dive in to a dish from last 'season' a revisit an Out Of The Culinary classic: Fried Chicken


The Recipe: Easier Fried Chicken 
Original Recipe Found In: Cook's Illustrated September / October 2010 Issue 

What You'll Need: 

1 1/4 Cups Buttermilk 
Table Salt 
Hot Sauce 
3 Teaspoons Ground Black Pepper 
1 Teaspoon Garlic Powder 
1 Teaspoon Paprika 
1/4 Teaspoon Cayenne Pepper 
3 1/2 Pounds Bone-In, Skin On Chicken Pieces (We used thighs and drumsticks) 
2 Cups Unbleached All Purpose Flour 
1 3/4 Cups Vegetable Oil 

This recipe begins by using the cooking process known as 'brining'. Brine, as you may know, is water that is saturated with salt. Many meats (especially turkey and chicken) that are fried or roasted are brined before cooking because the salt changes the chemical makeup of the meat, allowing it to retain more moisture (I.E. Juicy goodness) during cooking. 

In addition, most fried chicken is soaked in some form of buttermilk before frying. The lactic acid in buttermilk tenderizes the meat, causing the finished dish to be extremely tender and soft. Some recipes may call for other forms of milk, such as whole milk - but the lactic acid in those milks are much more intense than buttermilk. The milder acid in buttermilk will tenderize you meat, but not turn it into a gooey ooze if you leave it in the marinade too long. 

For this recipe, we combine both practices into one easy step. By saturating the buttermilk with salt, you effectively turn the buttermilk into brine. These two work together - first the buttermilk (and the lactic acid) activate the cathespin enzymes in the meat. These enzymes break down the proteins into small molecules - effectively tenderizing the chicken. The salt meanwhile, changes the protein in the meat so that it will retain more moisture, even under intense heat. It's a perfect partnership that will lead to delicious fried chicken. 

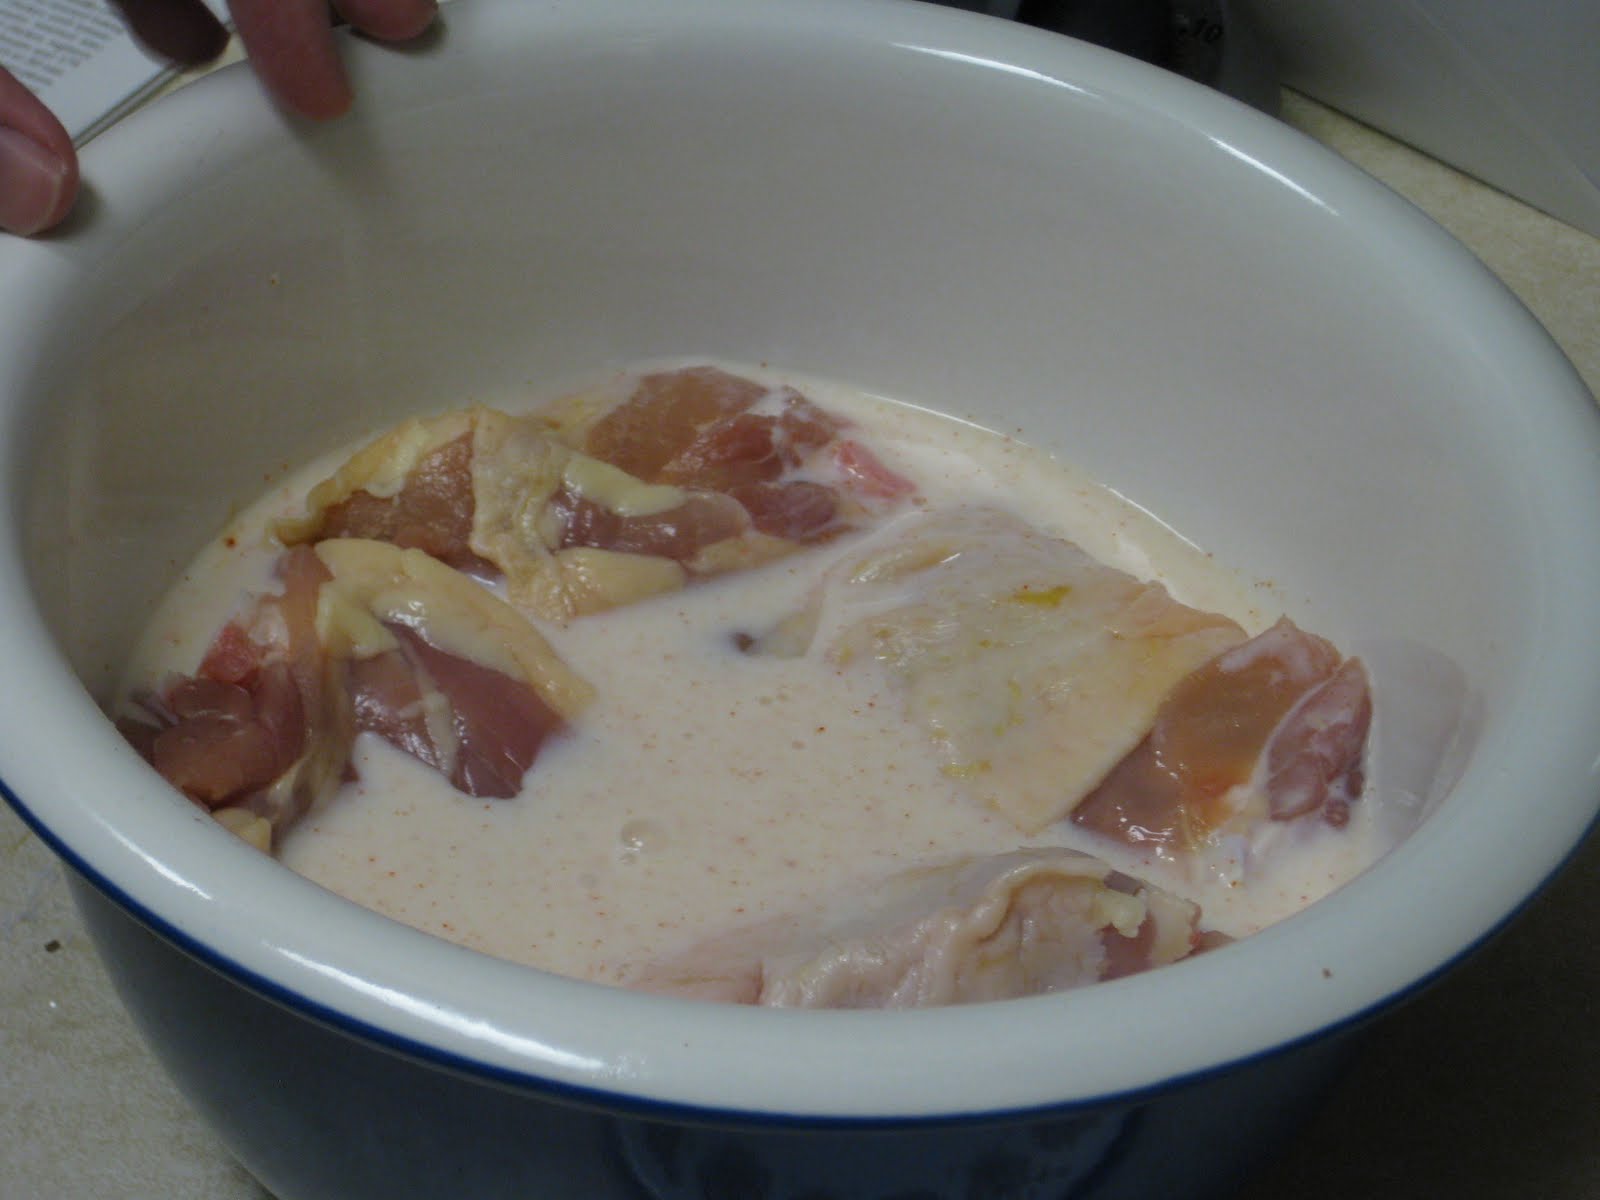
To make your own buttermilk / brine super team, begin by whisking 1 cup of buttermilk, 1 tablespoon of salt, 1 teaspoon black pepper, a dash of hot sauce, 1/4 teaspoon garlic powder, 1/4 teaspoon paprika and a pinch of cayenne pepper in a large bowl. Drop your chicken pieces into the bowl and turn over a few times to ensure an even coating. Cover the bowl with plastic wrap and let sit for at least one hour. You can let the chicken soak overnight if you wish (I opted to make this brine the day before and let the chicken soak all day until I came home from work). 


Giving the chicken an overnight bath 


Once you have brined to your heart's content, adjust your oven rack to the middle position and preheat to 400 degrees. In a large bowl, whisk your flour, baking powder, 1 teaspoon of salt, the remaining 2 teaspoons of black pepper, as well as the remaining garlic powder and and paprika. Add a another dash of cayenne pepper to this mixture as well. (The baking powder releases carbon dioxide while cooking which causes the breading to 'pop' and crackle. This leaves a very nice crispy outer crust.)

Using tongs, grab one piece of chicken at a time and roll it in the flour mixture. Turn several times until the entire piece is coated in flour. Don't be afraid to apply liberally. Place the coated chicken on a clean plate and continue the process until all pieces are coated. Once finished, check over all the pieces to search out any dull spots. Sprinkle any remaining flour over those spots. 


Chicken coating assembly line


Now, things get interesting. Heat 1 3/4 cups of vegetable oil in a 11 inch straight side skillet (or large pot) until it reaches 375 degrees. If you have a hot oil thermometer, congratulations, this should be a breeze. If you don't (like me), this part gets a little tough. It takes about 10 to 15 minutes on medium heat to get the oil up to this temperature. During this time the oil will pop out any air bubbles that may be lurking amongst it (sounding like small bouts of gun fire) this throws a lot of oil, so be sure to cover the pan with a splatter screen. 

Now, oil smokes when it reaches 375 degrees - that much I knew. However, what I didn't think about (and what the folks at Cook's Illustrated fail to mention AT ALL in their recipe) is that 1 3/4 cup of vegetable oil smokes A LOT....call the fire department, crawl on the floor to see clearly, so thick you cough and can't see....A LOT. Now, this is not too much of an issue if you have a good overhead fan above your stove. We don't. 

By the time I noticed the smoke rolling pot, it was already too late. I was working on another aspect of the recipe while I was letting the oil heat up. Bad idea. I turned to find the entire apartment clouded in a wall of smoke. Blinding 'it burns my eyes and hurts my lungs' kind of smoke. Needless to say, an adventure I really wasn't looking for. 

After opening the windows, pointing the fans out the door and otherwise completely ventilating the apartment, I was ready to proceed. 

Place you chicken pieces (one to three at a time) into the hot oil. Allow to cook for about 2 minutes or until nice and golden brown. Flip the pieces (carefully) and cook the opposite side for another 2 minutes. Set the finished pieces aside on a clean plate and repeat the steps until all the pieces have been fried up. 


Now, while your chicken has a nice, golden color to it - it's not ready to eat. If you take the temperature - you'd find that the thighs and drumsticks only register about degrees, well below safe eating levels. So, to finish off the cooking we will turn to the oven. (Which should be a nice and warm 400 degrees by now.) 


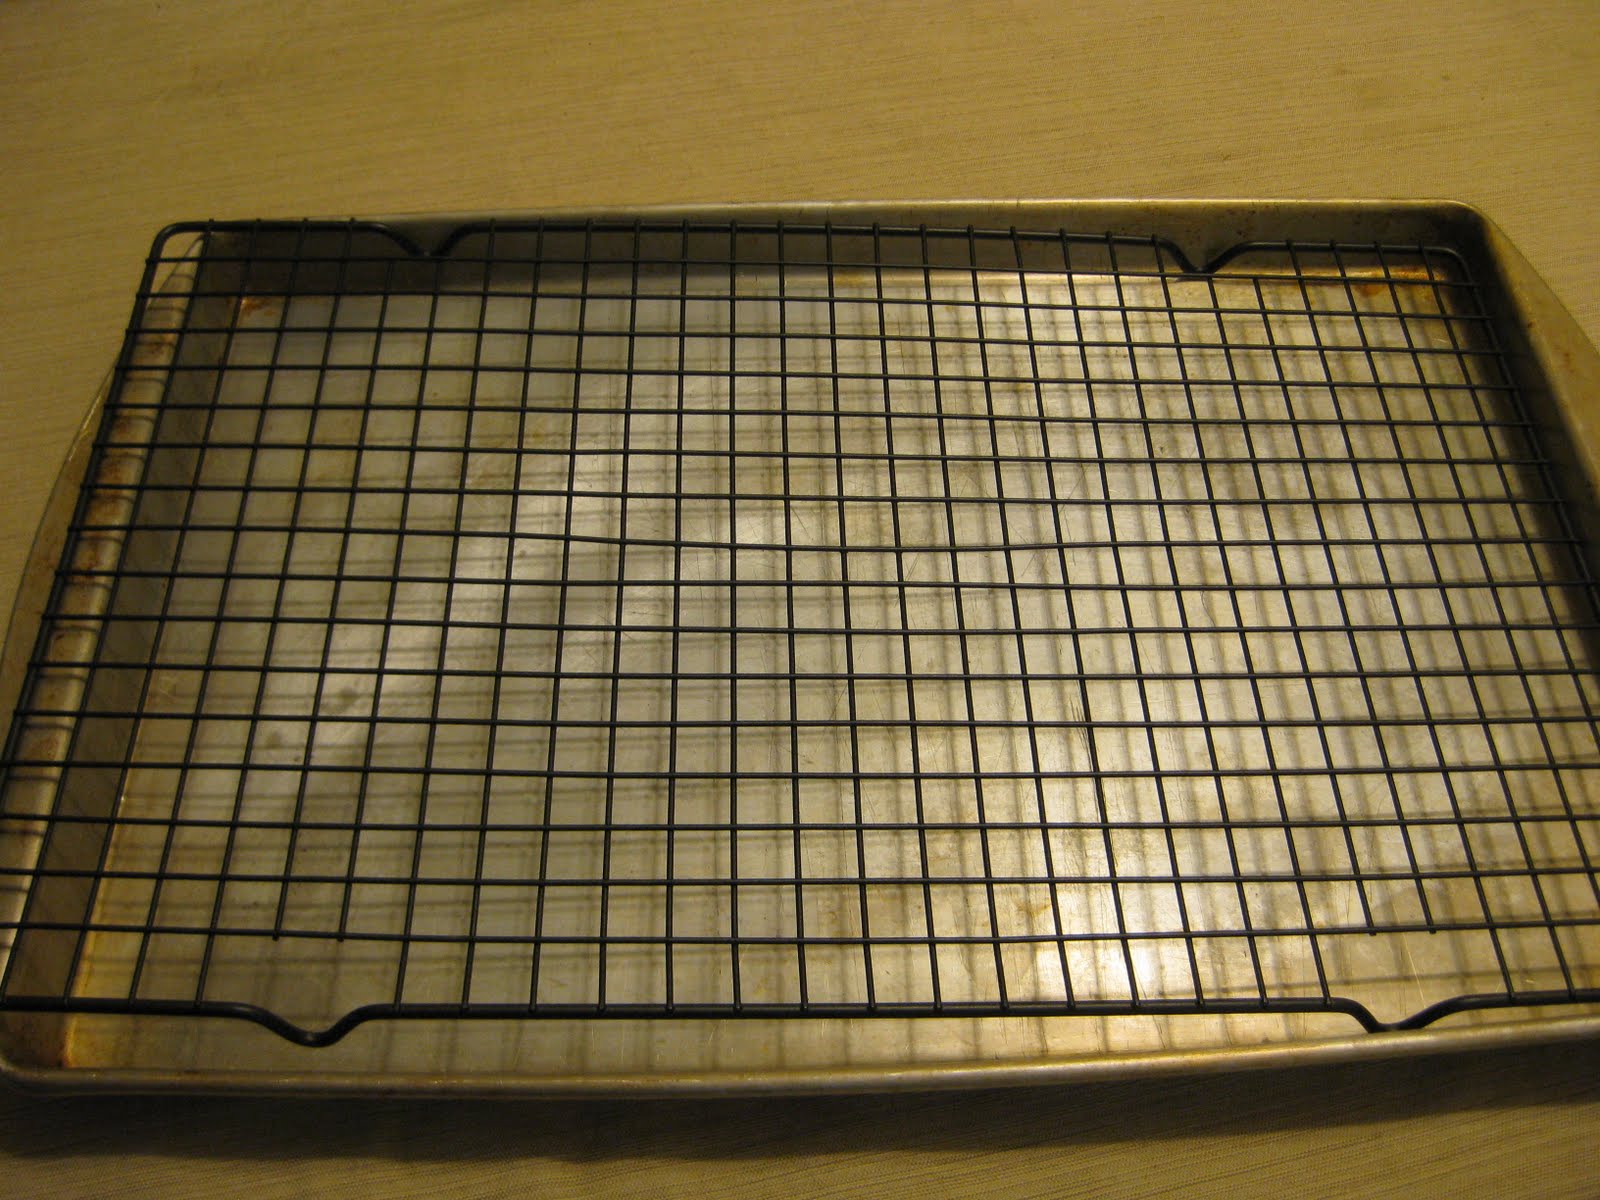
Place a wire rack inside a baking sheet (as pictured) 


and then stack your chicken pieces on the rack. This rack will do two things - first, it will allow the excess fat and grease to drip off of and fall below the chicken (healthy!) secondly, it will allow the air to circulate around the chicken and prevent you from burning the bottom portions. Stick the chicken in the oven for 20 to 25 minutes, or until the breast pieces register 165 degrees and the thighs and drumsticks register 175 degrees. Once at the right temperature, remove the chicken from the oven and let set for 5 minutes before serving. 

Now, I chose to make a quick side dish with this recipe. Roasted skillet potatoes sounded like a nice simple choice to compliment the fried chicken. So simple in fact, you don't even need a full recipe to make it. All you need is 2 tablespoons of olive oil, 1 pound of small red potatoes and 15 minutes. 

Add your olive oil to a small skillet and heat until shimmering. Meanwhile, slice your red potatoes into halves or quarters (I chose quarters) and rinse well. Set the potatoes on a clean kitchen towel to dry fully. Once dried, place your potatoes, cut side down, into the skillet and cook for 5 minutes. After 5 minutes, rotate the potatoes to either the skin side (if you halved them) or to the other cut side (if you quartered them) and cook for an additional 5 minutes. Next, stir the potatoes well and cover the skillet. Reduce the heat to medium low and cook for an additional 5 minutes. Season with salt and pepper and serve. 


The Results: 


I was pleasantly surprised with the results. The chicken had a very nice, crunchy and flavorful outer crust (I am not one who usually eats the chicken skin but had to take a bite after all of the work I went to in making it). The meat of the chicken, however, is the real star of this dish. The chicken was incredibly juicy and just loaded with amazing flavors. This was, hands down, one of the top pieces of fried chicken I've had in my lifetime. Oh, and the potatoes were tasty too. Very simple and clean - yet full of natural flavor. 

That being said, I'm not sure if I would attempt this recipe again without a significant upgrade in equipment for my kitchen. A pot with a built in oil thermometer is absolutely essential to making this dish without having to call the fire department or disable the smoke detecters (which never did go off...I'm not sure that's a good thing...) Also, a range hood that has a serious fan is essential. I'm not even sure our fan leads outside, and it certainly didn't have the horsepower to keep up with the smoke from frying the chicken. In the end, tonight's recipe wasn't so much difficult to make as it was difficult to execute. We simply lacked the full tools necessary to make this dish without hassle - something to consider before you tackle this one on your own. 


***

That's all we have for you this week. We're off on Monday - but back to cooking on Tuesday and Thursday next week. Stop in Tuesday night to see what we've got cooking! Until then, 

~Cheers

Wednesday, August 10, 2011

New Chicken Flavors

Good evening everyone! With cooking, I'm always intrigued with new flavors. I think of different pairings and wonder if they would go together. There's a great book that does exactly this: The Flavor Bible (insert link). It's lists every type of food imaginable and links it with the range of foods it works with, from okay to best pairings. It's also interesting to see what flavors work with which foods, because some of them can be completely surprising. Tonight, I'm going to try one of these unique pairings - hopefully, it will turn out to be a culinary surprise!


The Recipe: Apple-Honey Drumsticks
Original Recipe Found In: Food Network Magazine, September 2011

What You'll Need:
(Serves 6)

12 Skin-On Chicken Drumsticks (we are altering it, since it is the two of us and we're using 4 skin-on chicken thighs)
2 Cups Apple Juice
1/2 Cup Apple Cider Vinegar
1/4 Cup Low Sodium Soy Sauce
2 Teaspoons Honey
Grated Zest of 1 Lemon
1/8 to 1/4 Teaspoon Red Pepper Flakes
2 Teaspoons Sesame Seeds (optional)
1 Tablespoon Unsalted Butter

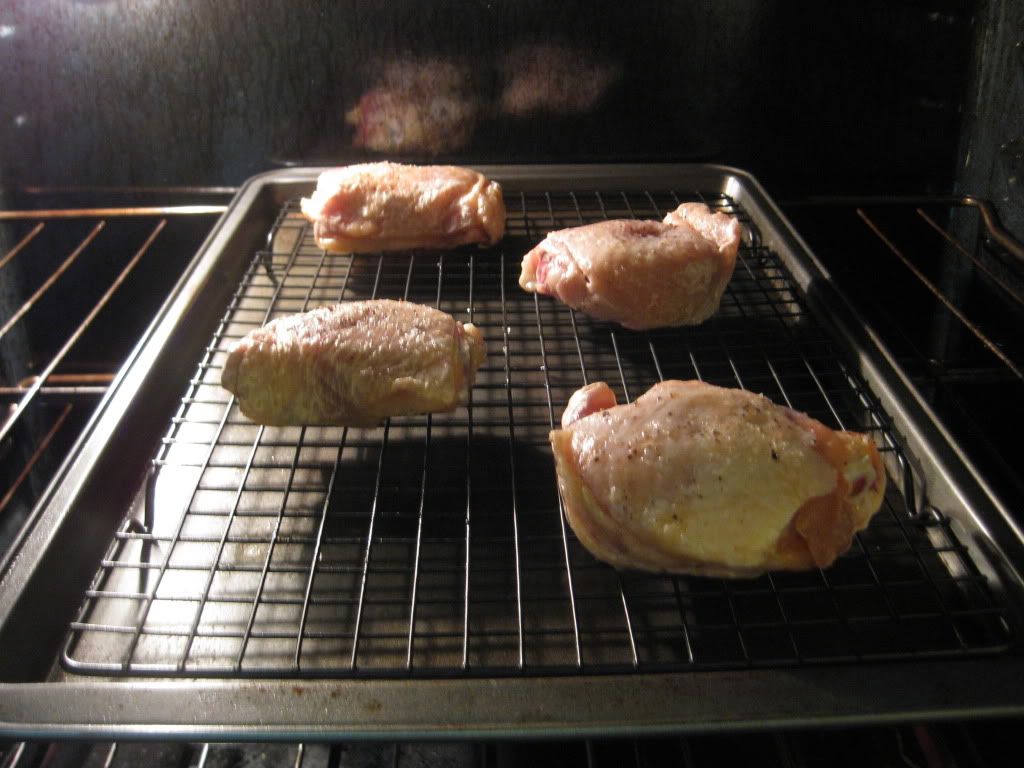
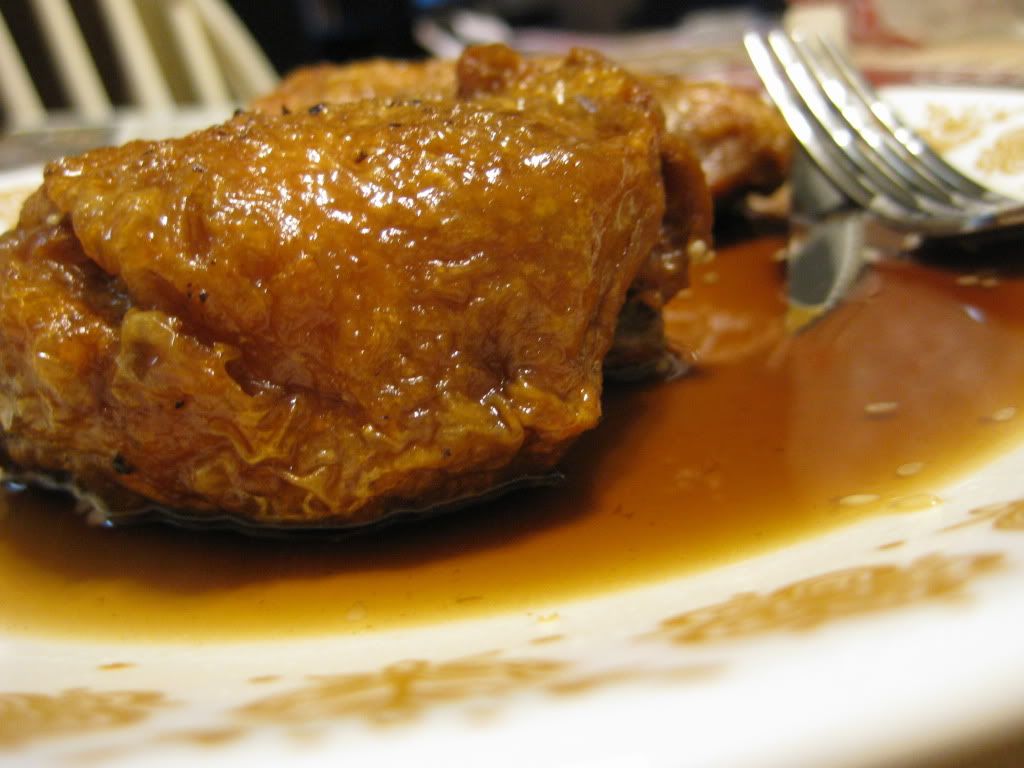
To start, salt and pepper the drumsticks/thighs generously on both sides.  Place the chicken on a rimmed baking sheet with a wire rack.  Preheat the oven to 450 degrees.  Bake the chicken on one side for thirty minutes; flip the chicken over and continue cooking for thirty more minutes until the chicken is golden and crisp.  Don't be alarmed if it smells a bit weird or makes a strange noise.  Since the chicken is cooking without a covering, the chicken fat will begin to drip onto the baking sheet and produce either a smell or sound (or neither, if you're really talented. I.E. lucky)  It's all part of the cooking process and you shouldn't be too concerned about it (unless there's black smoke rolling out of the oven, THEN you have a problem.) However, the oven is right at the 'optimum' temperature for chicken fat's smoke point - so you are fairly likely to get a lot of smoke (depending on the fat level of the chicken) - unfortunately, we were using a fattier piece of chicken thigh which meant a lot more smoke in the oven. 


Chicken, pre-fully cooked and pre-smoking rolling out of the oven


Meanwhile, proceed to make the sauce.  In a large skillet, bring the apple juice, vinegar, soy sauce, honey, lemon zest, red pepper flakes, and a pinch of salt to a boil over medium high heat.  Reduce the heat to medium low and simmer, until the sauce is syrupy and coats the back of a spoon, between 20 to 25 minutes.  Add the sesame seeds into the warmed sauce.


After the chicken is done cooking, transfer to a large bowl.  Add the sauce and butter and toss to coat.  Season with salt and pepper.  Transfer the chicken to plates, drizzle remaining sauce over the chicken, serve, and enjoy!

The End Result:


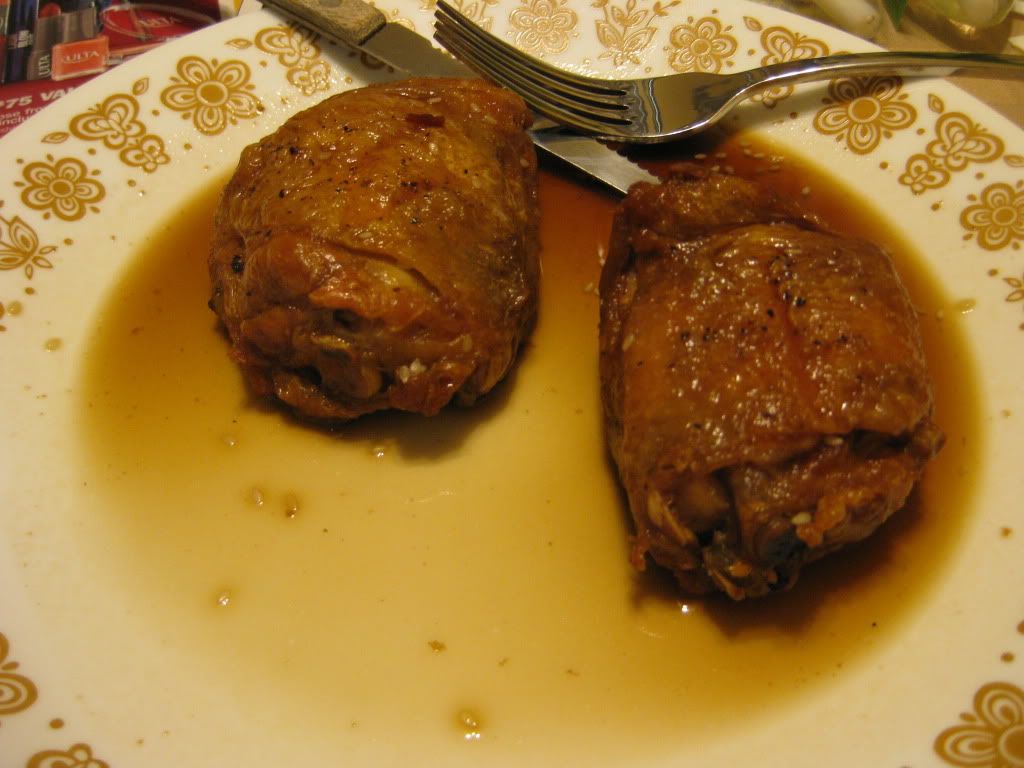
Despite the endless amounts of smoke coming out of the oven and filling our apartment, the flavor was quite good.  The chicken wasn't too crispy, yet had a nice coating on it.  The sauce was supposed to be a little thicker, but I kept it covered...oops!  The sauce still gave a nice flavor to the chicken and gave it a good dipping quality to it.  As I speak, we're still trying to get the smoke out of the apartment.  Regardless of that fact, the chicken was quite flavorful and relatively easy to make.


Tomorrow, we will revisit a recipe from last summer.  Our work schedule just put a kibosh on trying another new recipe this week - just a little too busy to fit everything in.  Stop back tomorrow night for a highlight from the past.  Until then,

~Cheers!

Sunday, August 7, 2011

Around The Culinary World

Hello again everyone! It's a new week, which means new recipes and new stories from 'Around The Culinary World'. This week features another food recall and...not a whole lot else. This happens from time to time - slow news weeks. Sure, there are stories - but nothing that would fall under the 'can't miss' category. (Which is the whole point of this weekly feature of our blog - little stories that you might have missed during the week, but that you should certainly read). We've still managed to find a few gems amongst the meager pickings. So, let's dive in!


The biggest news story of the week is the massive recall of ground turkey from Cargill. The company is recalling over 36 million pounds of ground turkey, produced in their Arkansas plant from February 20th to August 6th. This recall applies for both their fresh and frozen ground turkey. So far, one person has died and 76 have reported illnesses from the product. The biggest question (for me) is why did it take so long for the company to realize there was a problem? February 20th to August 6th is a timespan a little longer than five months. Clearly if there is something wrong with your production methods - (Which they say there was) one would hope it wouldn't take 5 months to discover. We've talked again and again about FDA regulations and how food production needs to be more tightly monitored, so we won't dive down this road, but I think it's worth noting the long time between problem occurring and company owing up to it. Read more about the recall HERE.


Apparently, I'm not the only one asking Cargill why it took them so long to finally disclose the contamination. The Department of Agriculture would like an answer to the very same question. Cargill reportedly had first learned about some illnesses resulting from their product in March of this year, but spent time 'investigating and researching' the claims. Which...apparently takes five months. There are a lot of interesting facts regarding the investigation and the things the USDA has found in regards to this outbreak so far - you can read the rest of this story HERE.


I for one think Cargill could be in bigger trouble for hiding the issue for so long - this line about investigating and trying to find the problem only works if you're a few weeks behind - maybe a month, behind the first sign of an outbreak. 5 months is unacceptable at that point in time, you are aware there is an issue, but are choosing not to disclose the problem to the public OR pull your product from the shelves. This recall is exhibit A in the argument for higher standards for food producers. Some believe that these big boys can police themselves and will remain accountable because it's the right thing to do - Cargill has shown otherwise. They will hide and cover the issue until in 100% has to be exposed. Maybe there is more to this story - we'll keep an eye on it for the coming weeks, but I hope for Cargill's sake there is something else here that justifies their obvious neglect. Otherwise their image has taken a pretty big hit.


Serving sizes on food packaging has been an issue for a long time. Some companies like to manipulate their nutrition labels to make their products appear more healthy than they really are. Cutting the serving size in 1/2 or even 1/4 of the packaging makes the nutrition look good, but in now way is that practical as most consumers will eat the entire package - assuming it's one serving. The biggest violators of this are canned soup, candy bars, soda bottles - (most of the products that come in smaller sizes, including chips, crackers and beverages). Now, some special interest groups are encouraging the FDA to start regulating serving size. There biggest demand is for products that are typically consumed in one sitting (soda bottles, cans of soup) to disclose the full nutritional information for the ENTIRE contents of the package. Stop hiding behind clever math and be honest with the consumer. Read more about this movement HERE (along with a slideshow of the biggest violators of 'creative serving sizes')

Serving size, 1/4 of the container... riiiiight


Consumer Reports has tested and ranked the best store brand ground coffees. (Yup - this article is pretty much exactly as described...not a whole lot to add there...) Check out the results HERE (Subscription to CR required) or you can get a little preview of the results HERE.


Our 'Well...DUH' story of the week involves Melatonin infused 'sleepy brownies'. Take a wild guess here folks - good or bad for your health? Read all about this (baffling) product and the FDA warning that it comes with HERE. Seriously? Who buys this crap?


There you have it folks, all the news that's fit to blog about for this week. We've got a bit of a modified schedule for you this week. My work schedule is all over the place - making our usual cooking days a little harder to pull off. As such, Maggie will be taking to the kitchen on Wednesday this week and I will be cooking on Thursday. Be sure to stop back in on Wednesday night to see what Maggie's got cooking. Until then,

~Cheers
Thursday, August 4, 2011

Flavor Beyond Words

Good evening everyone! Welcome back to Out Of The Culinary! It's been a little while since we've had a big recipe - you know the type I'm talking about; the 2+ hours of cooking time, multi-stage preparation, gargantuan task, gargantuan flavor recipe. This is mainly due to it being summertime and our busier schedule. We, just like most of our readers, want to come home, cook and get out and enjoy summer while it lasts. Today, however, I find myself with a day off from work - and as long time readers are aware, whenever I have a full day off and can spend it in the kitchen, I like to take on big recipes. We've got a big one lined up tonight - let's get cooking!


The Recipe: Classic Pot Roast
Original Recipe From: America's Test Kitchen (Season 11) TV Show

What You'll Need:

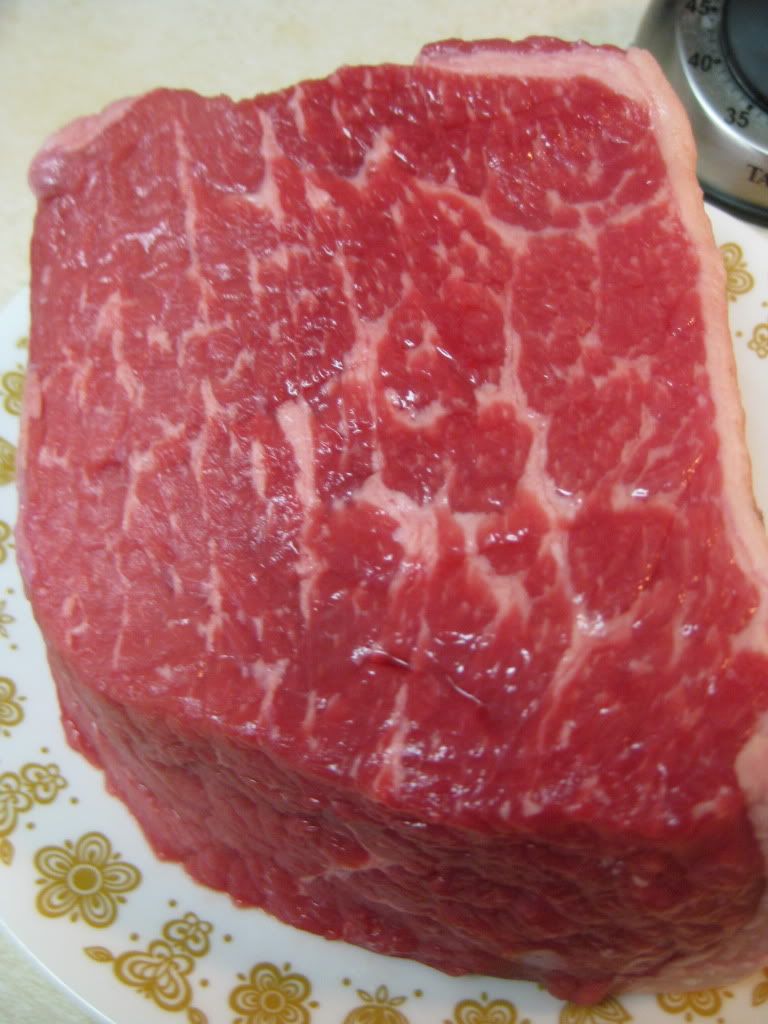
1 X 3-4 Pound Boneless Chuck Eye Roast *
2 Tablespoons Unsalted Butter
2 Medium Onions (Sliced thin)
1 Large Carrot (Chopped medium)
1 Celery Rib (Chopped medium)
2 Garlic Cloves (Minced)
1 Cup Beef Broth (Plus 1 to 2 cups for sauce)
1/2 Cup Dry Red Wine (Plus 1/4 for sauce)
1 Tablespoon Tomato Paste
1 Bay Leaf
1 Sprig Fresh Thyme Leaves (Plus 1/4 teaspoon chopped fresh thyme)
1 Tablespoon Balsamic Vinegar

* Chuck eye roast is the preferred cut of meat for this recipe because of its heavy marbling. The thick ribbons of fat that run through this roast will melt down during cooking, adding amazing amounts of flavor to the dish. You can choose shoulder or rump roasts, however, they will be a bit leaner and therefore be a little tougher (muscle tissue doesn't break down like fat does) but it should still yield an amazing dish.

To prepare the chuck eye roast, you'll want to split it at its natural seam. Pull the roast in to two sections at this seam and cut off the thick, nobby portions of fat from each side. The ribbons of fat you can leave, but anything that is large or rough to the touch should be trimmed off. These fat portions will not melt like the other fat, instead they will 'gum up' and become tough, chewy, gristly portions of the roast. Obviously, you don't want that!

After the beef is trimmed, sprinkle the roast with 1 tablespoon of salt. Place the beef on a wire rack and let sit at room temperature for an hour. Just like brining a chicken, this step will add great amounts of moisture to the roast. Unlike chicken or turkey, however, beef contains a lot of natural moisture. By adding salt to the equation, you are opening the proteins of the beef, which draw in more of the salt from the surface. This salt creates a natural barrier within the beef, preventing the moisture from escaping while cooking. When you brine a chicken in water, you are opening the proteins and pulling in the salt water solution. This process works the same for beef, but adding more water would ruin the beef - so you simply allow the salt in and let the natural juices do their job.


After an hour, you're ready to start cooking! Begin by adjusting the oven rack to the lower-middle position and heating the oven to 300 degrees. In a large dutch oven, melt the 2 tablespoons of butter on medium high heat until lightly bubbling. Next, add your onions and begin to brown them, stirring constantly on medium heat until they soften and turn a light golden color. This should take about 8 to 10 minutes. Add the carrots and celery, stirring occasionally, allow this mixture to cook for another 5 minutes.


Next, add the garlic and cook until fragrant - roughly 30 seconds. Finally, add the 1/2 cup of red wine, the cup of beef broth, the tomato paste, bay leaf and thyme. Bring this mixture to a simmer.

If you are using a chuck eye roast, you'll want to use cooking twine to turn the two pieces into 'meat loaves' essentially rolling them up into longer tubes to get a better, more even cooking surface. I opted to use a shoulder roast, which was already in a convenient cooking shape - so we did not have to do this step.

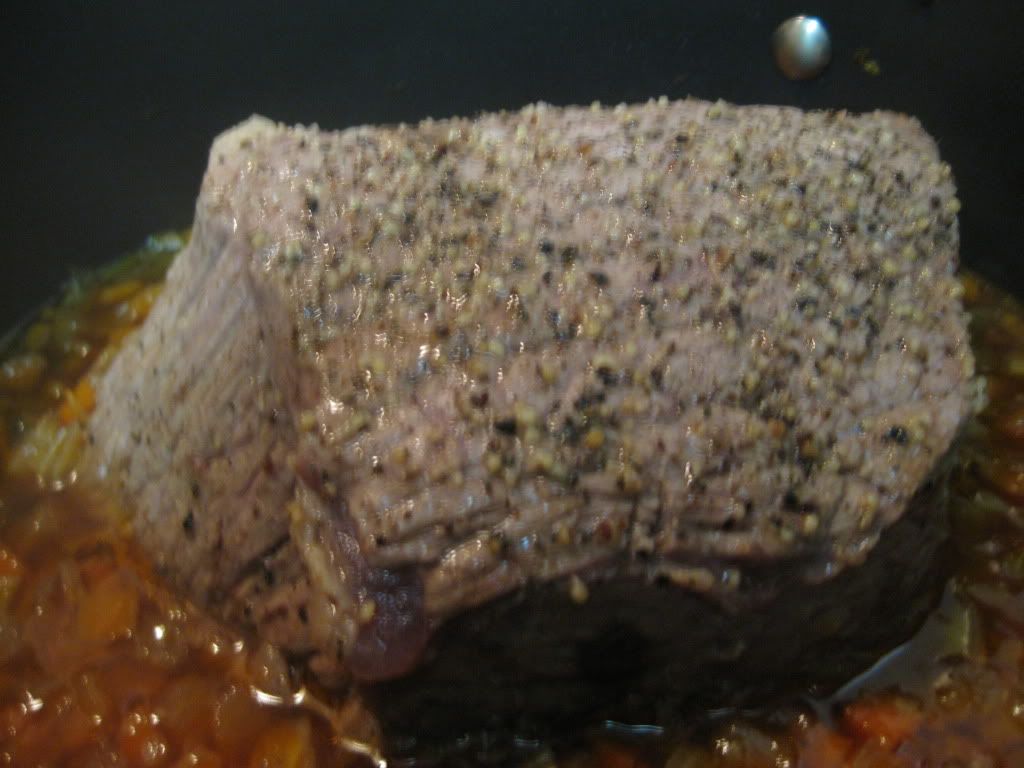
Nestle the roast on top of the vegetables and cover the dutch oven with aluminum foil and the lid. The aluminum foil prevents any and all moisture from escaping the dutch oven while cooking. Place the pot in the oven and allow to cook for 3 1/2 to 4 hours - making sure to turn the roast about 1/2 way through cooking.

Now, you may be asking yourself if we missed a step. After all, most roasts have some sort of browning step during the preparation process. Browning causes a chemical change at the surface of the meat that bonds some of the proteins and fats together - creating a very delicious flavor. As such, nearly every recipe I've ever done for a roast has told me to brown the meat. However, the folks at America's Test Kitchen have discovered that you do not need to brown the roast if you're cooking the meat at a relatively low temperature for a long period of time. After 3 hours at 300 degrees the meat will actually have browned on its own in the pot. This negates any need for browning in the early stages.

1/2 way through and already nicely browned


Transfer the roasts to a cutting board and tent loosely with foil. Strain the remaining juice/vegetable mixture through a mesh strainer and into a 4 cup measuring cup. You are shooting for about 3 cups worth of liquid here, and will likely have somewhere between 1 1/2 to 2 cups after straining. Simply add beef broth to the mixture to bring the total up to 3 cups.

 Remove and discard the bay leaf and thyme sprig. The vegetables that got caught in the strainer can still be used to your advantage. Transfer these vegetables into a blender and add the 3 cups of beef broth / strained juices to the vegetables. Blend this mixture until everything is smooth and there are no lumps. Transfer this sauce to a medium saucepan and bring to a simmer over medium high heat.

Begin slicing the roast into fairly thick cuts - roughly 1/2 inch thick (too thin and the roast will fall apart). When the sauce is simmering, add the red wine, thyme, balsamic vinegar and a dash of salt and pepper to the sauce. Mix well. Serve this sauce over the roast and enjoy!


The Results:


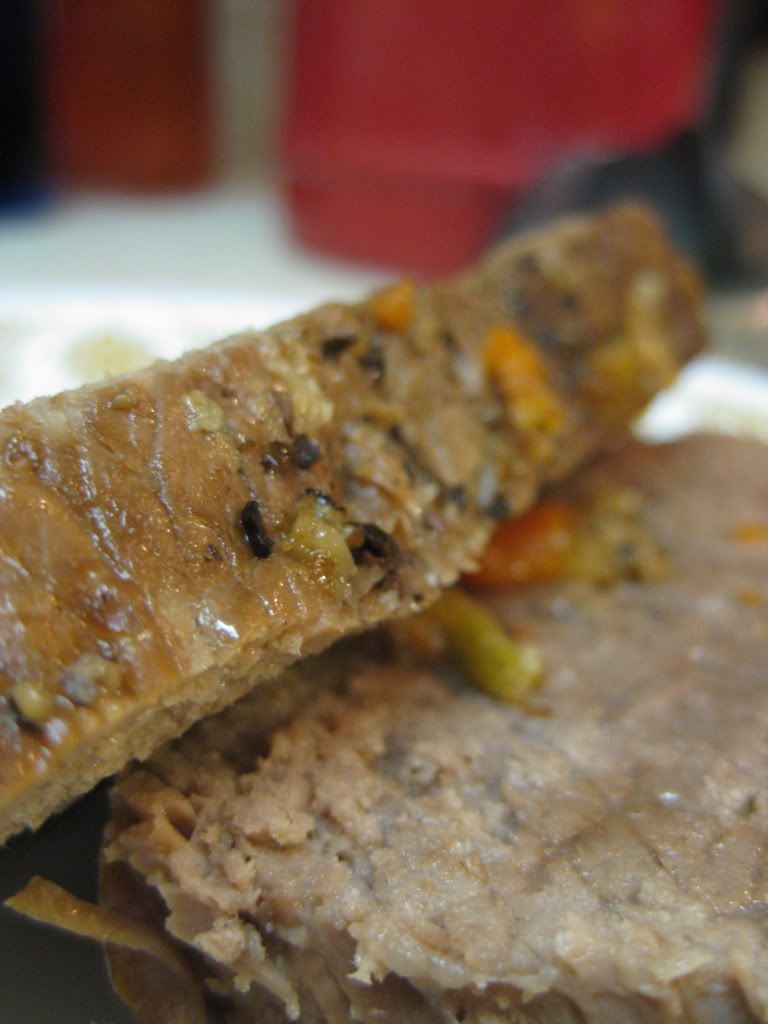
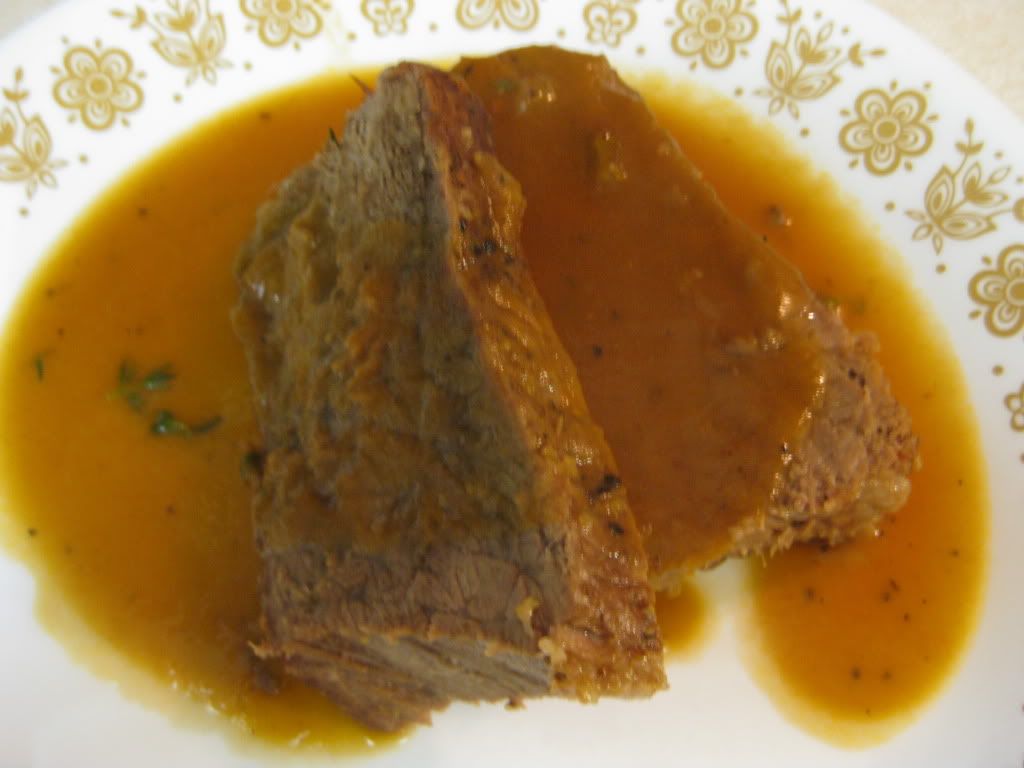
There are three guarantees in life; death, taxes and America's Test Kitchen recipes. This dish is the pinnacle of pot roast. The flavors are simply out of this world delicious. The meat was perfectly tender and soft enough to cut with a fork. The 1 hour salt process proved useful as the meat was still perfectly full of natural juices - a hard trick to pull of when you're cooking something for 3 to 4 hours! All in all, this recipe, while a long one, is a must try for everyone at home. It would make a great addition to the table for holidays or special occasions or even just a nice 'stay home with the family Sunday night meal'. You simply owe it to yourself to try this dish at home! You'll be glad you did.

That's all we have for you this week. We're back once again on Monday with another edition of Around The Culinary World so be sure to stop in for that. And, as always Maggie and I will have two new recipes to test out - it's sure to be a lot of fun! See you next week,

~Cheers
Tuesday, August 2, 2011

Burritos...A Healthy Take

Good evening everyone! As our sweltering temperatures begin to come to a simmer, most of us want a meal that is relatively cool to eat and won't have a kick of heat to it. It's hot enough outside, you don't need any extra heat on the menu.Tonight, I'm going to do the complete opposite of this traditional train of thought.


Most (or some) of you aren't aware of my incredible thirst of Mexican food. Although I cant handle the spicyness of some dishes, I can handle the majority of Mexican food. One of my favorite places to eat is Chipotle. It may or not be authentic Mexican food (depending on who you're talking to,) but their burritos are something to behold. Over stuffed burritos, filled to the brim with meat, cheese, rice, and any sort of Mexican condiments. Unfortunately, the burritos pack quite a calorie punch, with between 700 to over a 1000 calories a burrito, you feel stuffed to the gills. Tonight, I'm going to try to replicate that same burrito taste, without all the calories stuffed inside.

The Recipe: Grilled Steak Burritos
Original Recipe Found In:www.eatingwell.com

What You'll Need:
(4 Servings)

1/4 Cup Prepared Fresh Salsa
1/4 Cup Water
3 Tablespoons Instant Brown Rice
3/4 Cup Canned Black Beans, rinsed (we are choosing a beanless version for our burritos)
6 Ounces Strip Steak, trimmed and thinly sliced crosswise
1/8 Teaspoon Freshly Ground Pepper
1 1/2 Teaspoons Canola Oil
2 8-inch Tortillas, preferably whole-wheat
1/4 Cup Shredded Sharp Cheddar Cheese
2 Tablespoons Prepared Guacamole
1 Tablespoon Chopped Fresh Cilantro (optional as well)

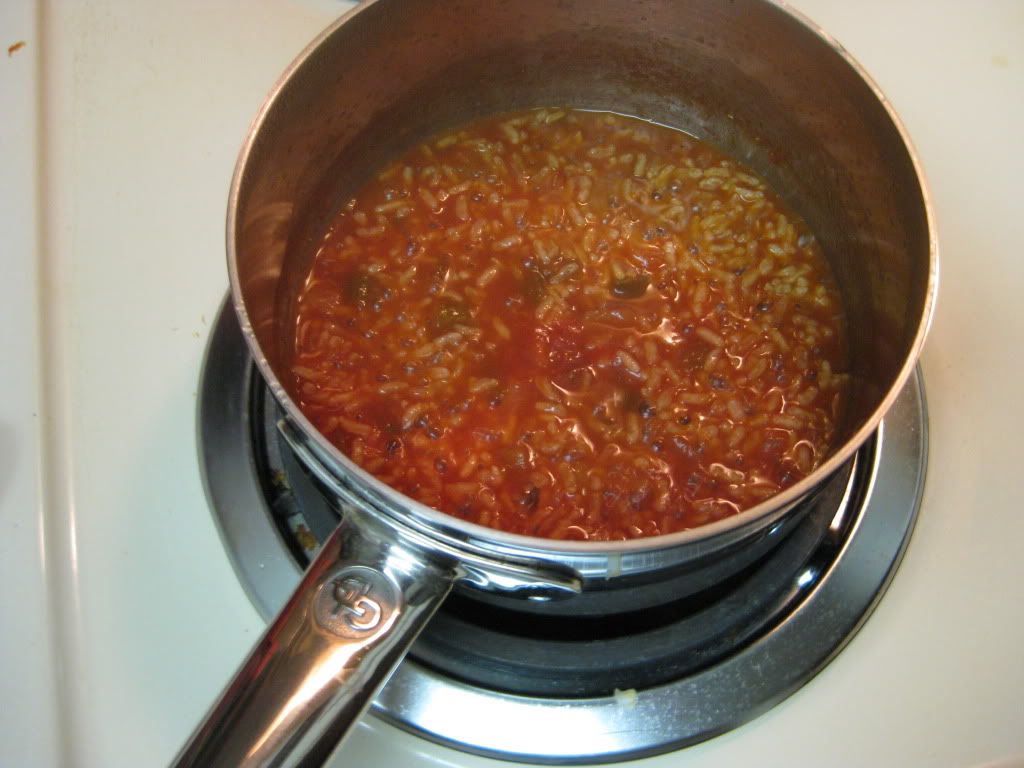
To start, combine the salsa and water in a small saucepan and bring to a boil.  Stir in the rice and reduce the heat to a simmer.  Cover and cook for five minutes.  If you are choosing the use the beans, stir them in the salsa/rice mixture, return to a simmer and cook uncovered.  Stir this mixture occasionally until the rice is tender and most of the liquid is absorbed, about five minutes.  I would wager that this is a variation of a Spanish rice dish.  But, if you're more about white rice, or cilantro rice, or whatever rice floats your burrito boat, you can take that dive and try a twist on this recipe.


Simmering Spanish Rice


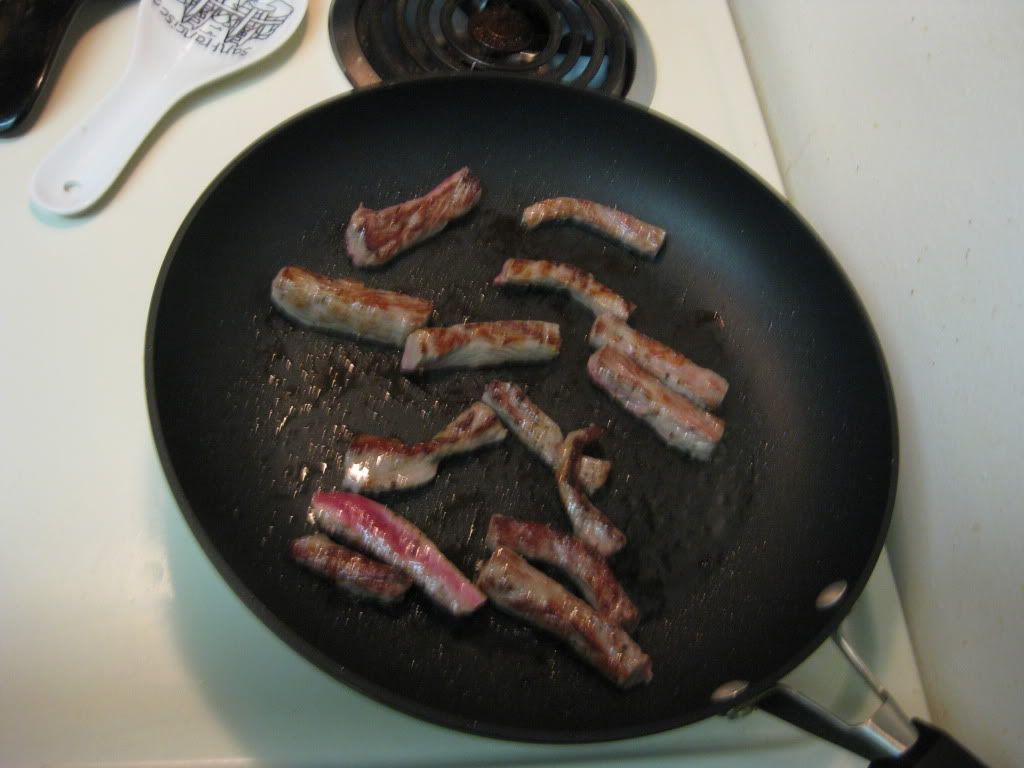
While the rice is cooking, sprinkle the steak with the pepper.  Heat the oil in a skillet over medium high heat.  Add the steak and cook, stirring occasionally, until browned and cooked through, about three to five minutes.  


When these little guys are all chopped up, it will boost the flavor through the roof!


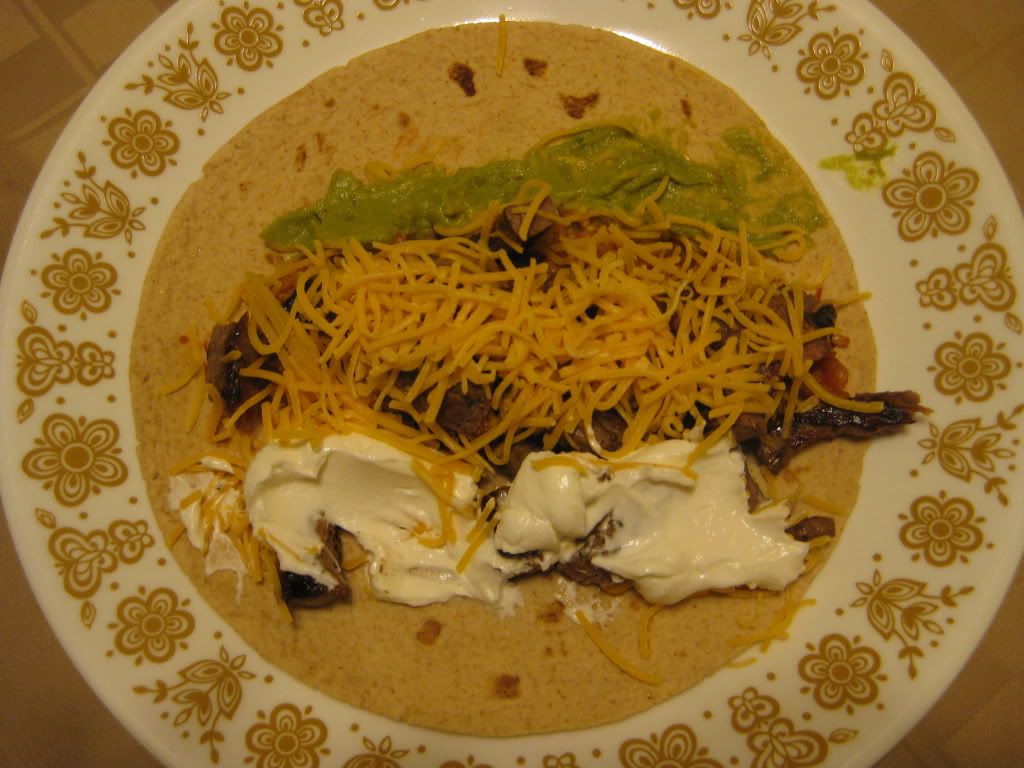
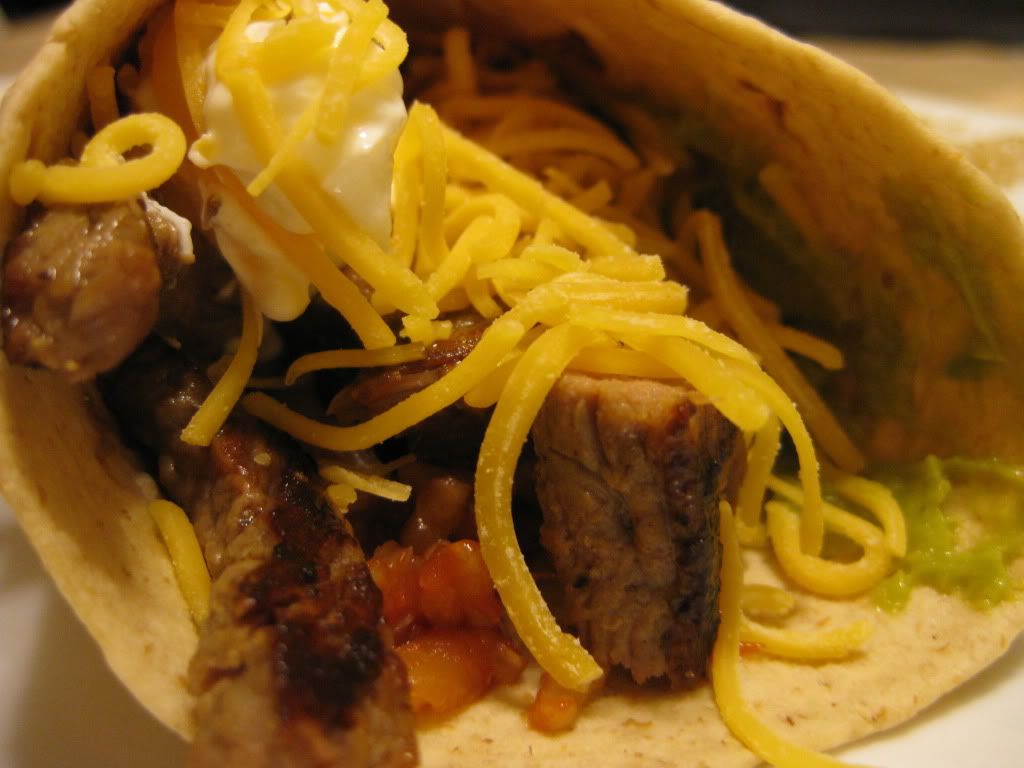
To assemble the burritos, divide the cooked steak among the tortillas and top with equal amounts of cheese, guacamole, cilantro, and the rice mixture.  Roll each tortilla into a burrito, serve, and enjoy!


The End Result:


As Tyler was munching on his first bite, he exclaimed: "Better than Chipotle!" and I couldn't agree more.  The Spanish rice provided the perfect bed to the steak, which had a little bit of pink, but made it all the more succulent.  The cheese, guacamole, (and our addition of sour cream,) worked so well together, it was hard to tell that this was a homemade burrito.  And our tummy's are equally satisfied as well - at around 470 calories, this dinner won't be a gut buster.  This will definitely make our Repeat Recipe list!


It's been a while since we've had a big recipe on the blog - our summer schedule hasn't allowed us to do such.  However, Tyler has Thursday off - and he's shown that given a full day, he'll attack a big recipe, so check back then to see what he's got up his sleeve.  Until then,

~Cheers!

Monday, August 1, 2011

Around The Culinary World: Recipe Edition

Good evening everyone! It's the dawn of a new week,which typically means a recap of all of the news that's fit to blog about in the culinary world - however, this week we're doing things a little bit differently. In the greater midwest, we are now into full blown sweet corn season. It's nearly impossible to find any 'bad' ears of sweet corn at your local grocery store, corner stand or roadside truck. As such, many midwesterners are grabbing up the summer time delight and gobbling it down in mass quantities. (Maggie and I are no exception to this rule)
You're not limited to simply boiling or grilling sweet corn, however, there are a whole world of recipes out there for you to try, taste and enjoy. We thought this week, we'd compose a list of sweet corn recipes - just to give our readers some ideas to 'change up' the summertime staple. Give a few of them a try and you'll be surprise at how diverse the midwestern trademark really is.

Mexican Grilled Corn


Topped with mayonnaise, chili powder and cojita cheese, this grilled up dish is a staple of Mexican street vendors. Simple premise, complex in flavor. Check out how to make your own HERE.


Coconut Creamed Corn 


Just because it comes on the cob, that doesn't mean you have to leave it that way. A blending of coconut, cilantro and lime with a little red pepper for kick, this corn dish is anything but bland - take your tastebuds on a tropical trip by following the recipe HERE.


Corn With Bacon & Mushrooms 

Sweet corn is not limited to a dinnertime dish. Add bacon and mushrooms and watch the dish transform into eggs' best friend. Try this unique twist out for yourself HERE


Lemon Garlic Glazed Corn On The Cob 


We will be trying this one for ourselves this week! Simply the classic corn on the cob with butter - only the butter has a few tricks up its sleeve. Combined with olive oil, lemon juice and garlic this simple twist creates a whole new world of flavor. Try it for yourself HERE.


Curried Corn Bisque 

If you like to shuck and save your sweet corn for the winter months, you can add this recipe to our fall/winter cooking list. Turn Iowa's greatest summertime treat into a delicious winter time soup by following this recipe. Check it out HERE


Creamed Corn 

This healthy variation of a traditionally not-so-healthy recipe will certainly be making an appearance on the blog this fall. Get an early preview and try it out for yourself HERE


Sweet Corn Spoonbread 

Just like traditional cornbread but oh so much better! Learn how to make your own delicious, soft, succulent cornbread HERE (Registration is required to view recipe - registration is free) 


Avocado Corn Salsa 

Why limit corn to a mealtime staple? With a few tweaks, it becomes a great snack too! Try your hand at this fresh, delicious salsa by following along with the recipe HERE


There you have it folks, just a few of the many, many different uses that sweet corn can fill on your menu. The beauty of sweet corn is that it can be spiced up with red peppers, chili powder or other 'fiery' additions or it can be cooled down with mayo, coconut or avocado. Mix it with the right herbs and you can create a great salsa, blend it with curry powder to create a soup - the limit is your imagination. Hopefully today's feature gave you some good ideas to start with. Happy cooking - enjoy the sweet corn season while it lasts!

Maggie takes to the kitchen on Tuesday this week, and I'll try my hand at big recipe on Thursday. Until then,

~Cheers