Tuesday, September 27, 2011

Breaded Chicken, Now With More Crunch

Good evening everyone! As the temperatures cool ever so rapidly, warm and comforting foods are always on the brain. As summer changes into fall, different flavors that we might not enjoy during the hot months seem like edible gold during the cooler months. With the new dish I'm creating tonight, it embodies those fall flavors and wraps them up in a nice little package. 

The Recipe: Pecan Crusted Chicken
Original Recipe Found In: www.eatingwell.com

What You'll Need:
  • 4 Boneless, Skinless Chicken Breasts, (1-1 1/4 pounds), trimmed
  • 1/2 Cup Pecan Halves or Pieces
  • 1/4 Cup Plain Dry Breadcrumbs
  • 1 1/2 Teaspoons freshly grated Orange Zest
  • 1/2 Teaspoon Salt
  • 1/4 Teaspoon Ground Chipotle Pepper or Cayenne Pepper
  • 1 Large Egg White
  • 2 Tablespoons Water
  • 1 Tablespoon Canola Oil, divided

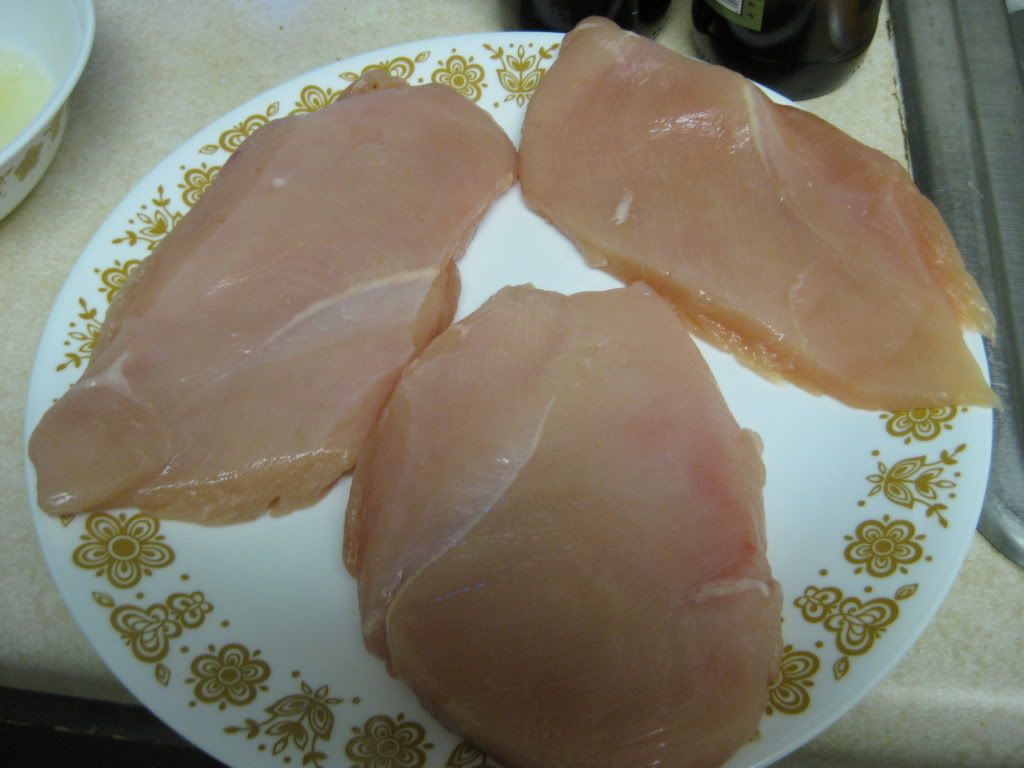
Begin by flattening each chicken breast. Cover each breast with plastic wrap and pound with a meat mallet or a heavy skillet until the breasts are 1/4 thickness. 


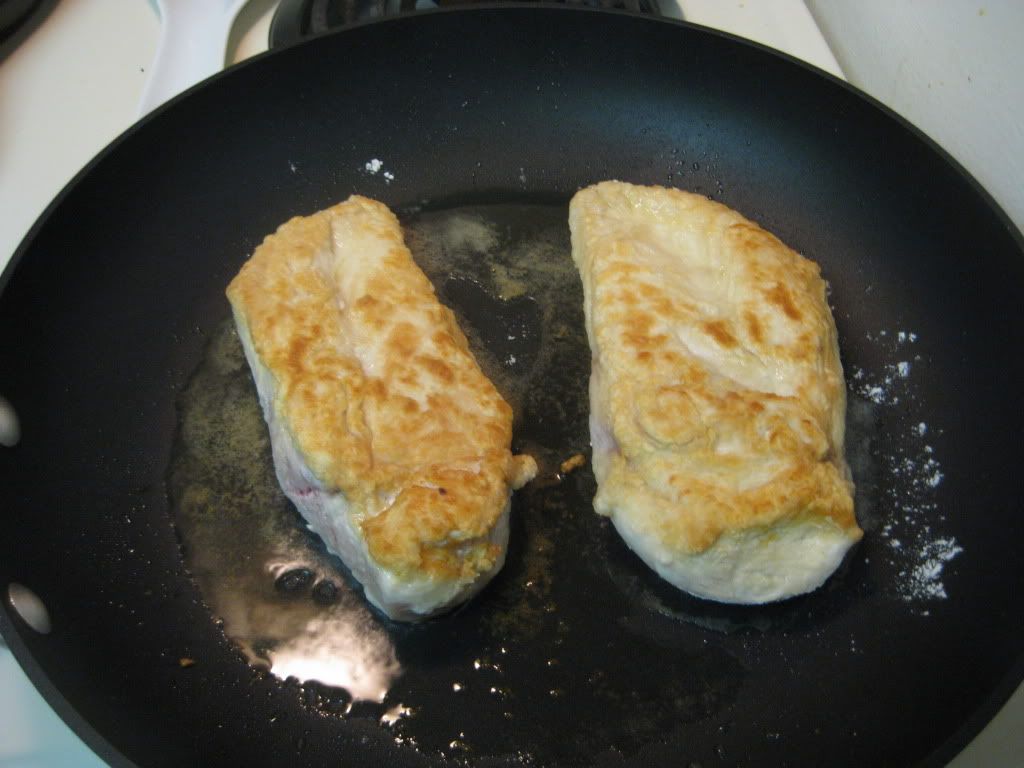
Chicken is nice and flattened

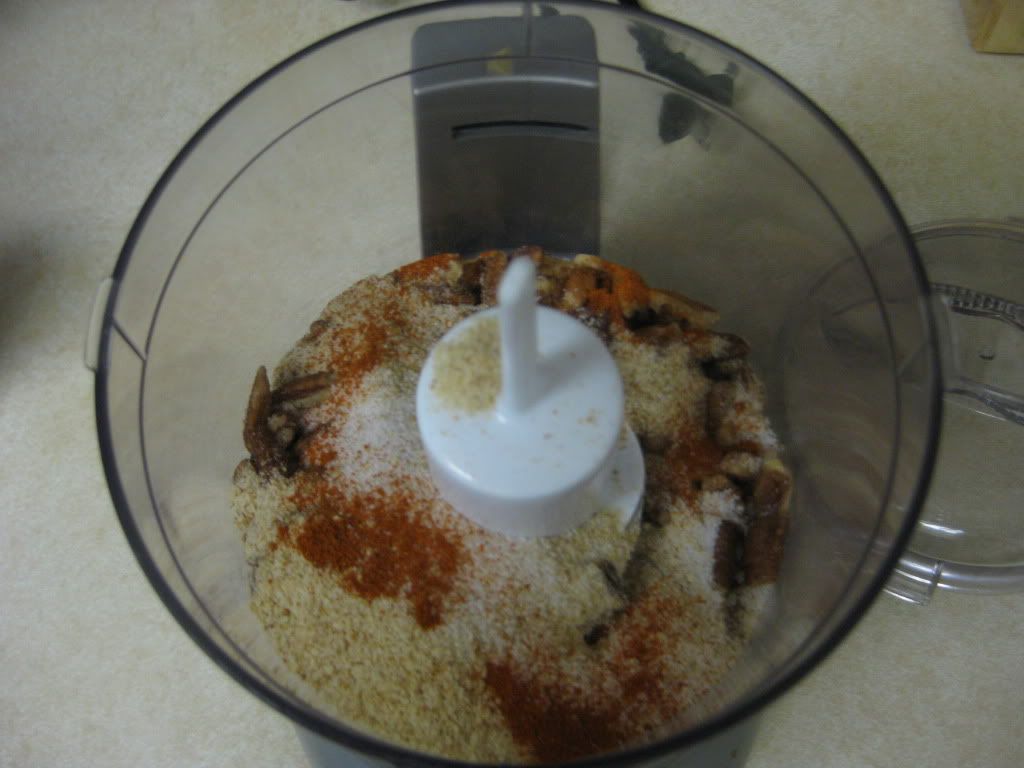
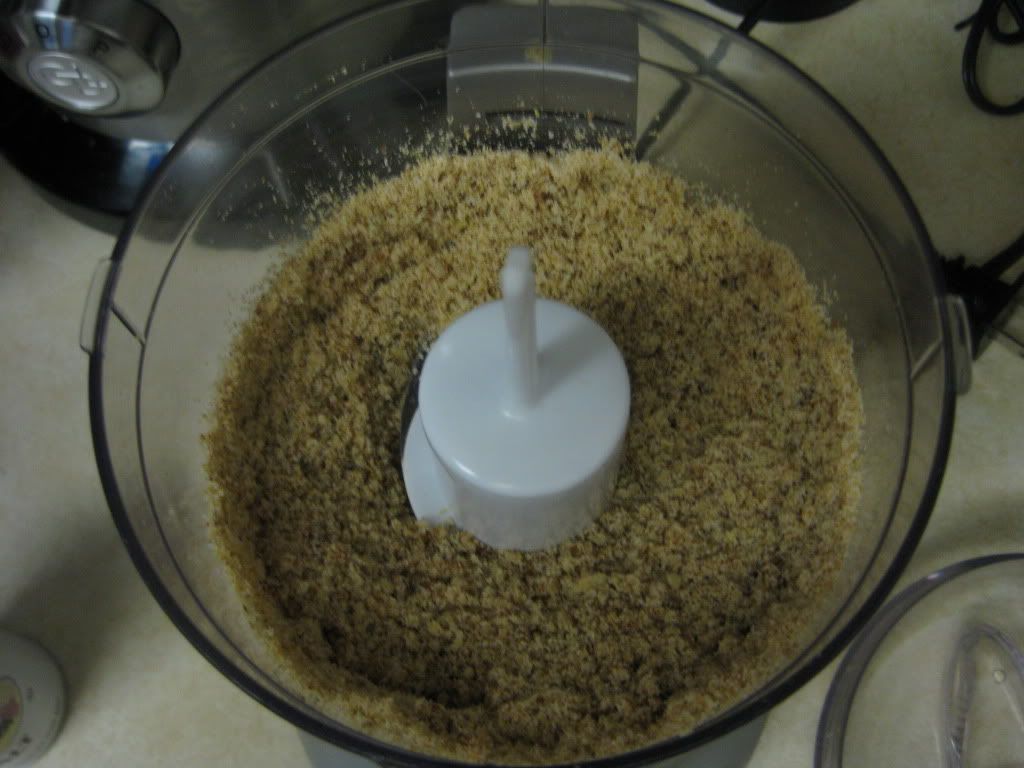
Next, add the pecans, breadcrumbs, orange zest, salt, and chipotle pepper to a food processor and pulse until the mixture is finely chopped. In our version, we are omitting the orange zest. Since we don't regularly buy oranges, it would be seem kinda silly to buy an orange just to use it for the zest. Also, we are using cayenne pepper instead of chipotle pepper since we have it readily available in our spice cabinet. (Cayenne is a solid substitute, however) 


Pre-mixed
Post-mixed


Transfer the mixture to a shallow dish. Next, lightly beat the egg and water in a small bowl. Dip each chicken breast into the egg white mixture then dredge both sides in the pecan mixture.


Continue to heat one and a half teaspoons in a large skillet over medium heat.  Add half the chicken and cook until browned on the outside and no longer pink in the middle, two to five minutes on each side.  Transfer to a plate, serve, and enjoy!

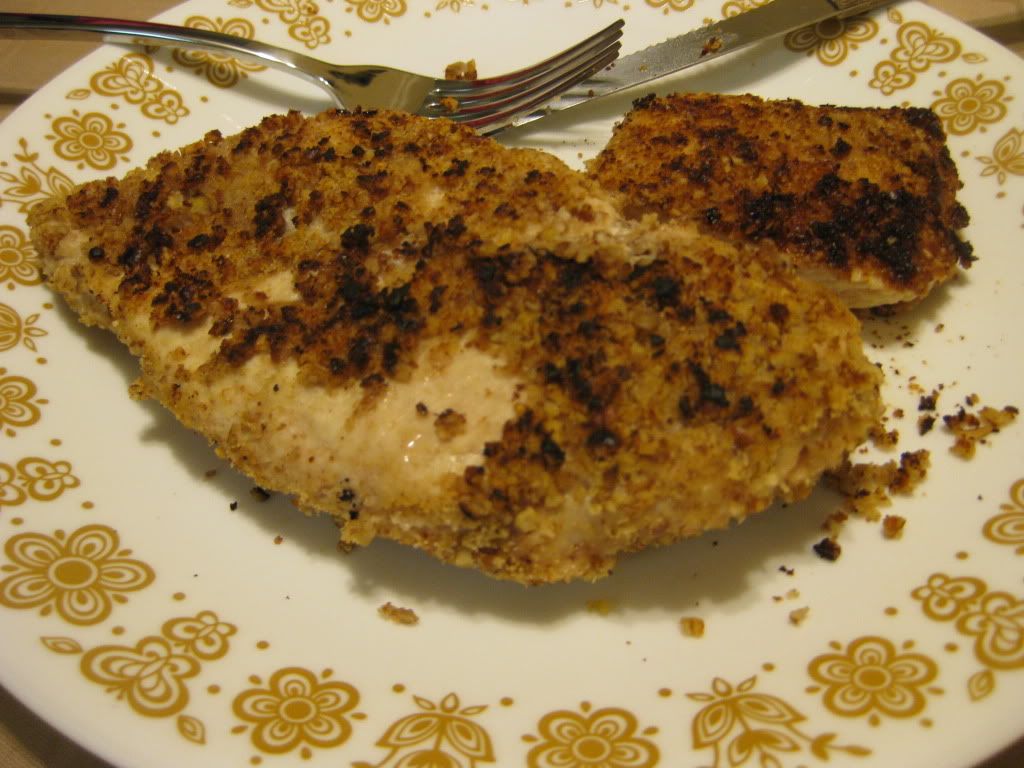
The End Result:


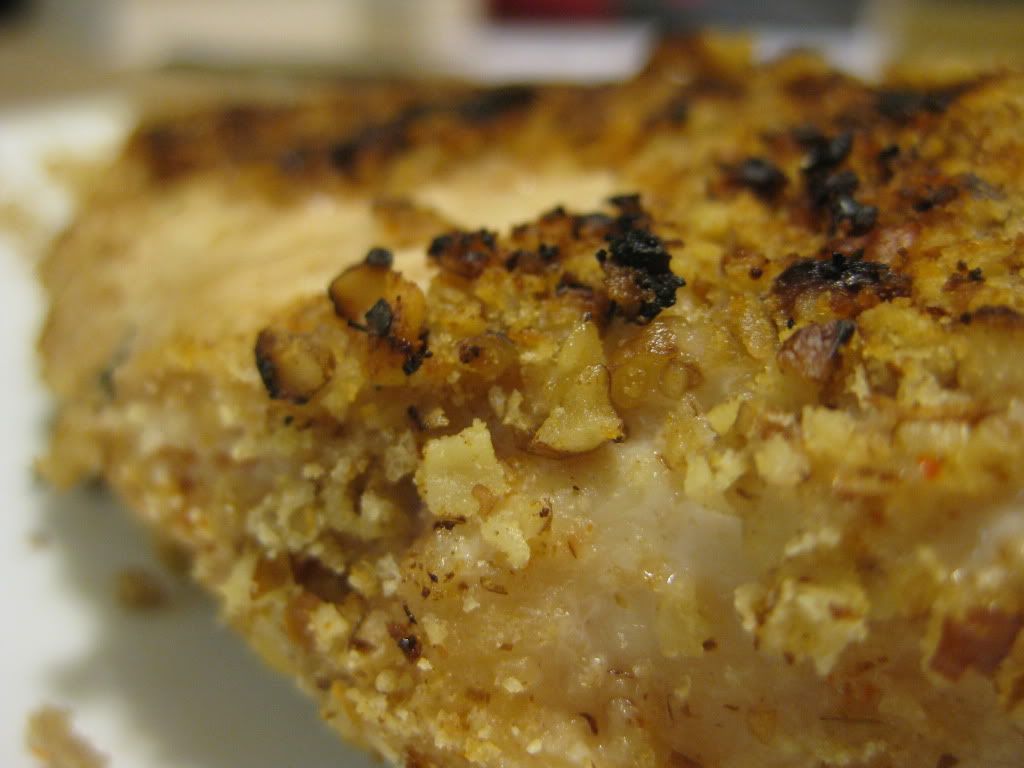
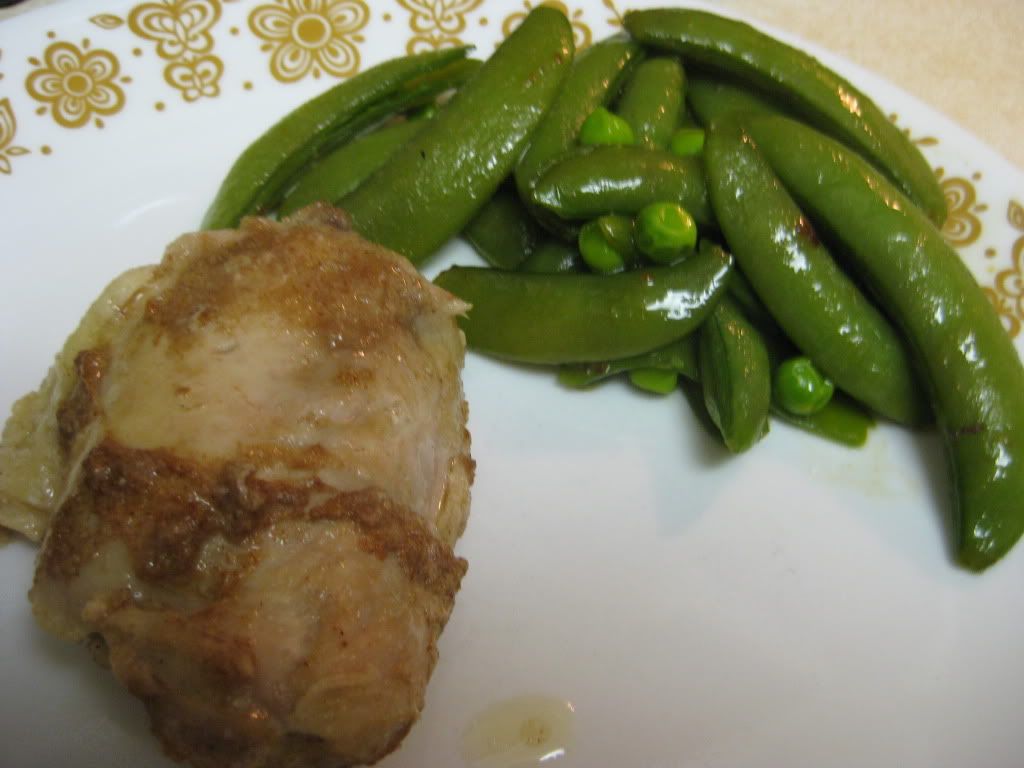
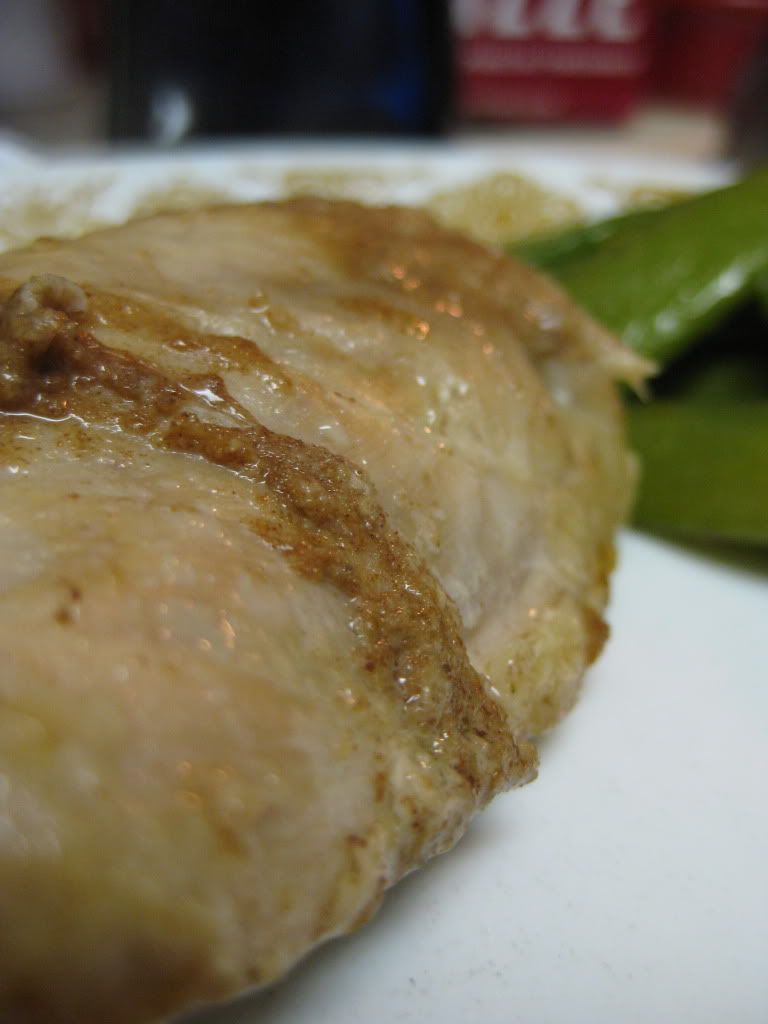
The pecan coating was not only crunchy, but had an incredible depth of flavor.  It took the breaded chicken realm and made it completely different.  The breading wasn't overly crunchy and made it something new.  The cayenne pepper added a nice hint of spice, but not 'mouth-on-fire' feeling.  Overall, another great breaded chicken recipe to our repertoire.


Join us tomorrow as Tyler takes on a great fall favorite.  Until then,

~Cheers!

Monday, September 26, 2011

Around The Culinary World

Hello again everyone! It’s a brand new week (for better or worse) and fall is fully upon us. Cool air, crisp mornings – beautifully warm afternoons, cooler evenings. It’s the perfect time of the year. We’ll move into a more ‘fall focused’ menu over the coming weeks – starting with one of my recipes this week. That comes later, however. First, it’s Monday – so it’s time to take a trip ‘Around The Culinary World’ This week we’ve got food recalls, shopping guides, black water and much more. Let’s dive in!


Sadly, the most common stories we cover in ‘Around The Culinary World’ are food recall announcements. Last week, news broke that a supply of cantaloupes from Frontera Produce in Colorado were tainted with a disease known as listeria. As of Friday, the death toll had risen to eight (four from New Mexico, two from Colorado, one from Okalahoma and one from Maryland). All together, 55 people in 14 states have been made ill by the tainted fruit. While produce related food recalls are relatively rare (especially in the case of melons), this is the third listeria related break out in three years. You can read more about the breakout HERE. Later on Friday, the FDA announced that the cantaloupes have been shipped to more states than previously thought. You can read more about the implications from this development HERE.


Roughly four to five years ago, grocery stores and major retailers (mainly Wal-Mart) began moving to a new trend – self checkouts. The concept was simple, let customers with small amounts of items to ‘speed up’ the process and blaze through check out lanes. You save money on employees and you keep impatient customers happy. The problem? Most customers don’t want to use the lanes. Many customers find that the extra help a story employee provides to be worth waiting in line. Worse yet, when a problem arises on a self checkout lane, it can usually take longer to resolve the problem than if you simply waited in line and used a traditional lane. I’ve always been a fan of the self checkouts – but I’ve had the same problems – mainly that they’re harder to use than they need to be. Well, most stores have heard customers and are making the move to remove the self checkout lanes. What do you think? Self checkout lanes are going the way of the dodo – a good move or an overreaction? Read more about this story HERE.


Courtesy of cartoonstock.com
 Speaking of overreactions – our ‘stupid story of the week’ is in contention for ‘stupid story of the year’. One particular Taco Bell customer didn’t take too kindly to not receiving any hot sauce with his order. His response to this ‘outrage’? Ask kindly for hot sauce? Point out that he never received the sauce he requested? Nope – he pulled out his gun. Read more about this moron HERE.


Don't forget your gun!

If you’re an at home chef (which, judging by the fact that you’re currently reading a cooking blog – I’d wager that’s a safe assumption) you know that olive oil is an essential kitchen item. This simple oil is the base in many, many recipes and is probably the most commonly used item in our kitchen. You also know (you avid oil user, you) that there are a lot of options when it comes to buying olive oil. (And yes, there is a difference – have you ever bought cheap ‘low quality’ olive oil? You CAN taste the difference). So, which oil is worth the cash – and what ones taste like trash? Kitchen daily has composed a handy guide to supermarket olive oils. Check out the cream of the olive oil crop HERE.


Water enhanced with humic and fulvic acid has become quite the popular item to the ‘rich and famous’ out there. It’s a common item in reward show gift bags – it’s popping up in big name restaurants and health markets. The catch? It’s black, and it looks like motor oil. Supporters of the water (called Blk Water) are quick to point out that it tastes just like normal water and provides amazing health benefits. But, can the common consumer get past the fact the water looks like sludge? I don’t think I could. Check out this extremely unique product HERE.


It’s college football season (in my opinion the best sport in the world – yes, college over pro) which means tailgating and, if you live close to your favorite team – a few trips to the stadium. While it’s not as talked up as baseball stadium food, football stadium food has become a respectably delicious option on game day. Which stadiums top the list when it comes to college football grub? Check out the list HERE.


Finally, we’ve got a very cool video to share. Watch as a prize winning 1,487.5 pound pumpkin grows right in front of your eyes. A camera, programmed to take a photo every 15 minutes was positioned above the pumpkin when it was planted in June. Watch as this 1:30 second video shows the pumpkin grow to an absolutely ridiculous size. Easily, the coolest video you’ll watch today. Check it out HERE.


That’s all the news that’s fit to blog about this week. We’ve got another front loaded week of cooking for you. Maggie will take to the kitchen on Tuesday with a brand new recipe and I’ll follow her on Wednesday with my first foray into fall cooking for the year. Be sure to stop back in tomorrow night to see what Maggie has cooking. Until then,

~Cheers

Wednesday, September 21, 2011

Terrific Turnovers

Good evening everyone! Sometimes, while you're browsing through a cookbook or website - something will catch your eye. Something stops you and says "I'm delicious - you must cook me" No? Is it just me? Okay then - this week I found a recipe tucked away in one of our new cookbooks that stopped me cold. The delicious picture, the unique combination of ingredients - the great 'fall food' concept. I couldn't resist. Sometimes we work on themes or with key ingredients when we decide recipes for the week, others, like tonight - we just go with what looks delicious. Let's get cooking!


The Recipe: Turkey Turnovers
Original Recipe Found In: Food Network Kitchen's Favorite Recipes
Serves 4

What You'll Need:

8 Ounces Pre-Cooked Chunk Turkey* (Roughly 2 1/2 cups)
6 Ounces Shiitake Mushrooms, Sliced & Stemmed
2 Tablespoon Unsalted Butter
1/2 Cup Heavy Cream
1 Medium Onion
1/2 Teaspoon Dried Thyme
1/2 Teaspoon Salt
3 Tablespoons Brandy
1 Teaspoon Dijon Mustard
2 Sheets Puff Pastry

* Pre-cooked chunk chicken is a functional substitute for this recipe as well.

Begin by preheating your oven to 425 degrees and lining a medium sized baking sheet with parchment paper.

Meanwhile, in a medium nonstick skillet, begin melting the butter over medium low heat. Add the onions, mushrooms, thyme, salt and pepper to the skillet and cook until the onions have softened and the mushrooms have absorbed the butter and moisture from the onions. The mixture will appear almost dry in the skillet.

Carefully add the brandy (remove the skillet from the heat if you're cooking with a gas stove - I would hope that goes without saying, but we'll be safe and warn you anyway) and simmer the mixture until the liquid becomes syrup like. This takes about 3 minutes.


Next, add the heavy cream and mustard and bring the mixture to a boil until the cream thickens. It should cover the back of a spoon (or at least not immediately drip away like water) when you dredge it through the mixture. Once the cream has thickened, add the turkey (or chicken) and turn until the turkey is incorporated and the meat is heated through.


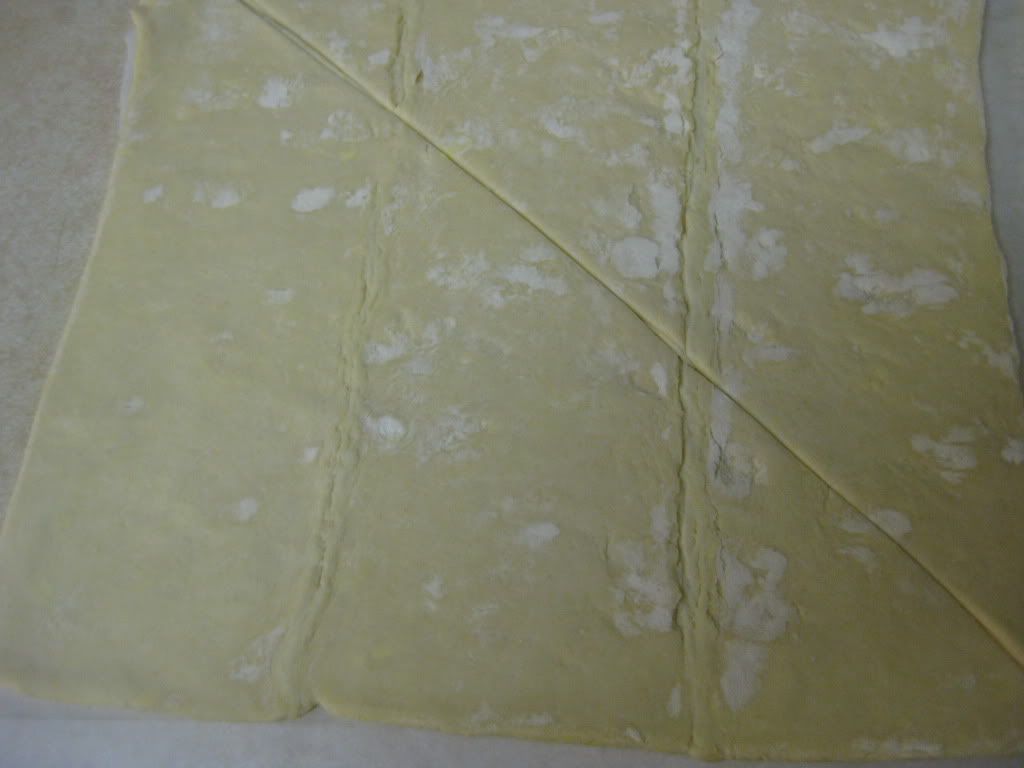
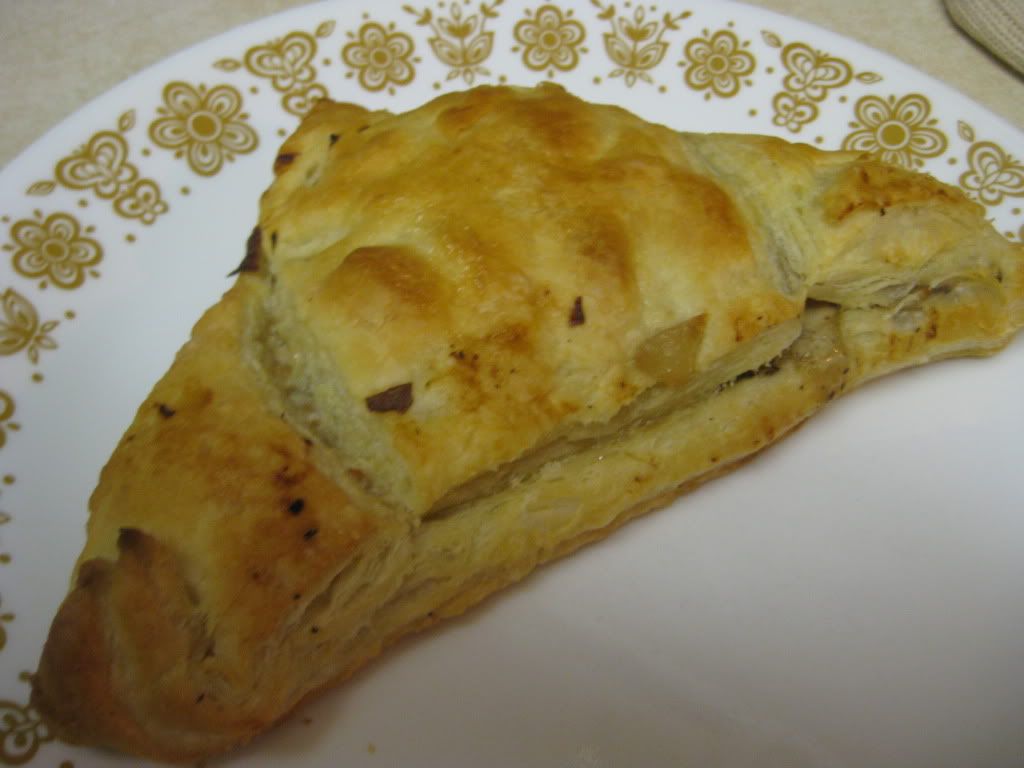
Lay out your sheets of puff pastry on a floured surface or on top of parchment paper. Using a sharp knife or even a pizza cutter, slice the pastry sheet in half - diagonally. Place 1/4 of the turkey mixture in the center of one of the halves. Make sure to keep the mixture from the edges. Wet the edges of the pastry with a little water to encourage better sticking. Carefully fold over the puff pastry, creating a triangular shaped turnover for the turkey. (See pictures below)


Press the edges of the turnover with a fork to seal the pocket shut. Poke a hole or two in the center of each turnover to allow the pocket to breathe will cooking. Using a pastry brush, lightly rub the top of each turnover with a little leftover heavy cream. This will encourage browning while the pockets are in the oven. Repeat this process until you have constructed four turnovers. Place the turnovers equally distanced on the baking sheet and into the oven for about 25 minutes or until they are golden brown.

Serve and enjoy!

The Results:


I'm always a fan of adding liquor or wine to a recipe. From Vodka, to white wine - I've constantly enjoyed the great depth and flavor that a good alcohol can add to a dish. The best part is that the alcohol cooks off - leaving just the flavor. That means that even the kids can enjoy a tasty dish without the fear of child services knocking on the door!

The brandy added a whole new level of richness and depth to a very rich and flavorful foundation. I've used the heavy cream, onion and mushroom combination before, and I know that it packs a great flavor. Brandy only enhanced the flavor and ever brought out some of the subtleties of the concoction. When you add in the fact that the whole dish was wrapped in a golden, flaky brown crust - you simply cannot go wrong. Delicious dish!

That's all we have for you this week. We were a little front loaded due to our work schedules, but as long as we're sharing new recipes, it's all good right? We're back on Monday with another trip around the culinary world. Until then, enjoy your weekend and -

~Cheers

Tuesday, September 20, 2011

Mediterranean Flavor, Without The Travel

Good evening everyone! As we continue to ease back into cooking (we've also returned to our exercise plan, after taking a solid month off,) I keep finding myself easy recipes to cook. As we have done numerous amounts of times, fish is pretty much of our mainstays here on the blog. The ultimate versatile dish, fish can soak up any flavor it's around, or it can keep its distinct flavor and accompany it with suitable options. Tonight, we are going to explore the first choice, with hopefully, positive results. Since this is such a straightforward recipe, Tyler has chipped in with some fun facts and research about flounder and the origins of the dish (as you're all well aware, Tyler likes to have the why behind cooking as well as the how!) So tonight's blog is a bit of a collaboration!

The Recipe: Baked Flounder with Tomatoes and Basil
Original Recipe Found In: Bon appetite Magazine, September 2011
Serves 4

What You'll Need:

1 Pound Very Ripe Tomatoes, cored and quartered
4 Garlic Cloves, minced
2 Tablespoons Extra Virgin Olive Oil
2 Tablespoons Fresh Lemon Juice
2 Tablespoons Thinly Sliced Fresh Basil
4 6-8 Ounces Boneless Flounder Fillets

Tyler's Note: We're using a unique fish for tonight's recipe - flounder. Flounder is a flatfish (similar to halibut) that are most commonly caught off of the Atlantic coast. Flounder is a whitefish that behaves very similarly to cod, it has a thick, fairly durable texture and a very neutral flavor. It's easier to roll (for wraps and the like) than cod and tends to be a little less durable when baking when compared to cod. While we have featured the fish in a past recipe, it's relatively new to the blog (and as an extension, to our cooking expertise). Luckily, flounder shares some great properties with other whitefish fillets that you probably are familiar with - so don't shy away from this recipe just because it's featuring a new style of fish!

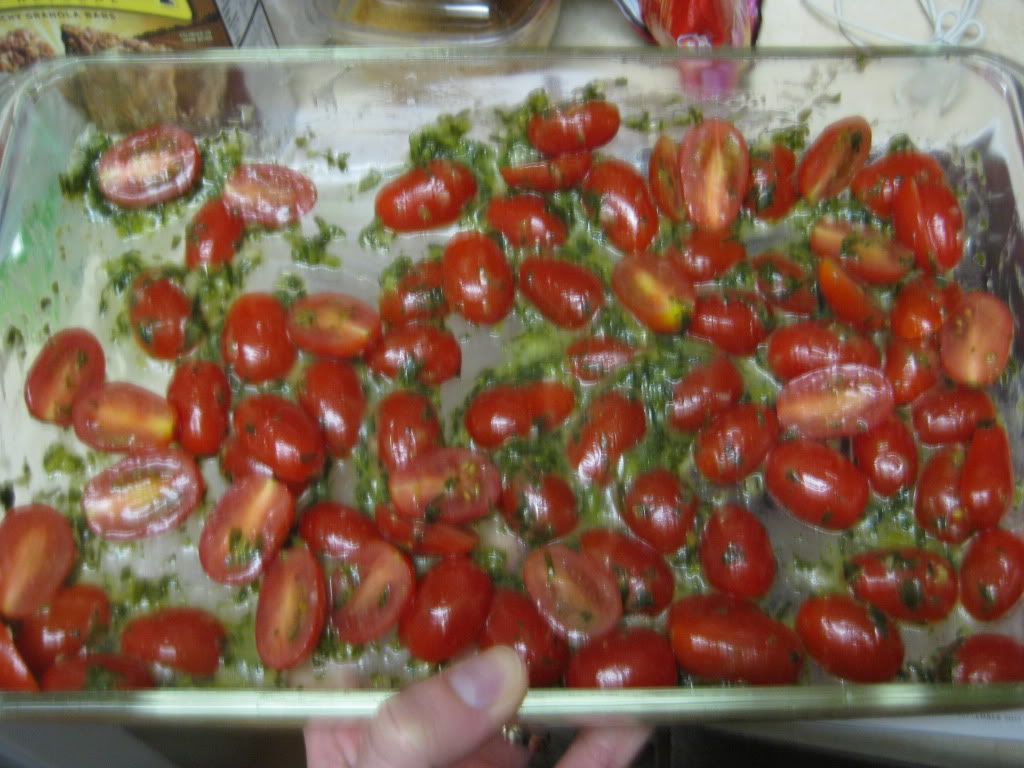
Begin by preheating an oven to 425 degrees. Toss the garlic, olive oil, lemon juice, sliced tomatoes and basil in a large baking dish. Season with salt and pepper. Spread this mixture in an even layer across the bottom of the baking dish. You can either use full size tomatoes or grape (cherry) tomatoes. Full sized are slightly easier to slice, but if you're not a big fan of whole tomatoes, the cherry tomatoes will be easier to 'blend' with the rest of the dish.

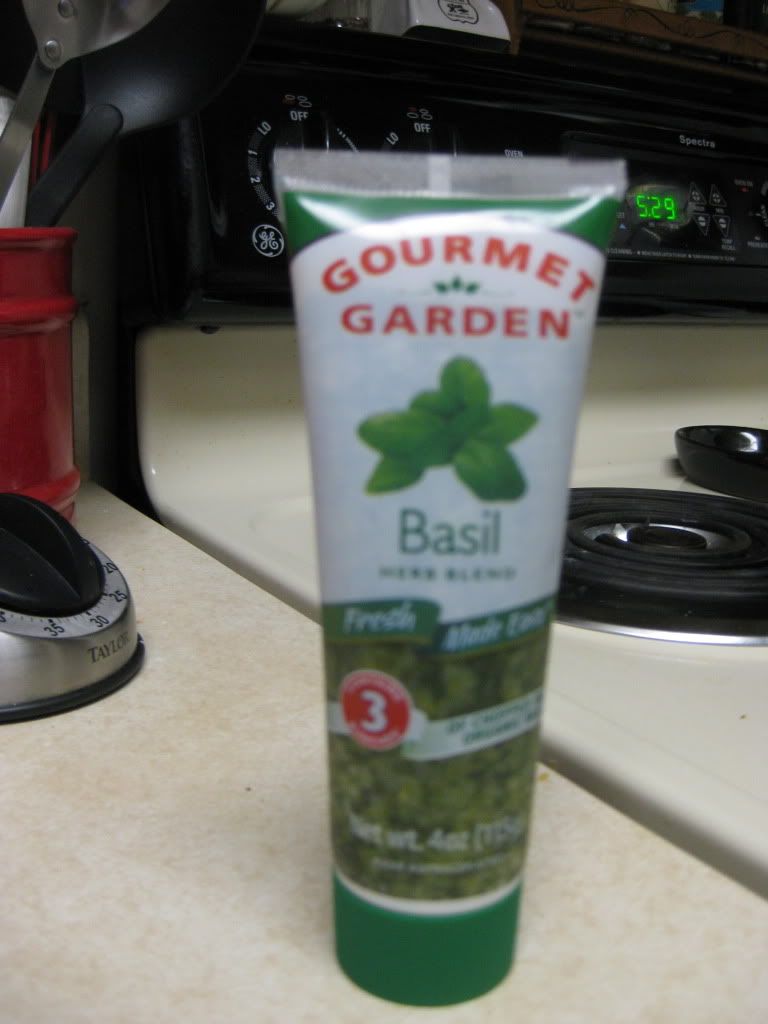
Tyler's note 2: For this recipe, we're using the 'tube' version of basil, from the company Gourmet Garden. Much like the parsley and thyme we discussed previously on other recipes, this version is 100% basil, but condensed down into a paste for easier use and storage. So far, we've been fairly pleased with the product, although it does have some limitations (We'll cover those in a future blog post - sometime in the next few weeks). For the most part, the flavor is comparable and it lasts much longer than fresh basil would. Feel free to use fresh basil if you have it handy (in fact, it's preferred that you do) but in a pinch this tubed version of the herb works well.

Easy herbs in a pinch...or squeeze...


Tyler's Note 3: Like mirepoix, and the pico mixture from last week's Spanish dishes - tomato and basil are the basis of many Italian and Mediterranean dishes. From side garnishments to full blown recipe additions, these two ingredients are well acquainted with each other. Baking them intensifies the flavor of basil and really brings a whole new element to the tomato. Combine that with baking the flounder, which causes the fish to absorb that flavorful base it's resting upon - and you achieve a 'summertime in Italy' flavor without all of the travel and language barriers!

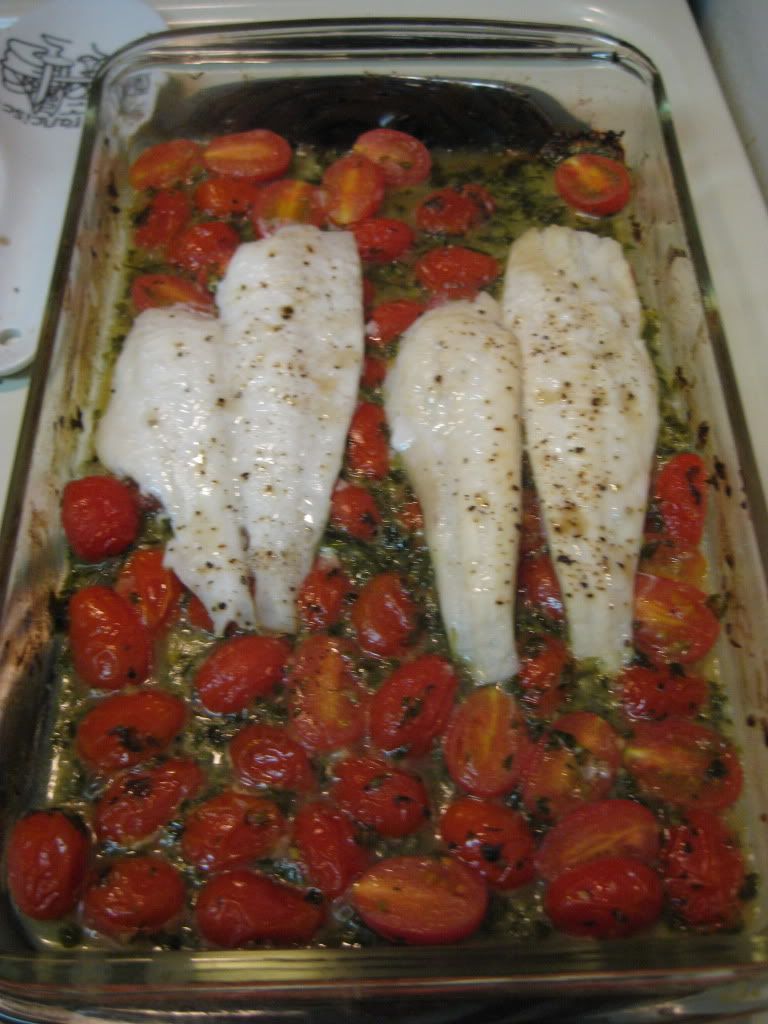
Next, bake the tomato mixture for five minutes. Season the fish with salt and pepper. Arrange the fish in a single layer over the tomato mixture. Roast the fish with the tomato mixture until the fish begins to flake, about 10 minutes. You'll notice the flounder go from an off white to a more 'pure' white, that will be the best indicator, but you can't beat the reliability of poking it with a fork to see if it flakes! Serve and enjoy!


Pre-oven mixture
Post oven

The End Result:


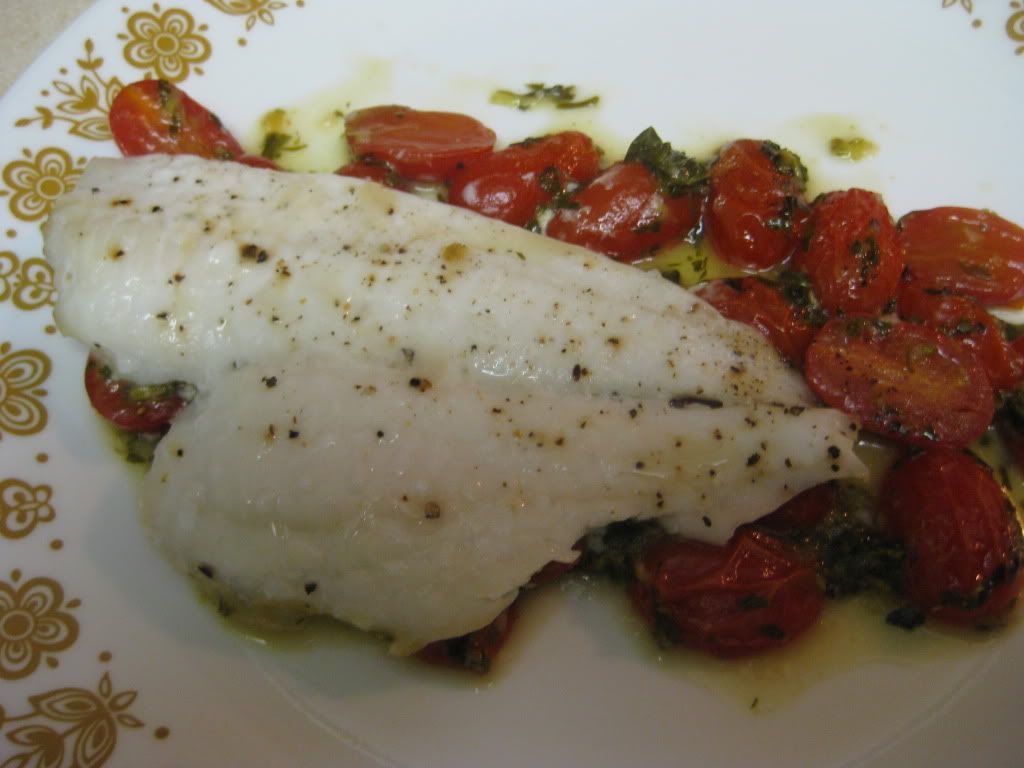
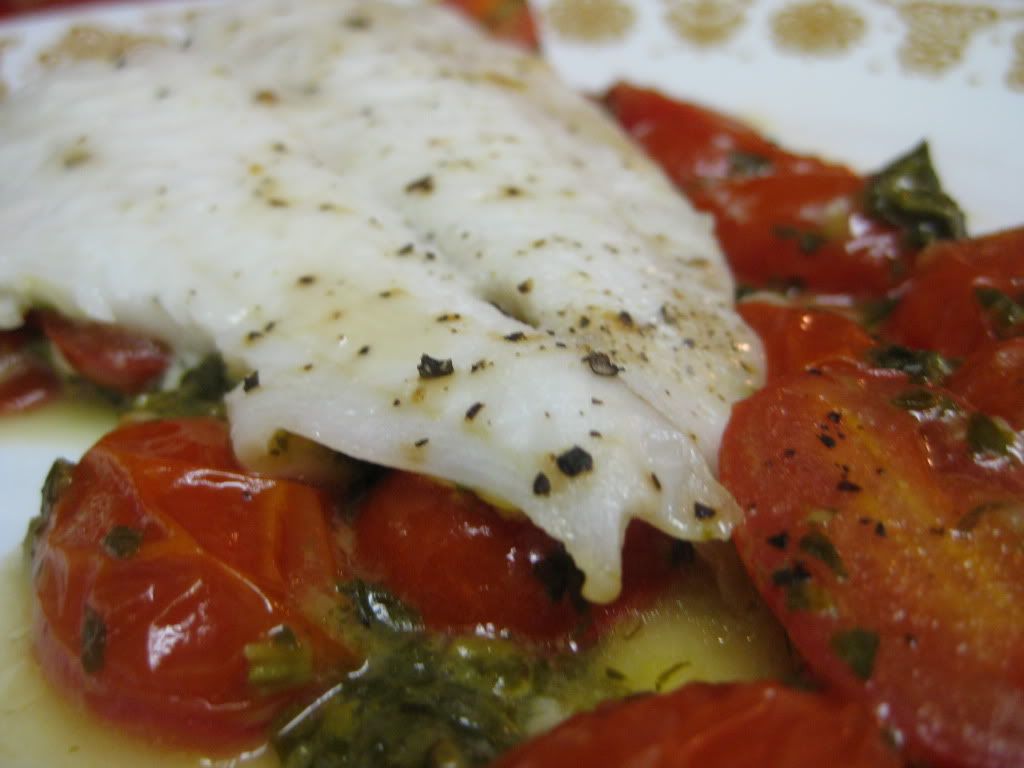
Exactly what we thought it would taste like.  The flounder was very flaky and easy to cut with a fork.  It soaked up all that tomato and basil flavor.  It almost made the recipe taste like a restaurant dish, with fish caught straight from the Mediterranean Sea only minutes prior to cooking and tomatoes picked off the vine that morning...sorry, caught in my own Mediterranean daydream.  But if you dream of fish and a taste that classic, yet fresh and new, this recipe is right up your alley!

Join us tomorrow as Tyler debuts a unique dish.  Until then,

~Cheers!

Monday, September 19, 2011

Around The Culinary World

Good evening everyone! After jumping back into blogging form our long vacation last week, we’re ready to make a full return to a ‘regular schedule’ this week. That means a return to Around the Culinary World. The cooking world was busy while we were away, leaving us with a lot of stories to cover for this week. Warning, the term pickle chemist will be used below. Yeah – it’s that kind of week for stories. Let’s dive in!


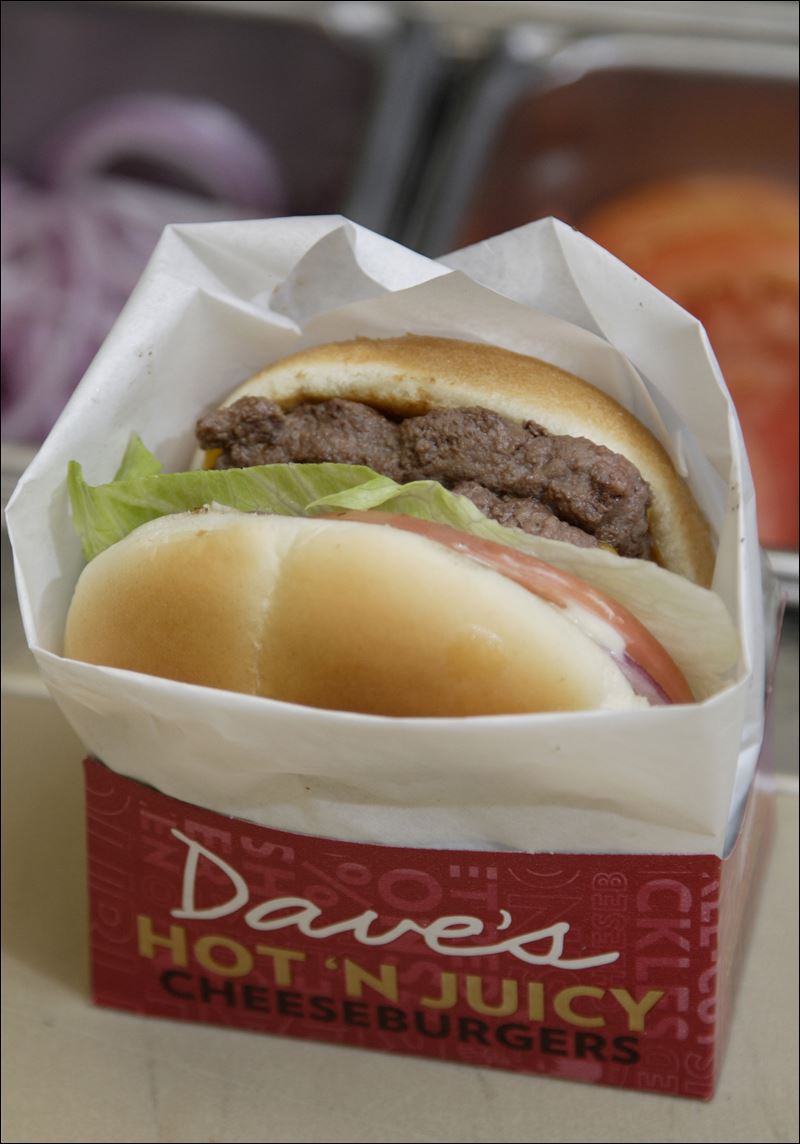
A two year secret project was recently completed by a major fast food chain. This project was titled ‘Project Gold Hamburger’ and focused on redesigning their staple burger offering. The company went as far as to consult a pickle chemist (which apparently is a real job…) to guarantee a perfect flavor. Who is the company behind this massive burger overhaul? Learn more about the secret project and its grand reveal HERE.

Google the term "pickle chemist" in image search - this is the only thing that shows up in the top 5. Made up job? I think so...

Even if you enjoy cooking, there are simply some things you don’t enjoy doing. For me, it’s making guacamole and mirepoix. I don’t enjoy slicing onions (which you really need to do when making mirepoix) nor do I enjoy peeling and slicing avocados. Luckily, there are products out there to help every chef. The biggest one has to be marinara sauce. Sure, you can make your own sauce by crushing and stewing tomatoes, basil, garlic and whatever else you want – will it taste great? You bet. Will it also be a pain in your rear end? You bet. That’s why most people simply buy their marinara sauce pre-made. But, which sauce tops the rest? KitchenDaily conducted a test of some of the major sauces on the market. Who topped the charts? The results may surprise you! Check it out HERE.


One of my favorite treats is a good bourbon or whiskey. I enjoy savoring a deep, rich, well aged flavor on a cool fall night. Now that the cool crisp falls winds have begun crawling across our lawns, the bourbon and whiskey producers have begun to roll out their new lines. Which ones are shaping up as must tries during the fall and winter months? The Huffington Post has a handy little list of rums, bourbons and other liquors to keep your eye on this fall. Check it out HERE.


Iowa's own is not on the list...probably because it's been in short supply since last fall. C'mon guys, I want to try this stuff!


Every health market, diet consultant and morning news program has rolled out their own list of ‘foods to avoid’ and most of them consist of the same products all the time. Refined sugar, fast food, processed foods, buttery foods. Essentially, they’re not telling you anything new or groundbreaking. Processed food is bad for you – sugar too. But I don’t think people who engorge themselves on Pepsi and McDonald’s are expecting to look like a super model. Organic Authority has composed their own list of ‘don’t eat’ foods, and, for the most part, it’s the same list. What I like about their list, however, is the explanations they provide along with the foods to avoid. It’s worth a read we think – check it out HERE.

Wait...this is bad for me? WHAT??


Chances are, you have a few pieces of glass bake ware in your kitchen. Be it Pyrex or another brand, every at home cook has some piece of ‘sturdy, durable SHATTER RESITANT’ bake ware. It’s a right of passage it seems, you know you’re all grown up when you get your first Pyrex dish. Consumer Reports has just completed an investigation on these common kitchen items and found something shocking – the sturdy, durable product may actually be the most dangerous and breakable thing in your kitchen. Their study finds that the product is prone to explosive cracking when put through common activities in the kitchen (you know, things it was designed for!) Check out the story HERE.

Maggie and I have experience with Pyrex and its dangerous properties. During a Christmas gathering at our apartment, Maggie was washing a Pyrex storage dish and dropped it when she was not paying attention to what she was doing (accidents happen, glass breaks, everyone has a brain dead – “oops” moment with glass. I’ve had them, Maggie’s had them, it’s a right of passage). You expect the dish to break, to crack – to be ruined in some way. What you don’t expect is an explosive destruction of the dish. This bowl shattered into thousands of tiny (less than ¼ or 1/8 of an inch) pieces. Some flew up to Maggie’s face; some flew a solid 6 feet into the dining room where I was standing. This ‘durable’ glass acted like it was primed with TNT. A short, 4 foot drop ended in an absolute explosion of sharp glass shards. That’s when we realized that this glass bake ware is really an injury waiting to happen. If you treat it very carefully, it’s a useful item – but if you run into any issues, it’s a dangerous force in the kitchen.


Finally this week, we’ll cover a few ‘unique stories’ First we have a list of the most unique and bizarre pizza toppings. Check out his unique collection HERE.


Did you know it’s possible to ruin grilled cheese? Apparently so. Did you also know that it’s possible to ‘fancify’ grilled cheese? Yup, there’s a world out there of fancy (costly) grilled cheese sandwiches. This results in a ruined grilled cheese when done incorrectly. Is any of this blowing your mind like it blew mine? Fancy grilled cheese? REALLY? Well, here’s how to ruin it – so…don’t do this to grilled cheese.


That’s all we have for you this evening. We’ve got a front loaded week of cooking lined up. Maggie is taking to the kitchen on Tuesday night and I’m following immediately on Wednesday. Be sure to stop back tomorrow night to see what Maggie has cooking. Until then,  (Oh and yes, we did do a little blog redesign to give it more of a fall feel!)

~Cheers

Thursday, September 15, 2011

Flavor So Good, It Can't Be Legal

Good evening everyone! I'd be lying if I said it was nice to be back from vacation. The last week was some well earned time off for both Maggie and I to recover and regroup. The one thing we did miss a little bit was cooking (and, thereby blogging) however. Maggie got us back into the cooking mood with a delicious and simple dish on Tuesday and I look to continue the trend tonight. We've been featuring quick, tasty time saving dishes lately, but look for that to change as the weather gets colder. When the nights are not as nice to sit out and enjoy, spending a little more time in the kitchen is easier to do. That's for the coming blogs, however. Tonight, we've got a quick and easy dish that's sure to impress the whole family.

The Recipe: Beer Battered Fish Tacos
Original Recipe From: Eatingwell.com

What You'll Need:
Serves 2

Tomato & Avocado Salsa (Or store bought fresh salsa)*
3 Tablespoons All-Purpose Flour
1/8 Teaspoon Ground Cumin
1/8 Teaspoon Cayenne Pepper
1/8 Teaspoon Salt
1/3 Cup Beer
8 Ounces Tilapia Fillet (Cut crosswise into 1-inch wide strips)
4 Corn Tortillas (Warmed)

* You are open to any form of light, fresh salsa for this recipe. We would recommend avoiding the thick tomato based salsas and instead look for fresh, whole chunk tomato salsa. Since Maggie still had leftover salsa from her recipe on Tuesday, we opted to use that for this recipe.

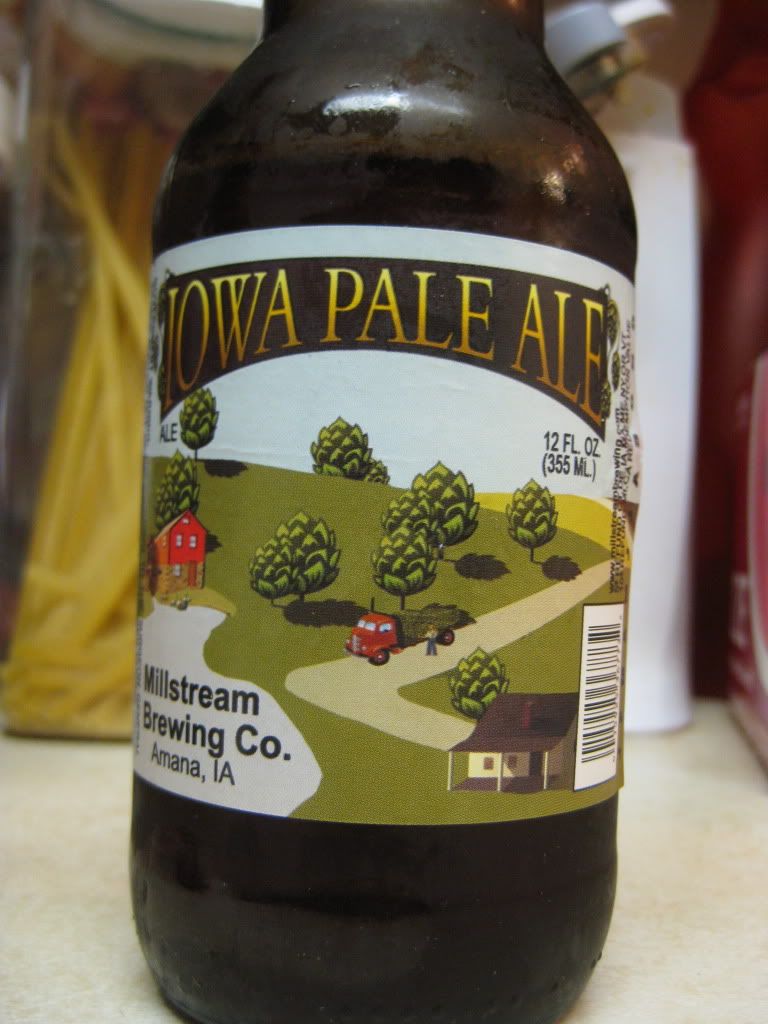
In a medium bowl, combine the flour, salt, cumin and cayenne pepper. Whisk in the beer and stir until the mixture thickens and turns into a nice batter. It doesn't matter what type of beer you use, but it's worth investing the little extra cash into a higher quality beer. You'll taste it in the finished product. We went with a  high quality local beer - an ale - pictured below.


Next, carefully cover the tilapia pieces in the batter. I found the easiest way to cover the pieces was to drop the pieces into the mixture and flip with a fork or small spatula. The original directions call for you to drag the pieces through the batter, but the thin tilapia fillets don't stand up too well to the thick batter when you drag them through the batter. You end up with tilapia...flakes.  It's best to 'bread with caution'.


In a medium non-stick skillet, add the 2 teaspoons of canola oil. One thing to watch here is how much oil you'll truly need. This will be based on the quality of your skillet. If you have a great non-stick skillet 2 teaspoons will be enough. Older skillets and lower quality skillets may need about 3 teaspoons of oil. This is a thicker batter that tends to grab on to the pan. Adequate oil is a necessity.

Heat the oil over medium high heat until it begins shimmering lightly. Add the battered fish to the skillet and cook until crispy and golden, roughly 2 to 4 minutes per side. Remove the fish from the skillet and place onto a paper towel covered plate to absorb any excess oil.

Serve the fish with your tomato / avocado salsa on warmed corn tortillas. Enjoy!

The Results:


If you're a regular reader of the blog - you know how we love to utilize the great diversity of fish (example 1, 2, 3, 4) We've used this battering process before on cod with amazing results - so it was no surprise when it translated so well to tilapia. When blended with the fresh salsa, we achieved a great, fresh, full of flavor taco that was quick to fix and easy on the waistline. At a little under 200 calories per taco, you simply cannot go wrong with this dish.

That's all we have for you this week. We're back to full blown blogging next with two new recipes and a trip around the culinary world. Until Monday,

~Cheers

Tuesday, September 13, 2011

Giving Dinner a Spicy Kick

Good evening and salutations from the recently vacationed couple!  It was really great to have some time off from reality (aka work) and have some 'us' time.  In the time we spent far, far (four hours) away, we packed a lot into three days.  But everything was executed successfully and we are now rested up from another stretch of work until Thanksgiving or so.


With that being said, we are kicking it back into high gear...literally.  Tonight, I'm preparing a dish that might send your taste buds into a whole 'nother level.  Granted, I tend to shy aware from recipes that have a whole lot of spice and pizzazz.  But I'm taking a risk here with something that will be flavorful, and hopefully won't burn off our tongues.

The Recipe:  Chili-Rubbed Pan-Roasted Chicken with Pico de Gallo
Original Recipe Found In:  Food Network Kitchen Favorite Recipes

What You'll Need:

2 Tablespoons Peanut or Corn Oil
4 Bone-in, Skin-on Chicken Breast Halves (we are substituting chicken thighs for our version)
2 Teaspoons Chili Powder

For the Pico de Gallo:
2 Cups Cherry or Grape Tomatoes, halved
1/2 to 1 Jalapeño, stemmed and minced with seeds
1/4 medium Red Onion, grated
1/2 Teaspoon Salt
1 Clove Garlic, peeled
2 Tablespoons Extra Virgin Olive Oil
1/2 Cup chopped fresh Cilantro
Warm Corn Tortillas (optional)

To begin, preheat the oven to 400 degrees.  Heat a large ovensafe skillet  over medium-high heat, add the oil and cook until shimmering.  A Dutch oven comes in real handy if you don't have an ovenproof skillet - I'm sure the deep sides aren't as useful as the shallow sided skillet, but you essentially get the same results. We've yet to find a good (affordable) non-stick, ovensafe skillet. Most of the good non-stick skillets come with rubberized handles. So, while we search, our favorite cooking dish - the dutch oven, makes a great substitue.

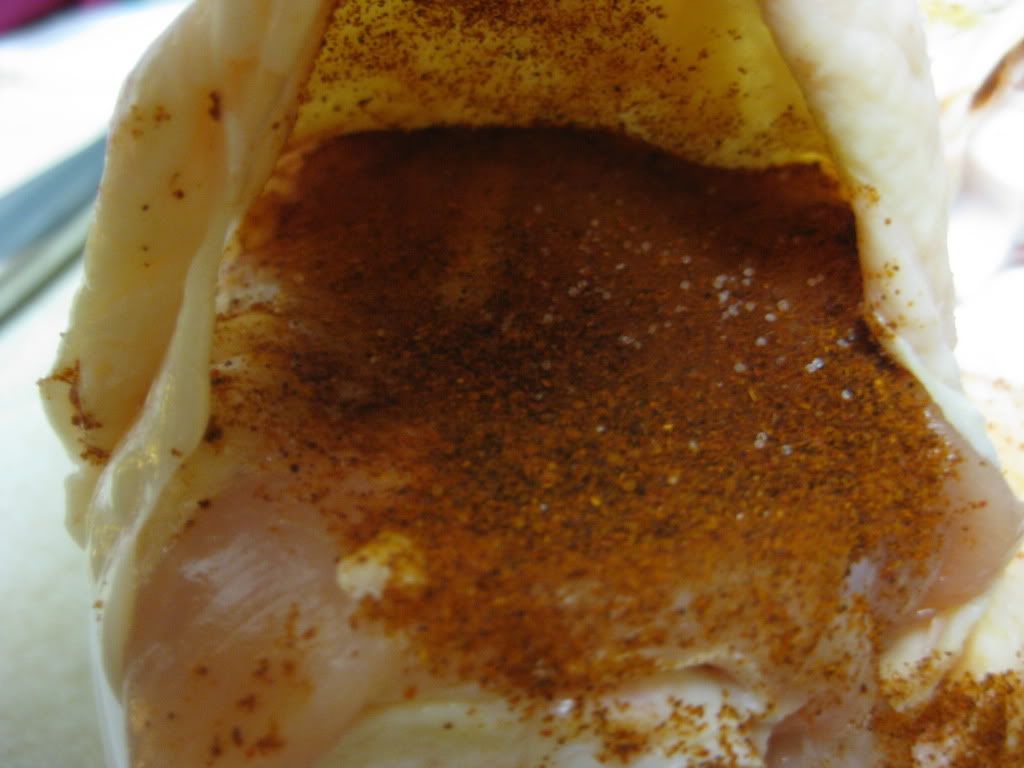
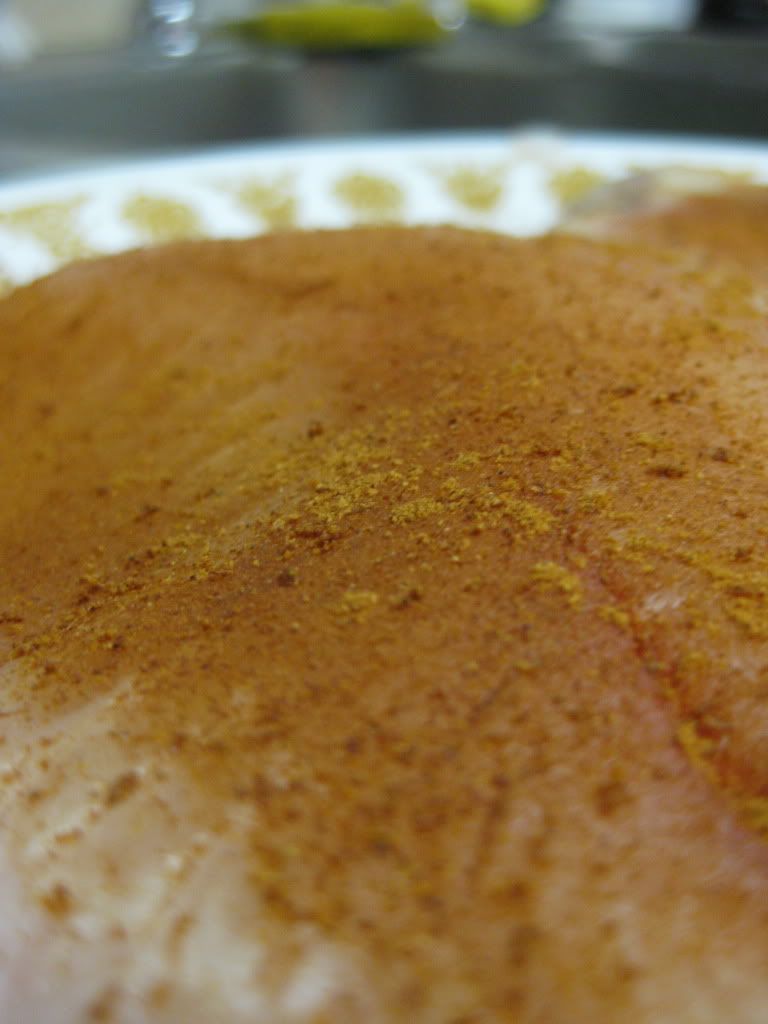
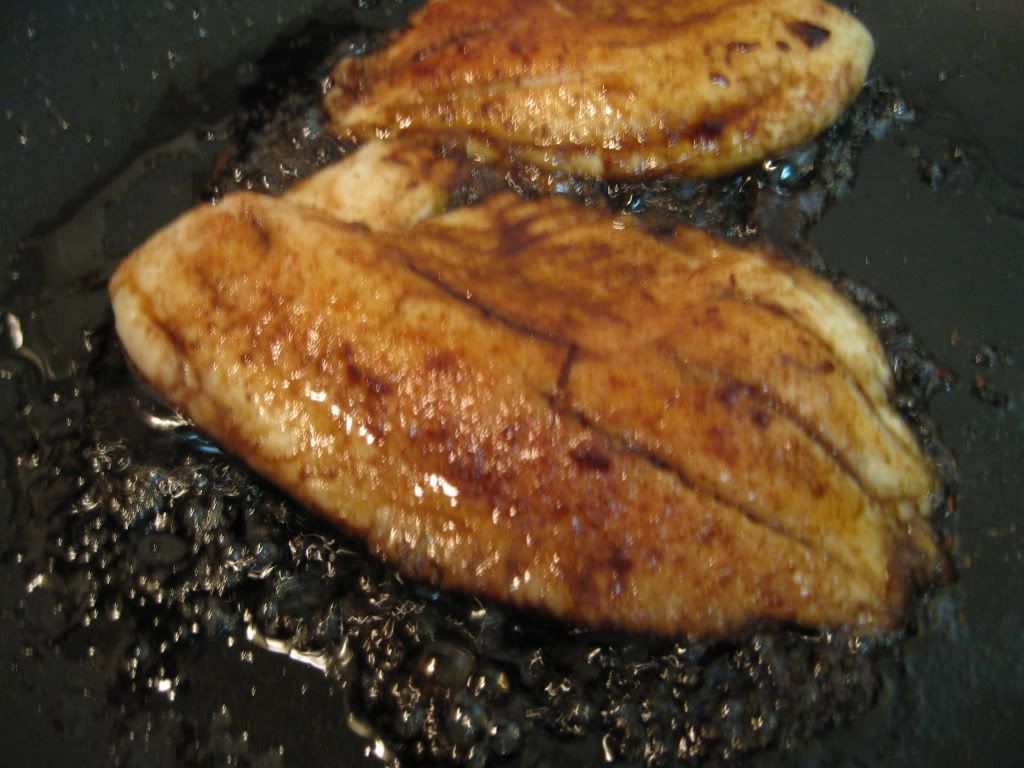
 Next, season the chicken with the chili powder and salt. If you want to eat the skin, season the skin with the chili powder. If you're opting for a healthier version, spread the chili powder on the underside of the skin (AKA between the skin and meat) this will allow the juices to stay in the chicken but will put the chili powder flavor right into the meat. Lay the chicken in the skillet, skin side down, and cook until brown, about four minutes.  Turn the chicken (and try not to get splattered with hot oil,) transfer the pan to the oven.  Baste occasionally with the pan drippings (if able), and cook until firm, about 15-20 minutes (or until the chicken reaches 170-175 degrees.)


Hence the name 'chili-rubbed'


Now, I'm all about convenience in the kitchen.  When I saw that this recipe wanted you to make your own pico de gallo, I was reminded that most grocery stores sell pre made pico de gallo.  Talk about super convenient!  But for those of you who want to make their own, fresh pico de gallo, here's step-by-step instructions:


Toss the tomatoes with the jalepano, onion, and 1/2 teaspoon of salt.  Smash the garlic clove, sprinkle with a pinch of salt, and, with the flat side of a knife, meh and smear the mixture to a coarse paste.  Stir the paste into the salsa with the olive oil and cilantro.


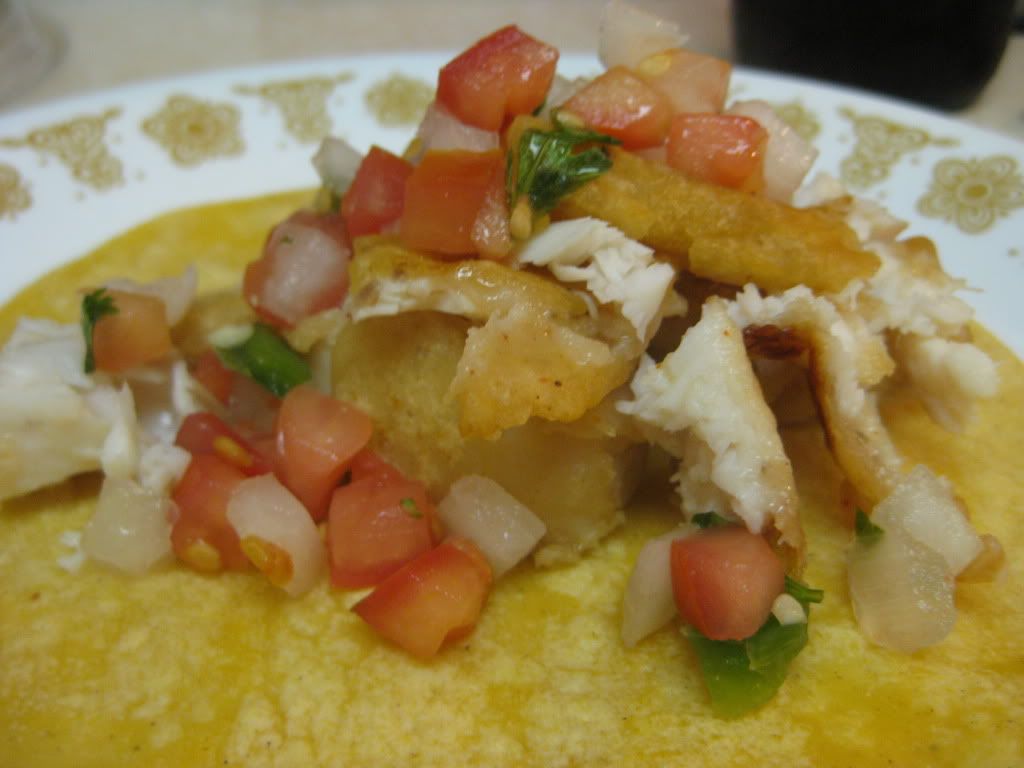
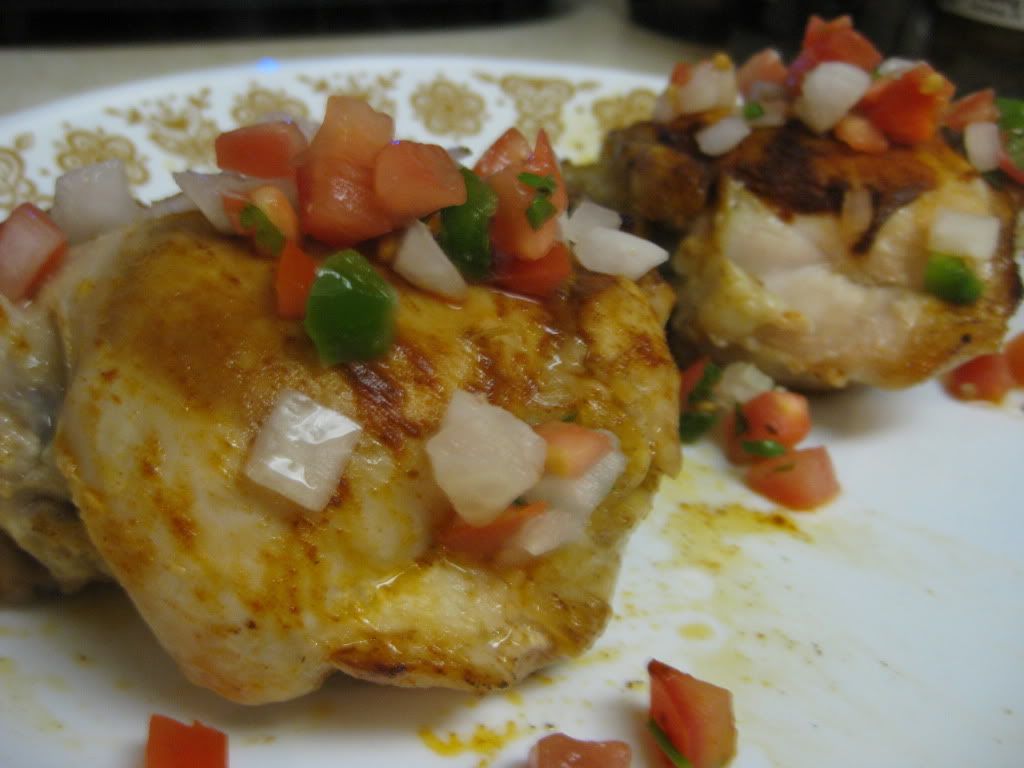
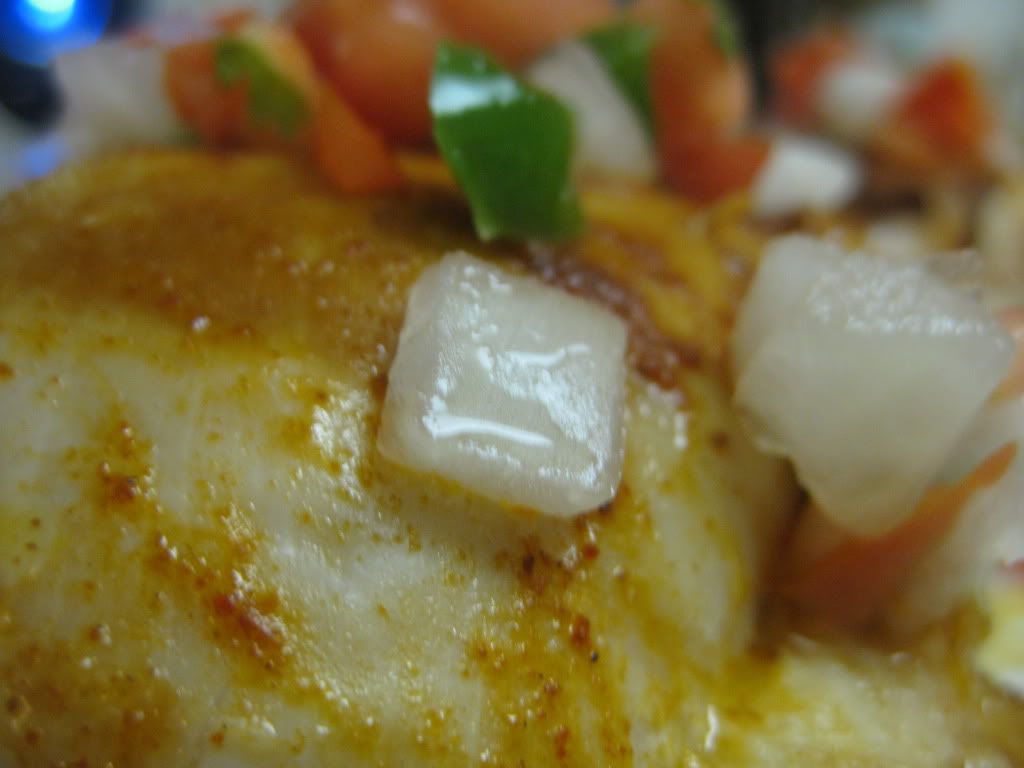
After the chicken is done cooking, serve with chicken with the pan drippings and spoon some salsa over.  If you prefer an easier way to serve this, shred the chicken from the bones, and prepare in corn tortillas with the pico de gallo.  Serve and enjoy!


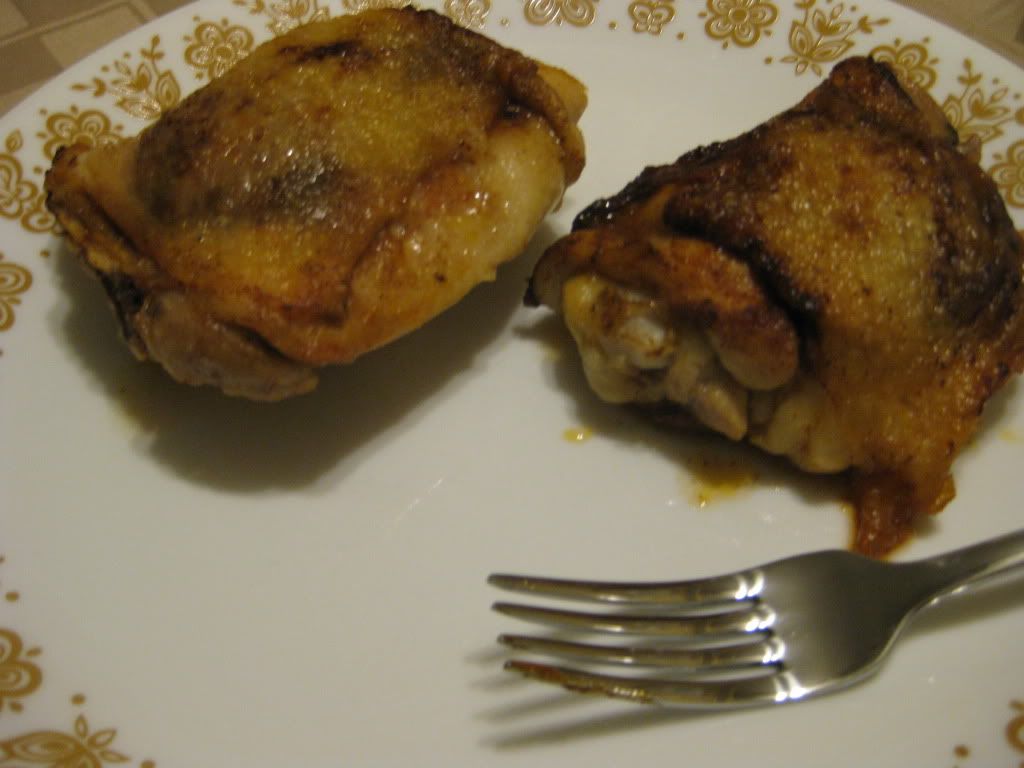
Cooked results with skin left on


The End Result:


The chicken had real smoky flavor and it wasn't that spicy at all.  The key difference between selecting a chili powder to use in a dish, whether you like it amped up a notch or a very subtle notch, make sure to pay attention to labeling.  I chose a mild chili powder, because neither one of us likes very spicy things.  If you like your food blazing hot, then choose a hot chili powder for that extra kick (or two or three.)  The pico de gallo, I think, really gave the dish a well roundedness.  It's not really spicy, just three or four ingredients that really added more flavor to the dish.  Overall, a great dish, and worth a shot for those following along at home. 


Join us on Thursday for a tasty new take on a Mexican dish.  Until then,

~Cheers!

Thursday, September 1, 2011

Redefining Simple

Good evening everyone! We're sweating it out, once again in 98 degree heat and 90% humidity, hopefully for the last time for this summer. Tonight, we're rounding out the summer with a fiesta for your mouth - a sort of 'end of summer party'. Not only is it a great Mexican dish, but it's so easy, it's would take something going terribly wrong to mess the recipe up. Since I have a tendency to do so, I hope that this evening that prophecy won't come true...again.


The Recipe: Easy Skillet Chicken
Original Recipe Found In: www.princesshouse.com


What You'll Need:
4 Boneless, Skinless Chicken Breasts
1 Tablespoon Canola Oil
1X 16 Ounce Jar of Salsa
1X 15 Ounce Can of Black Beans, rinsed
1X 11 Ounce Can of Mexican Corn*
1 Cup Shredded Cheddar Cheese


Tyler's Note: *Mexican corn is usually found in the 'hispanic' section of your grocery store. It's actually a mixture of corn, red peppers and some variations include coconut oil, jalapenos or other spicy additions. For this recipe, we found a brand of salsa that included black beans, Mexican corn and of course - the salsa. If you can track down a salsa with all of the above ingredients, we'd recommend substituting that in place of each individual ingredient. 


What we're creating here is actually the 'mirepoix' of the Mexican culinary world. Like carrots, celery and onion make up the base of 90% of French dishes, black beans, corn and salsa make up the frame work of many Mexican dishes. From salsa to seasonings, you're likely to find this trio as the base in a majority of what you're cooking.

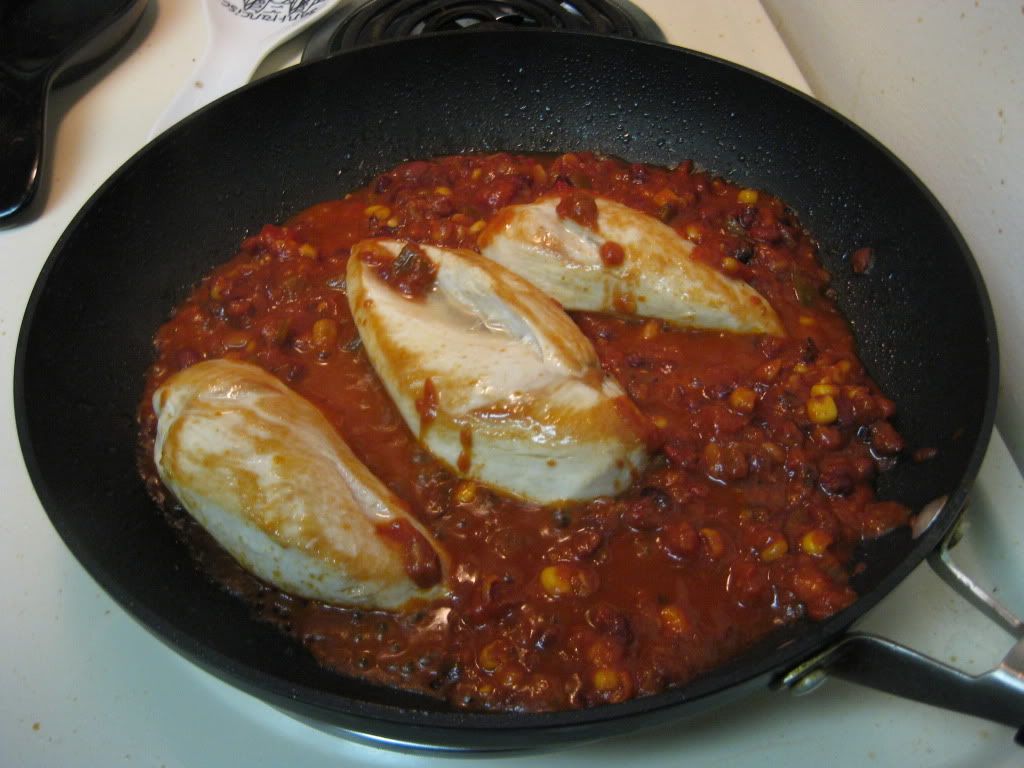
Begin by heating the canola oil in a medium skillet over medium heat until shimmering. Add the chicken and cook until lightly browned on both sides, about 4-5 minutes on each side. Add the salsa, corn, and beans and stir until they are all equally incorporated. (Here's where using the pre-mixed salsa is a nice bonus!)


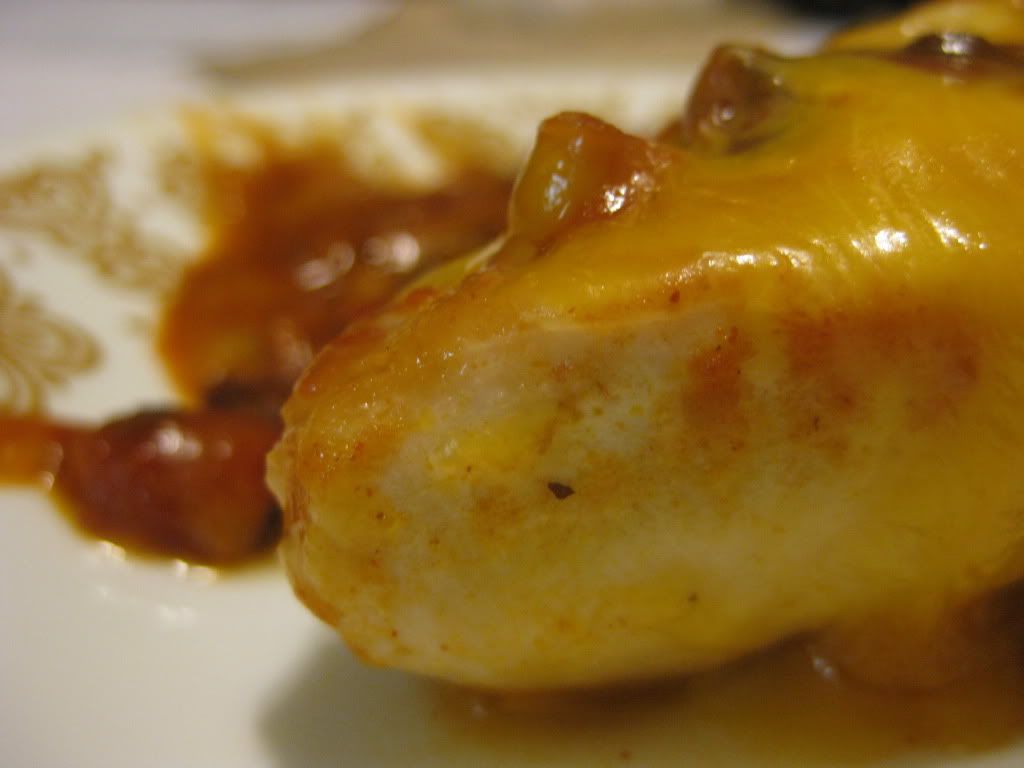
Bring the salsa mixture to a simmer and cover. Simmer over medium high heat for five minutes until the chicken is cooked throughout. You may want to stir every few minutes to make sure the salsa doesn't overly brown or stick to the skillet. Use an instant read thermometer to verify that the chicken has reached a perfect 165 degrees. Top with cheese and remove from heat. Cover and let it stand for five minutes until cheese is completely melted. Serve and enjoy!!


The Results:


This turned out to be a really tasty dish. The cooking time that the recipe gave for the chicken turned out to be perfect.  I'll admit, I was kind of surprised because chicken takes a little longer to cook.  But, cooking it by itself first, then adding the salsa and cooking it a little longer, not only infused the flavor of the salsa but made it more savory.  The salsa was actually quite spicy for both of our likings - if we were to do it again, a MILD version of the salsa would be needed.  But the flavors from the salsa were over the top and made it a delight to eat.  Overall, the chicken was cooked perfectly, the flavors melded together wonderfully, and the cheese was a nice touch at the end.


That's all we have for you this week - and for the next week as well. Maggie and are heading out for a little vacation. It's been 1 year since we became husband and wife (well, it will be one year on 9/4) and we're taking a week off from work to celebrate (and for our own sanity). We plan on returning to blogging the week of September 12th - we likely will start off with a recipe rather than a trip around the culinary world - but plans can change. Follow us on Twitter or 'Like' our Facebook page to stay up to date on our return to blogging. Or - you know - stop by the site everyday - that's okay too! See you all in a week!

~Cheers

Wednesday, August 31, 2011

Diversifying the cooking portfolio

Good evening everyone! We're no strangers to tilapia on the blog. The diverse little fish has been dressed up multiple ways and cooked in multiple formats over the past year and a half. In fact, we could do a spin off blog called 'Cooking With Tilapia' and have enough material to easily cover a year. With a neutral flavor, a lost cost of entry and a fairly durable construction (can take multiple forms of cooking well) tilapia is the at home chef's best friend when it comes to fish. Forget tuna, tilapia is the real chicken of the sea! Tonight, we're blending tilapia with a new spice and creating a simply 3 part pan glaze. Does simple translate to delicious? Let's find out.


The Recipe: Five-Spice Tilapia For Two
Original Recipe Found On: Eatingwell.com

What You'll Need

2 X 8 Ounce Tilapia Fillets
1/2 Teaspoon Chinese Five Spice Powder*
2 Tablespoons Reduced Sodium Soy Sauce
1 Tablespoon Plus 1 1/2 Teaspoons Light Brown Sugar
1 1/2 Teaspoons Canola Oil
2 Scallions (Thinly sliced)

* We touched on five spice powder in last week's blog. If you missed it, read the all about it HERE.


I've cooked multiple fish recipes the same way that we're cooking this tilapia tonight and I've learned a few critical things along the way. Surprisingly, none of these tips are mentioned in the Eatingwell variation of the recipe, so I'm going to add them in with the original recipe to help those of you following along at home.

First, dry off the tilapia fillets with a paper towel. This is the key to the entire recipe. You tilapia must be completely thawed and then thoroughly patted dry or nothing you try to do in the later stages will work. Make sure your tilapia has no excess moisture on the surface before you move on to the next steps.

Next, sprinkle both sides of the tilapia fillets with the five spice powder. I've found that lightly rubbing the spices into the fillet greatly aids in fusing the spice with the fillet. If you're not careful, a simple sprinkle could actually fall right off once the fish hits the oil.


In a small bowl, combine the soy sauce and brown sugar. Mix lightly until the sugar dissolves. Set aside.

Heat the oil in a medium non-stick skillet over medium high heat until the oil begins to shimmer slightly. Place the tilapia in the skillet and cook until the outer edges become opaque - roughly 3 minutes. Reduce the heat to medium and flip the fillets. Add the soy sauce / brown sugar mixture to the skillet and bring the mixture to a light simmer. Cook the tilapia fillets until they are cooked through (white and flaky in the center - poke them with a fork to verify) and until the sauce thickens slightly. Finally, add the scallions and along them to simmer for about 30 seconds to 1 minute. Remove from heat, serve the fish with the pan glaze and enjoy!


The Results:


You would assume that the final dish would be a little sweet. Cinnamon is one of the main ingredients of five spice powder and brown sugar is the main component in the glaze. However, what you end up with is an almost smokey flavor. It's amazing how sweet ingredients blend to make a smokey kick! When paired with the tangy kick of soy sauce and the bite of scallions - this glaze turns into a very unique flavor creation. It has hints of Asian inspiration, which lends itself well to tilapia's perfect neutral flavor.

One of my favorite pan sauce styles to make is brown sugar based pan sauce. It's a durable sugar that can take some heat and overcooking (unlike pure white sugar) and it adds a great layer of complexity to any dish you throw it in with. Anytime I can create a simple pan sauce with this much flavor, I'm happy with the outcome. Although because there is such an such a small amount of the sauce, it's more of a glaze - either way, it's tasty.

All in all, this simple dish is a solid twist on tilapia. With great flavors, low prep time and very few ingredients, this recipe should help you diversify your cooking portfolio and add a little Asian inspiration to repertoire. Give this one a try if you like Asian cuisine or are a fan of tilapia.

That's all we have for you this evening. Maggie is taking over the kitchen on Thursday night with a brand new dish. Be sure to stop in to see what she's cooking. Until then,

~Cheers

Monday, August 29, 2011

Around The Culinary World

Hello again everyone! Happy (?) Monday to you all. For last week’s Around The Culinary World, we were busting at the seams with culinary news and stories. Predictably, one week after a story boom – the culinary world has gone silent. We still have managed to pull a few interesting stories from the world of cooking, and the ones we found are fairly important points of discussion. We’ve got a lot of ‘hot button’ issues to talk about this week so let’s dive in!


Childhood obesity is rapidly becoming one of the greatest health concerns facing today’s youth. Since this epidemic rose to the levels it has today, scientists have been trying to find a correlation between the rising numbers of obese children and the environments in which they grow up. Simply put, the scientific community seems split between the causation of childhood obesity, is it nature or nurture? Is today’s world of mass produced food and additive laced everything the cause of today’s chunky tots or does parenting (or a lack thereof) and a general lack of care contribute to the expanding waist lines? Helene Pavlov, a Fellow of the American College of Radiology and the Radiologist in Chief for the Hospital of Special Surgery recently posted an editorial regarding her take on the issue. You can read her insights HERE.

Personally, I think the answer lies somewhere in the middle. Yes, today’s food – as a rule, is laced with additives, chemicals and very low quality products that are negatively impacting everyone, not just children, that consumes these products. However, no one is forcing these children to eat this way. In the end, it is up to the parents to put their children on the right path. They are the ones ultimately responsible for purchasing the food that hits the table and they are directly in control of a majority of what their kids eat. It’s been proven that if a child is raised on apples and other fruits instead of chips and soda, they will actually enjoy the natural sweetness of fruit and detest the artificial flavors in soda. Kids don’t automatically ‘like’ junk food – they are introduced to it as an easy (and low cost) means to eat.


They key to the last story was low cost – junk food as a whole is significantly cheaper than organic fruits and vegetables. Sadly, some people simply cannot afford to eat healthy. For those living on food stamps, it becomes even more problematic. Certain restrictions and guidelines exist for what can be used when purchasing with food stamps, but a majority of food stamp purchases can be used on junk – soda, chips – junk food. Then, the resulting health costs that arise from these poor eating habits eat away at the health insurance (Medicaid, Medicare etc.) provided by the tax payers. It’s a system where the poor or less fortunate are shoehorned into bad choices (more bang for their buck when buying junk food means they can get more out of their stamps) and then suffer from health issues due to those bad choices. Taxpayers end up footing the bill both ways and the less fortunate never receive a solid chance to get out of this circle.

Recently, New York City’s Mayor, Michael Bloomberg, proposed a change to the food stamp policy. Simply put, he wanted to see the ban of using food stamps to purchase soda. You can read about the ban HERE along with the reason why the USDA (sadly) rejected the proposal. In addition, you can read an interesting editorial on the debate HERE.

Obviously this thought process is a step in the right direction. Change the guidelines of what food stamps can be used for (no junk food), encourage the purchase of fresh foods (grains, vegetables, fruits) and you would be astounded of the positive turn around. The lower class would become healthier, the health care system funding could be spread more evenly and focus less on easily preventable disorders such as obesity and heart disease and a new culture of healthy eating would begin to be established for lower income children everywhere. It’s not as far fetched as one might think, and with a progressive healthy minded President leading our country; it’s a change I think we can expect to see. (Especially given the push Mrs. Obama has been making in changing children’s eating habits – this seems like a logical step).


While we’re discussing food stamps, the question should be raised; is it even possible to eat healthy when you’re living on only a food stamp budget? Karl Wilder, a professional chef from Minnesota decided to find out. He is on a two month long challenge to eat and live on only a food stamp budget. Essentially he has $4 a day to spend on feeding his family (approximately 1.33 per meal). You can follow his progress and see how tricky it can be to eat well on a food stamp budget HERE.


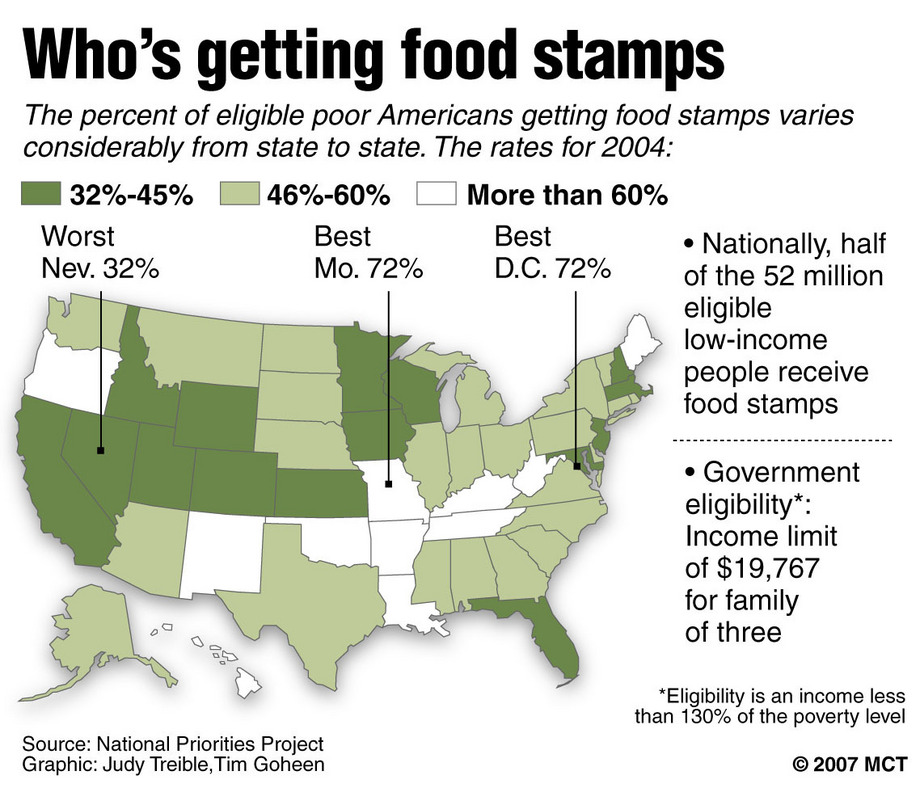
Above: not directly related to the story, but a nice image of food stamp % in the US


All too often, we seem to feature a story about a food safety recall or some form of contamination that has made half of the country sick. (Luckily this week there is no such story to share!) However, another large problem that the average home faces everyday is proper food storage and care. How can you be sure that you are storing, using and cooking food products in your home in the safest way possible? Greatist.com has compiled a handy food safety infographic that covers everything from how to spot spoiled food to how to thaw turkey in your refrigerator. Check this very cool infographic out HERE.


For most of Iowa the youth are back in school. Parents of children from other Midwestern states are gearing up to send their tots back to class as well. That means one thing – it’s time to celebrate! What better way to celebrate than with a summertime cocktail? Check out these whiskey based summertime cocktails HERE.


That’s all we have for you this week. It was light on quantity but hopefully we made up for it in quality! There were some big topics to cover this week – but we think it’s good to bring some of these topics to the forefront. Change is made possible through discussion of the issues after all! We’ve got another full week of cooking planned. I’ll be starting the cooking off this week on Wednesday and Maggie will close us out on Thursday. Be sure to stop in Wednesday night to see what I’ve got cooking. Until then,


~Cheers

Thursday, August 25, 2011

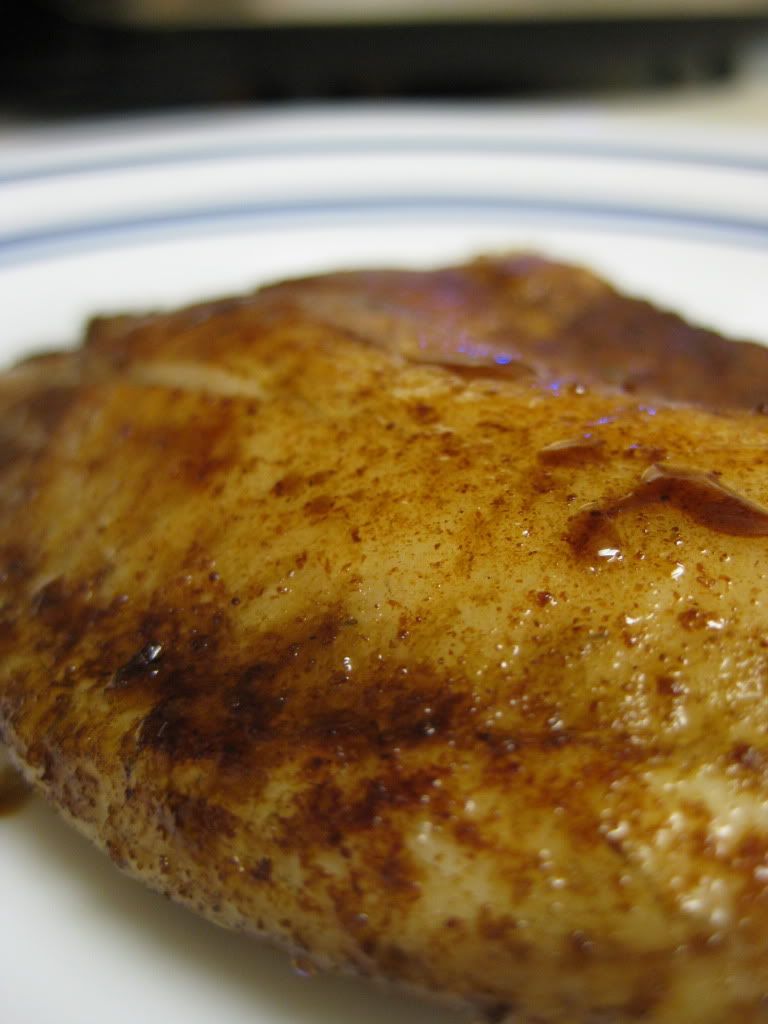
Spiced Up Chicken

Good evening everyone! One of my favorite things about cooking has to be the freedom to be creative and adapt recipes to your whim. You can easily take the foundation of a good recipe, tweak it a few times and before you know it - you've created a unique new dish. Tonight, I'm going out on a limb and tweaking a recipe to better suit Maggie & my tastes.

I recently found a recipe from America's Test Kitchen that caught my eye. The flavor combination and accompanying side dish sounded like a sure hit to me. There was, however, one small problem. The great cooks at America's Test Kitchen have a thing for chicken skin. They like to brown it up and make it nice and crunchy - and then (of course) eat it. Now, if you're splurging or a culinary puritan - there is certainly nothing wrong with eating a little chicken skin. However, if you're like us and are trying to eat healthy and take care of your arteries - the fat infused skin is not something you typically eat.

That posed a dilemma for me with this recipe as the entire point of the recipe was to produce nice crispy browned skin on top of flavorful chicken. I wanted to recreate the chicken but I didn't need to waste all the extra time and effort on creating beautiful golden brown crunchy skin. So, I started adapting the recipe to our needs. We'll get into the specific changes as we cross them, but just so you're aware, I'll be posting the original recipe instructions along with our 'healthy version' adaptations. You can follow along with either version you wish. Let's get cooking!

The Recipe: Crispy Chicken Thighs With Snap Peas
Original Recipe Found In: Cooking For Two

What You'll Need:

1 Tablespoon Unsalted Butter (Softened)
1 Small Garlic Clove (Minced)
1 Teaspoon Minced or Grated Fresh Ginger
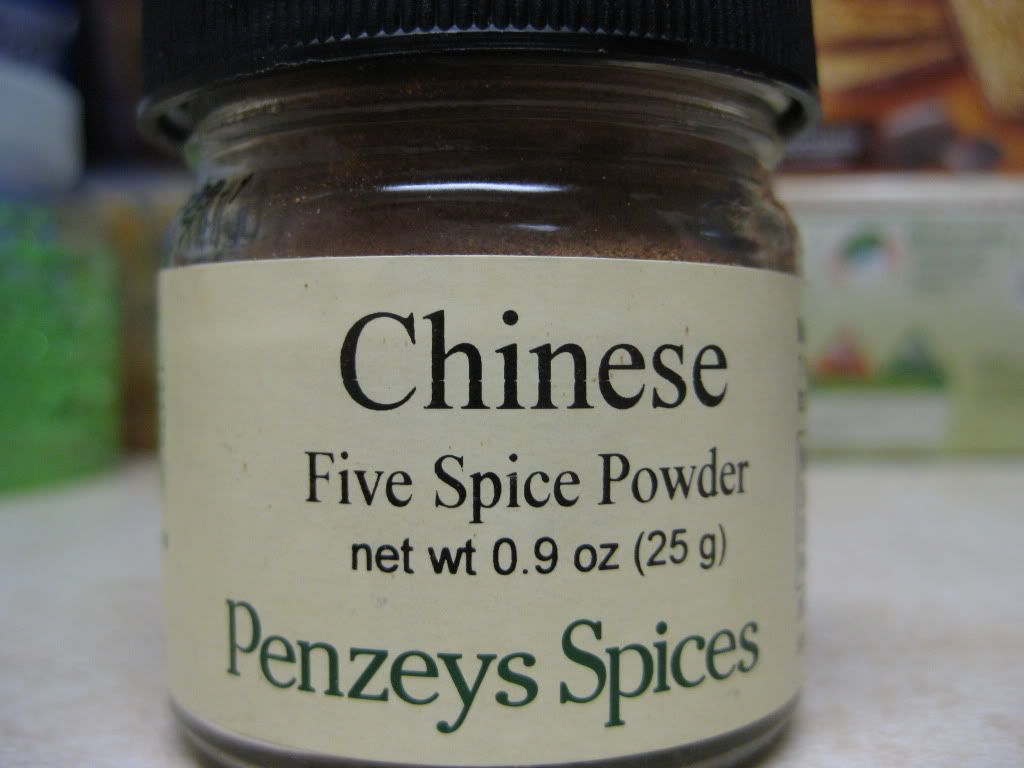
1/4 Teaspoon Five Spice Powder*
4 Bone-in, Skin On Chicken Thighs (Brined if desired)
2 Teaspoons Olive Oil
9 Ounces Snap Peas (about 4 1/2 cups)
1 Teaspoon Rice Vinegar

* Five spice powder is not as hard to track down as one might think. Swing by the Asian food section of your local grocery store or Target - I'm sure you'll find it. In fact, even Tone's makes a variant of five spice powder ($.99) so don't fret about spending big bucks or searching all over town for this ingredient.


Adjust your oven rack to the middle position and heat the oven to 450 degrees. If you're going for the crispy skin (hereby called original) recipe - line the bottom of the a broiler pan with aluminum foil and place the broiler pan top over the bottom.

If you're going to give our healthy version a try, simply add 1 tablespoon of olive oil to the bottom of a non stick (oven safe) dutch oven.

In a small bowl, combine the five spice powder, garlic, ginger and butter. Mix until combined. Now, I've found in my many cooking experiences over the past year and a half that mixing 'softened' butter with anything hardly ever works like it should. You typically end up with a clumpy mess or a runny mess. So, I adapted this step for easier use. I mixed the ginger, garlic and five spice powder separately and sectioned the butter into 4 equal pieces.

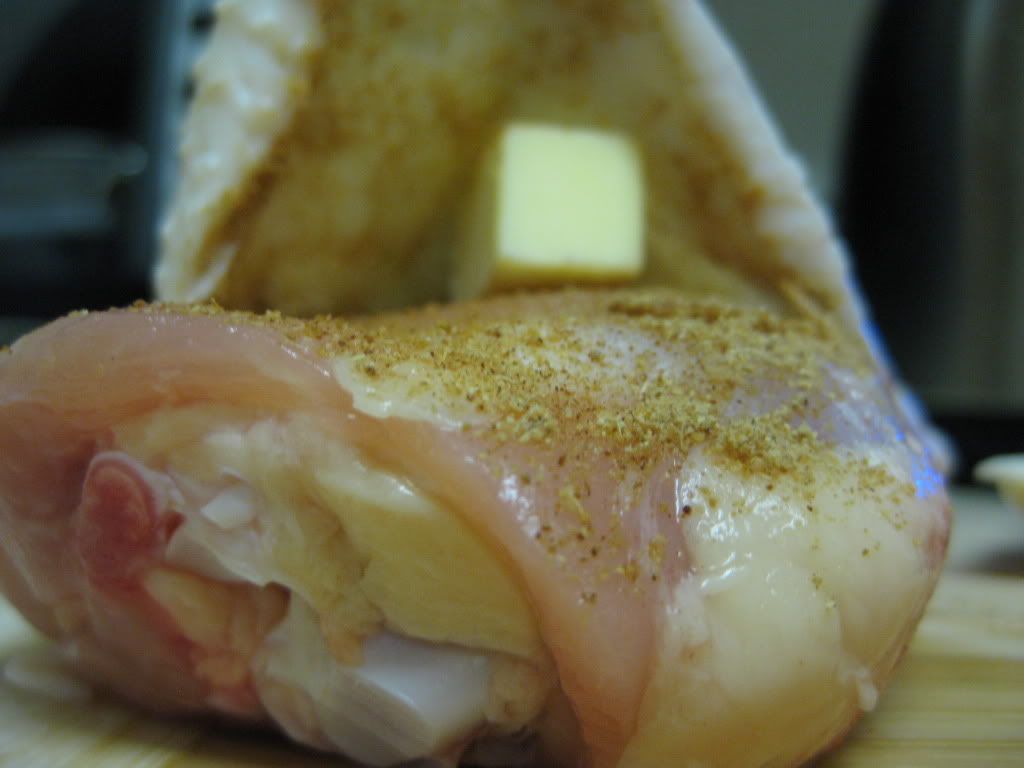
Carefully lift the skin from the thigh on the chicken and place the butter / spice mixture under the skin. If you're separating the butter and spices, rub 1/4 of the spice mixture under the skin and place the butter on top of the spices in the center of the chicken.


If you're following the original recipe, carefully take a paring knife and make three diagonal slits through the skin but do not puncture the meat underneath. This will allow the fat in the skin to render faster when the chicken is in the oven (this speeds up the cooking process for the chicken skin).

Place the chicken (skin side up) on the top of the broiler pan if you're following the original recipe or into the dutch oven if you're opting for the healthy variant. Roast the chicken in the oven for 30 to 40 minutes if you're using the broiler pan (until the chicken reaches 160 to 165 degrees).  Alternatively, if you're using the healthy variant, cover the dutch oven and roast for 20 to 30 minutes until the chicken reaches 175 degrees.

The dutch oven speeds up cooking because it keeps all of the heat contained whereas the broiler plate allows the heat to dissipate. (You're focusing the heat in a small pot vs. a large oven) The trade off is that the skin will be soft and still pretty flabby / rubbery in the dutch oven where the skin will be perfectly golden and crispy on the broiler plate. If you're not eating the skin - this won't bother you one bit!

(For the original recipe) Once the chicken reaches the perfect temperature remove it from the oven and set aside. Adjust the top rack in the oven to six inches below the heating elements. Switch the oven over to broiler and allow the elements to heat up. Carefully remove the broiler plate top and spread the snap peas on the foil covered bottom of the pan. Place the broiler plate top back on over the bottom and return the chicken to the top plate. Brush the olive oil over the chicken skin (this will greatly enhance the browning and crispiness) return the broiler tray to the oven.

Broil the chicken until the skin is nice and crispy and the thighs register at 175 degrees. This should take about 5 minutes. During this time, your peas should also cook to perfection. Transfer the chicken to a serving platter and allow the pieces to rest for about 5 minutes before serving. Immediately transfer the peas to a serving bowl and toss them with the vinegar. Serve with the chicken and enjoy.

(For the healthy variation) Now, you may be wondering how you're going to finish off this recipe if you're following the 'healthy' variation. I had the same questions when I was making adjustments. I believe I found two perfect alternatives to the original recipe.

Option 1 (riskier - but better flavor): Line an oven / broiler safe baking sheet with aluminum foil. Begin heating up the broiler element in your oven Carefully remove the chicken thighs from the dutch oven and transfer to a plate loosely tented with aluminum foil. Set aside. Next, pour the juices from the bottom of the dutch oven on to your baking sheet and evenly distribute the peas across the surface of the sheet. Make sure all of the peas are evenly covered in the juice mixture. Place the peas in the oven and cook for about 3 to 5 minutes until the peas are crisp. Be careful not to overcook the peas - they will cook very quickly under the broiler.

Option 2 (easier but with flavor trade-off): Boil the peas in lightly salted water for 5 minutes until they are crisp. Once cooked, strain the peas and toss them in the oil from the bottom of the dutch oven. While the flavor will not infuse into the vegetables as well as it would if you used the broiler, this cooking method is a lot easier and less prone to kitchen disasters. If you feel like bumping up the flavor a little, you can add a pinch of five spice powder on top of the peas after cooking. Once you've finished cooking (regardless of the option you chose), toss the peas in the rice vinegar and serve with the chicken. Enjoy!


The Results:


As I said from the outset, we were adapting this recipe to fit our healthier preferences. This is quite a risk when it comes to America's Test Kitchen recipes as they are almost always a sure hit on their own. When you start messing with the recipe, you're gambling the entire foundation of the dish on your changes. Luckily, my changes worked out nicely.

The skin was still flabby and pale, but since I peeled it right off - that didn't make a lick of difference. The chicken was packed with an amazing exotic flavor. The powder mixture infused this great, active and lively flavor into the meat. One of the main ingredients in five spice powder is cinnamon so this is the predominant flavor and scent that takes over this dish. This flavor transferred equally well to the peas - their brief bath in the juices allowed the green little veggies to soak up a flavor that I never knew was possible in peas. I ended up using option 2 for cooking the peas. While I knew I was trading off the infused flavor - I didn't want to chance cooking a sensitive vegetable at high heat with a method I had never used before. Still, simply tossing the peas in the cooking juices from the chicken provided a great side dish.

That's all we have for you this evening. We hope you enjoyed another foray into the world of cooking from your favorite amateur chefs. We'll be back next week with another installment of Around The Culinary World and two brand new recipes. Until then,

~Cheers

Tuesday, August 23, 2011

Sometimes, lemon doesn't like to share...

Good evening everyone! As we try to convey here on the blog, sometimes, the simplest ingredients produce delicious results. With little to no effort, these simple menu items can be transformed into something amazing. Tonight, is no exception: with readily available kitchen items, you can create one fantastic dish that can made for any night of the week.  Question is: can too much of a simple ingredient be a bad thing?  


The Recipe: Chicken with Lemon-Garlic Sauce
Original Recipe Found In: Williams-Sonoma Cooking at Home

What You'll Need:

2 Tablespoons All-Purpose Flour
4 Boneless, Skinless Chicken Breasts
3-5 Garlic Cloves
1/3 Cup Chopped Flat-Leaf Parsley
1 Tablespoon Lemon Zest, finely chopped
2 Tablespoons Olive Oil
3/4 Cup Chicken Broth
1/2 Cup Fresh Lemon Juice
1/2 Cup White Wine


To start, lightly coat the sides of the chicken on a plate covered with flour. Next, finely chop two or three garlic cloves and mince an additional two cloves. In a small, stir the minced garlic, parsley, and lemon zest.  Over high heat, heat the oil in a medium sized skillet. Add the chicken to the pan and cook until lightly browned, about two minutes on both sides. Transfer to a plate, season with salt and pepper, and set aside.

Chicken browning nicely


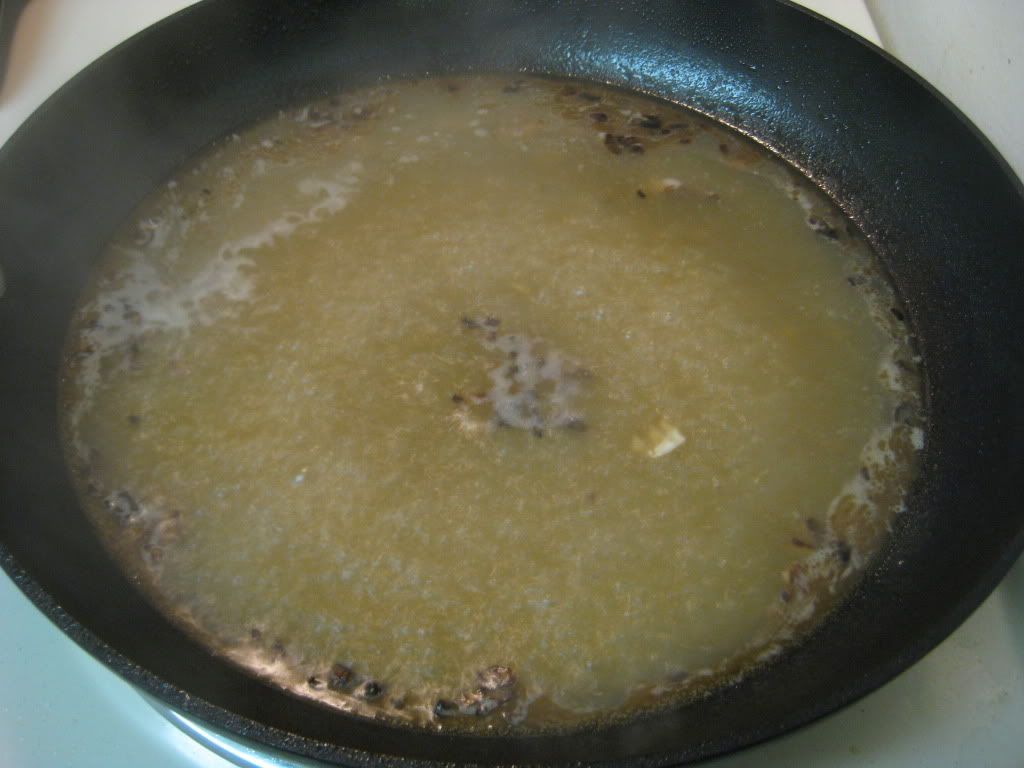
Once the chicken is done cooking, there should be enough fat to start the pan sauce.  Add the finely chopped garlic to the pan and sauté over high heat until softened, about 20 to 30 seconds.  Add the  broth, lemon juice, and white wine.  Bring to a boil and deglaze the pan, stirring to release any brown bits.  Boil until slightly reduced, about three minutes.

Mmmm...pan sauce...


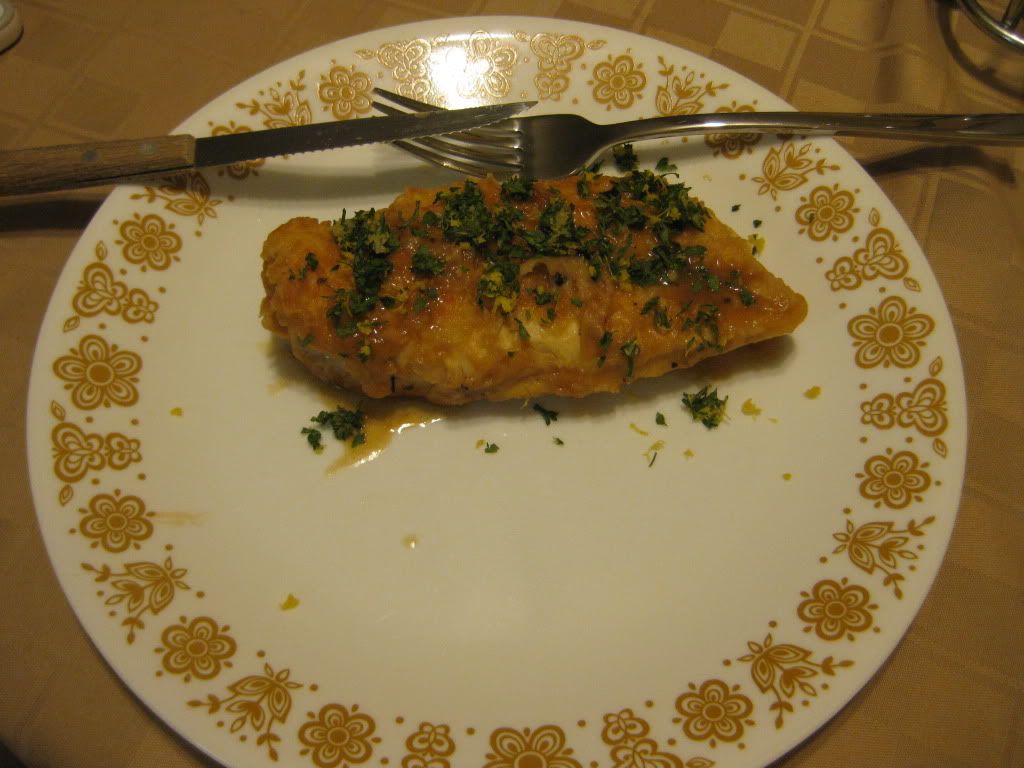
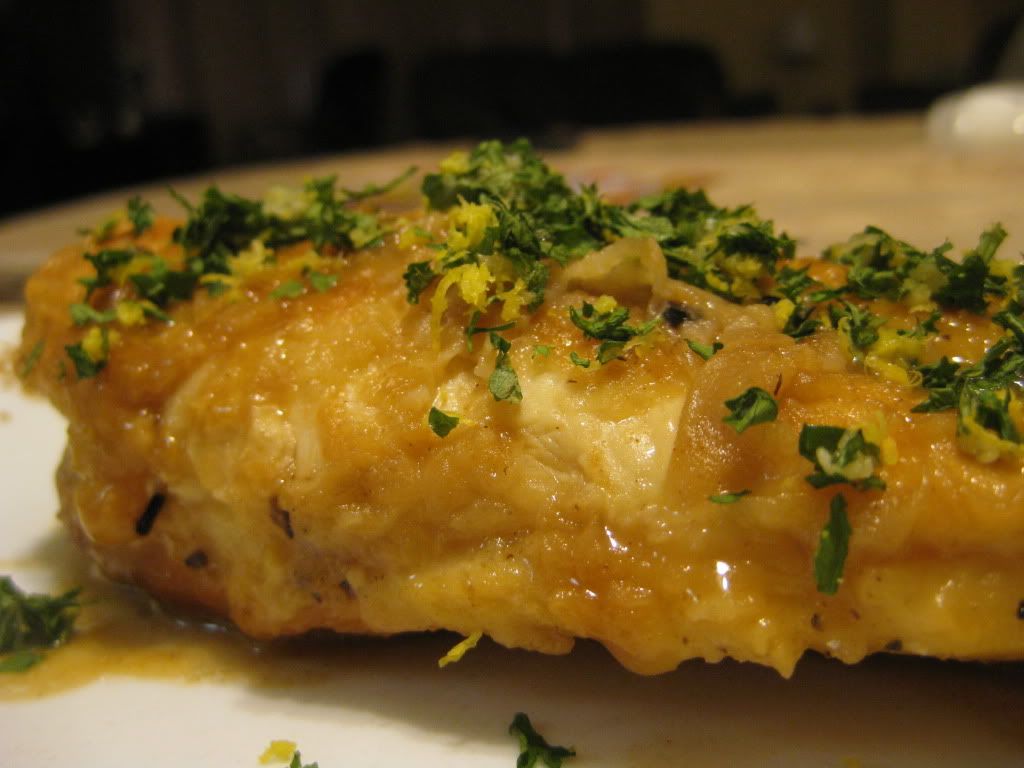
Return the chicken to the pan and reduce the heat to medium.  Cook until the chicken is opaque throughout, about ten minutes.  Raise the heat in the skillet back up to high and boil the pan sauce until reduced to about 1/4 cup, this should take about five minutes.  Pour evenly over the chicken and sprinkle and parsley garlic mixture evenly over the top.  Serve and enjoy!

The End Result:


The chicken was cooked to perfection (no smoke blanketing the apartment tonight!)  The flour coating gave it a good, solid base to soak up any flavors from the dish.  The pan sauce was, in a word, tart...very tart.  The lemon was almost too much for this dish and gave it an eye popping zing.  Even Tyler, who loves anything lemon, said it was very tart, even for his liking.  The parsley garlic topping was a wee much as well - I ended up scrapping it off because the flavors were too overpowering.  But overall, this dish had good promise and was perfectly cooked the way it was.  It was just the flavors that made it overpowering.
I'd recommend cutting the lemon juice in about half for the pan sauce and maybe even reducing the amount of zest used in the recipe. It's got great lemon flavor - just a little too much lemon flavor. It's a solid base for a recipe and with a few tweaks, you can make it into one fantastic dish! 

Check back with us on Thursday when Tyler takes to the kitchen, with another chicken recipe - but this one uses a new cooking technique and includes a very interesting way to cook a delicious side dish. Until then, 

~Cheers