
Good evening everyone! Just because we focus on healthy eating doesn’t mean we can’t have a little not-so-healthy fun every now and again. No matter your diet regimen, everyone has a soft spot for pastries. Whether they’re soft, crispy, flaky, frosted, cream filled, or just laced with sugar the humble pastry is a classic guilty pleasure dish. When you can make this dish yourself (and avoid all the ‘extras’ that mass produced pastries have in them) you’re better off. Today we have a delectable morning bun recipe that will satisfy your sweet tooth. It isn’t health food, but if you’re going to deviate from healthy eating once in awhile, you might as well enjoy it!
The Recipe: Morning Buns
Original Recipe Found On: Cooks Country Online
What You’ll Need:
(Makes 12 rolls)
For the Dough:
3 Cups All Purpose Flour
1 Tablespoon Sugar
1 Envelope Instant or Active Rise Yeast
¾ Teaspoon Salt
24 Tablespoons Unsalted Butter (Cut into ¼ inch pieces – chilled)
1 Cup Sour Cream (Chilled)
¼ Cup Orange Juice (Typically this is the amount of juice you can get from one orange)
3 Tablespoons Ice Water
1 Large Egg Yolk
For the Filling:
½ Cup Granulated Sugar
½ Cup Packed Light Brown Sugar
1 Tablespoon Grated Orange Zest
2 Teaspoons Ground Cinnamon
1 Teaspoon Vanilla Extract
Begin by combining the flour, yeast, sugar and salt in a large (1 gallon) zipper baggy and tousle the bag to evenly distribute the ingredients. Next, add the butter slices into the bag, shaking the bag occasionally to work the butter into the flour. Once you have all the slices into the bag, give it a good toss to cover all the butter slices in flour.
Next, lay the bag on the counter and use a rolling pin to work the butter slices flat and flaky. I found that simply starting the pin in the center of the bag and rolling it towards the front, then the back and repeating 3-4 times worked well. Flip the bag and repeat the above process. Toss the bag a few times, repeat the rolling process again. Once your butter is thin and flaky (you should be able to feel it through the bag) transfer the dough to a large bowl.
Work in the wet ingredients (orange juice, egg yolk, sour cream and water) with a large spoon or your hands (I found using my hands was easiest – albeit a bit messy). Once the ingredients are worked in, turn the dough onto a floured surface and knead the dough with your hands until the dough becomes one smooth, cohesive ball.
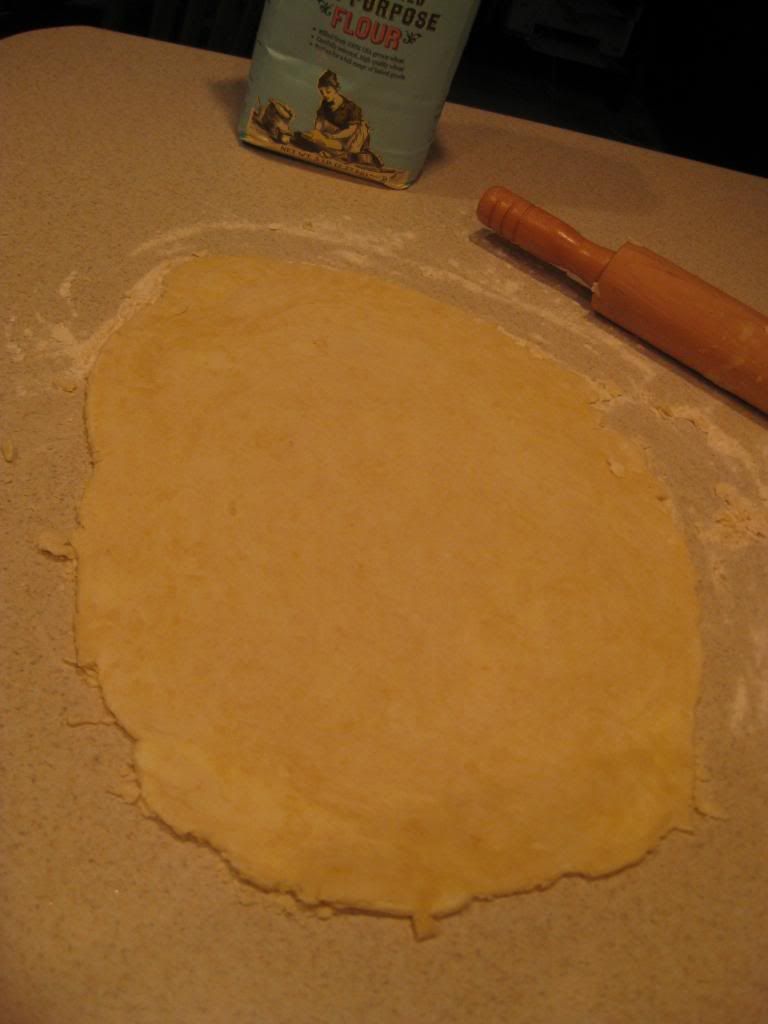
Next, take a lightly floured rolling pin and work the dough into a rough 12 X 20 rectangle. Once flatted, prep a baking sheet with a piece of parchment paper and clear space in your freezer for the baking sheet. Beginning on the edge closest to you, roll the dough into a tight cylinder (use flour to clean up any sticky or soft spots in the dough). Pat the cylinder into a rectangular shape (essentially flattening the sides and top) then transfer it to the baking sheet and place it in the freezer for 15 minutes.
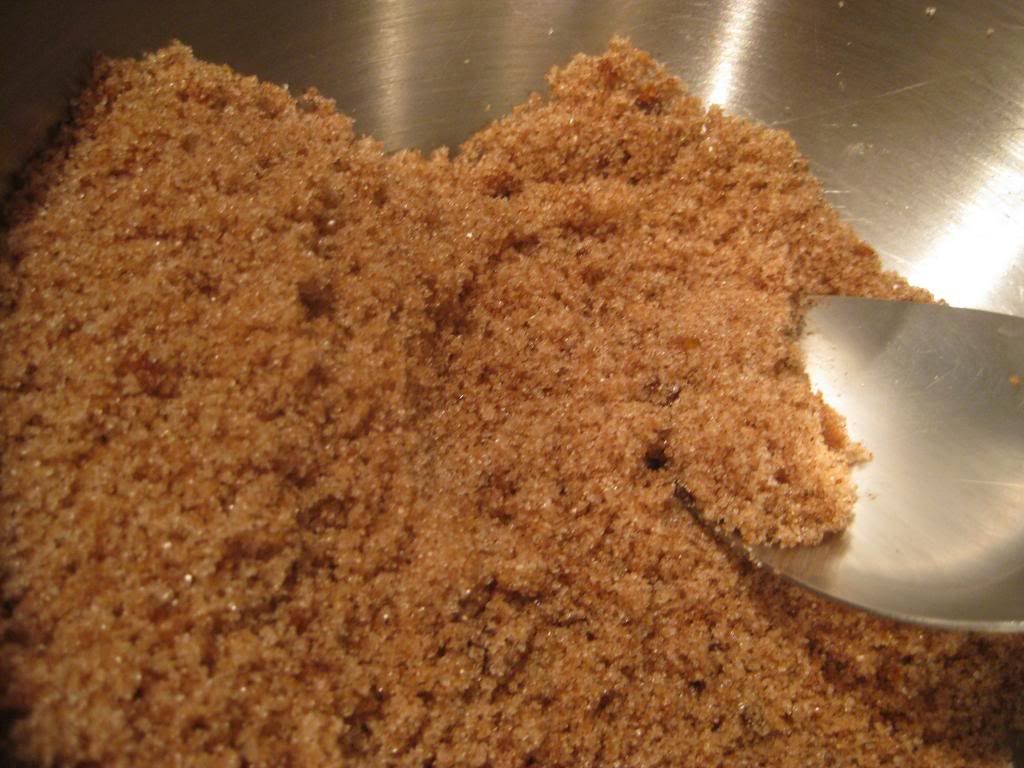
While the dough is “chilling out” (pastry humor!) you can begin working on your filling. In a medium bowl, combine the sugar and brown sugar and toss by hand to evenly incorporate. Next, add the orange zest and vanilla extract and toss to combine. Set this mixture aside.
Remove the dough from the freezer and transfer it to a lightly floured work surface. Use a rolling pin (reapply flour if it has worked off from the earlier rolling) to work the dough back into a 12 X 20 rectangle. I’ve never been able to get a perfectly even rectangle in the process, so I don’t have a lot of tips to help you form one either. Try to keep the shape as uniform as possible as it will make things much easier over the next few steps – but don’t fret if it isn’t perfect, mine certainly wasn’t and it all worked just fine.
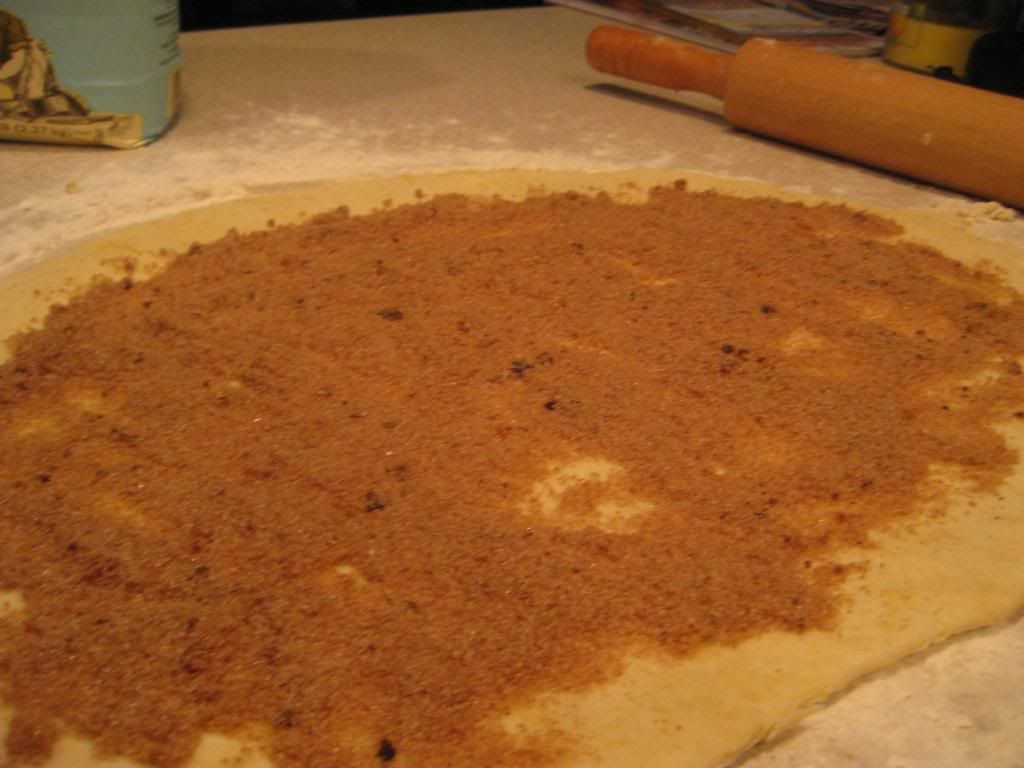
Once you’ve formed a respectable rectangle, distribute the filling across the top of the pastry, leaving about ½ inch of space along all of the edges. Use your hand to make sure the filling is at even depth across the pastry – a thicket patch of sugar will make the next step harder than it needs to be and a bald spot (sugar free) will be disappointing to the final consumer!
Beginning on the short edge closest to you, roll the dough into a tight cylinder. Work slowly and diligently to make sure the roll is staying tight. Once you’ve made your cylinder, inspect it to see if there are any large bulges (thicker spots in the dough will yield to thicker portions of the cylinder) and work those out by hand.
Next, use a chef’s knife to cut the dough in 12 evenly spaced parts (you can trim ½ inch of dough off of each end and discard, that dough is likely free of any filling). Place 12 aluminum cupcake liners into a muffin tin and spray them lightly with cooking oil. Transfer each slice into a cupcake liner (you may have to squeeze, squish or otherwise manipulate your dough to get it to fit nicely in the liner – that’s okay). Once all 12 slices are in a liner and placed in a muffin tin, cover them loosely with plastic wrap and transfer the muffin tin to the refrigerator to rest for at least 4 hours (up to 24 hours).

After the 4 hours are up, preheat your oven to 200 degrees and then shut it off once it reaches 200. Remove the plastic wrap and place the muffin tin into the (off) oven for 20 minutes. This allows the rolls to nearly double in size. Once they’ve grown the oven, remove the muffin tin and preheat the oven to 425. Return the tin to the oven and allow the rolls to cook for 5 minutes before reducing the oven heat to 325. Allow the rolls to bake for 40 to 50 minutes at 325 or until they turn a deep golden brown color.
Remove the tin from the oven and let the rolls rest for 5 minutes. After resting, immediately remove the rolls from their liners and set them on a wire rack to cool. Serve warm and enjoy!
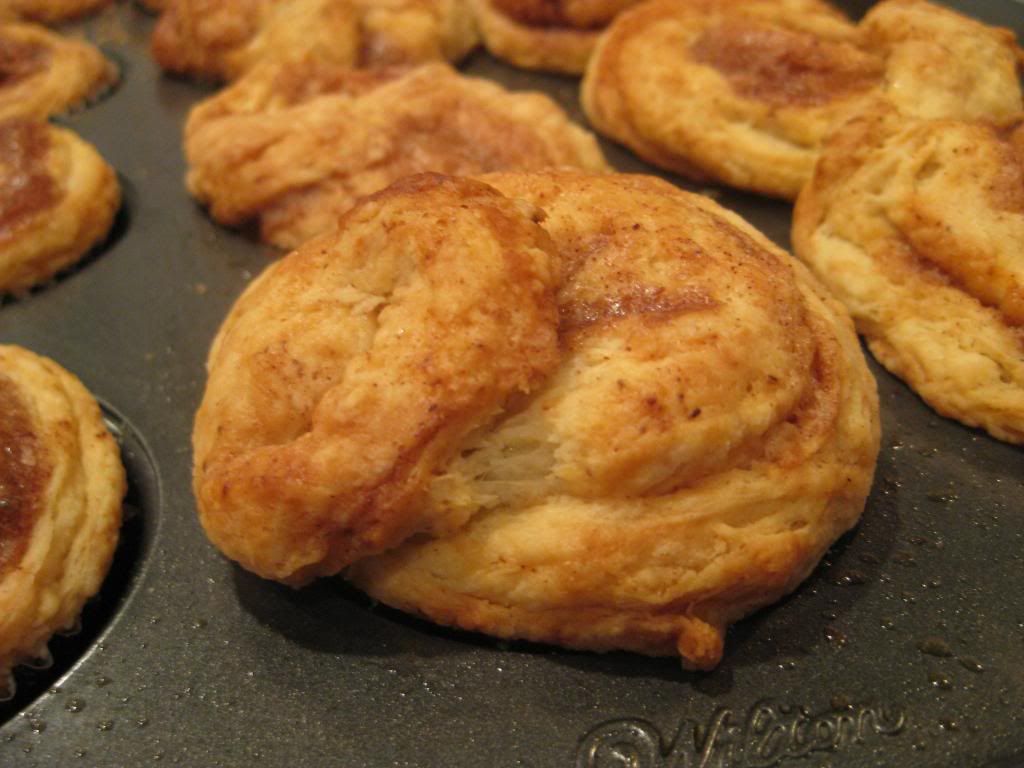
The Results:
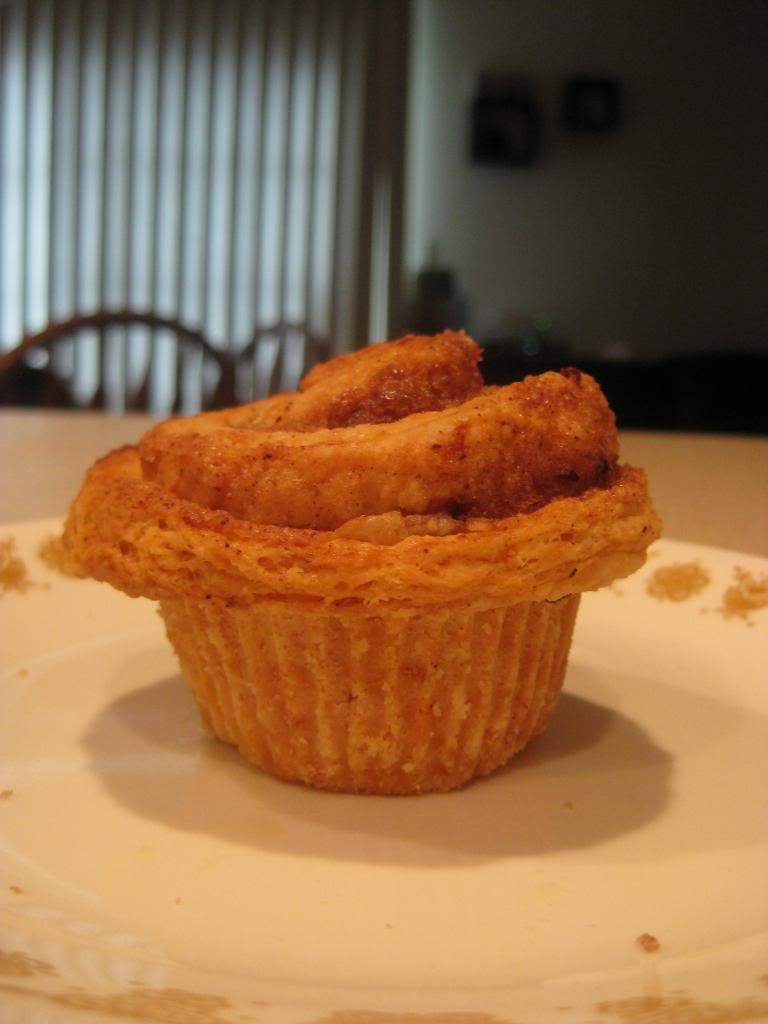
These rolls are certainly not the easiest thing to make (they’re time consuming to say the least!) but the payoff is of-so-worth-it! Because we worked the butter into the dough and left it flaky, the final dough is crisp and flaky, much like a croissant. The filling caramelizes during cooking, creating a very ‘cinnamon roll’ like flavor in the center of the bun while the bright citrus from the orange juice and orange zest pops in every once in a while to keep the roll from being too sweet.
All in all, these delightful little buns make for a great weekend treat the whole family is sure to enjoy! That’s all we have for you this evening, but we’ve got a lot more planned for this coming week. I’ll be in the kitchen tomorrow night with a brand new recipe that features summertime’s greatest food item. We’ll follow that up with a product review on Wednesday (I didn’t forget last week’s promise, the weekend simply got away from us!) and then Maggie will close out the week with a new recipe of her own. It’s going to be a busy week of cooking her at Out of the Culinary! Be sure to stop in tomorrow night to see what’s on the menu. Until then,
~Cheers
No comments:
Post a Comment