Thursday, May 31, 2012

Goin' Greek - Vegetarian Style


Good evening everyone! As Maggie mentioned on Tuesday, we’re doing a vegetarian theme this week on the blog. Not only is going meatless easier on your grocery bill, but it’s better for your belt line and overall health too. Now, Maggie and I could never go “full blown” vegetarian – we enjoy our meat dishes a little too much to do that – but it is nice to give the vegetarian diet a try every now and again. There are some very tasty meatless dishes out there (we’ve cooked up a few over the past two years) that you might not ever try unless you set aside time to do so.


The Recipe: Greek Orzo Stuffed Peppers
Original Recipe Found On: Eatingwell.com

What You’ll Need:
(Serves 4)

4 Yellow, Orange or Red Bell Peppers
½ Cup Whole Wheat Orzo
15 Ounces Canned Chickpeas*
1 Tablespoon Extra Virgin Olive Oil
1 Medium Onion (Chopped)
6 Ounces Baby Spinach (Chopped)
1 Teaspoon Dried Oregano
¾ Cup Crumbled Feta Cheese
¼ Cup Sun Dried Tomatoes (Diced)
1 Tablespoon Sherry Vinegar or Red Wine Vinegar
¼ Teaspoon Salt


* Before we dive into the recipe, I wanted to share a humorous story from this past weekend. It’s a great example of there always being something more to learn – no matter how much experience you may have (or think you have). We set out Sunday morning to our favorite grocery stores, like we always do, in search of the ingredients for this week’s recipes.

We had almost everything on our list found at Trader Joe’s, our first stop. The only item missing was chickpeas – which flummoxed us slightly as we were sure the diverse little grocery store was sure to have them. We searched up and down the bean aisle, but came up with nothing.

“Fine, we’ll quickly duck into another grocery store (Hy-Vee) and find the chickpeas there…right?” Despite the large assortment of beans and other legumes on the shelves, we could not track down the elusive chickpea. Every other bean you could fathom, great northern, kidney, garbanzo were all in great supply. At this point, we were becoming slightly irritated – we knew chickpeas were not ‘rare’, why couldn’t we find them? “If we needed garbanzo beans, we’d be set!” I commented angrily as we trudged off to stop number three.

(If you’ve figured out the punch line, don’t ruin it for the other readers)

Stop three was Gateway Market, a local organic grocery store that has every ingredient you could imagine. If we can’t find something at Trader Joe’s or Hy-Vee it’s always at Gateway Market. “Surely, chickpeas will be here” we thought. We searched high and low – nothing to be found. Irritated, I pulled my iPhone from my pocket with the intention of finding a substitute for chickpeas. I typed “chickpeas” into the search bar and then started befuddled at the results for a few moments before shaking my head and laughing.

Maggie looked at me quizzically, and when I turned the phone towards her, she too shook her head and exclaimed “Wow…” Result number one on my search was a simple little paragraph that would have saved us a whole lot of time:

Nutrition Information for Chickpeas (Garbanzo Beans)

Apparently, chickpeas and garbanzo beans are one in the same. We honestly had no idea – everything we’ve ever read about chickpeas had simply called them chickpeas, it never crossed our mind that the bean we were seeing EVERYWHERE was the bean we were looking for. Still slightly chuckling, we returned to the canned goods section of Gateway Market to find garbanzo beans – only to find that written on the can, right above the bold “Garbanzo Beans” title was this:


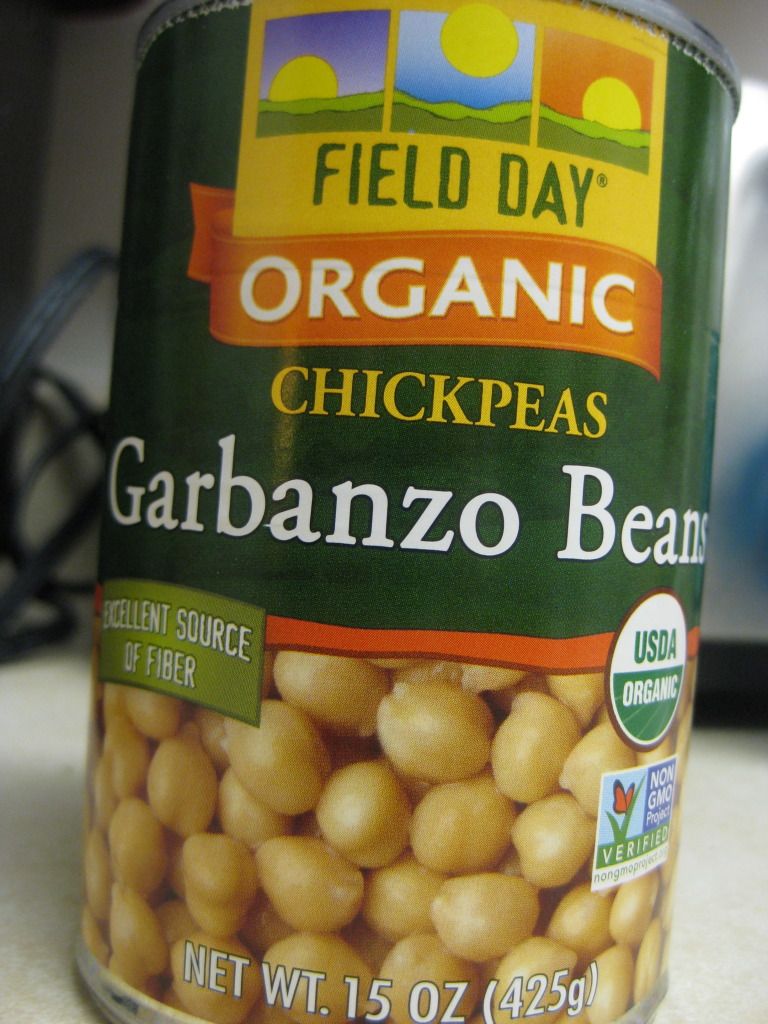
Apparently we were looking too hard and couldn’t see the forest through the trees! When it was all said and done, we found our chickpeas (garbanzo beans) and learned a lesson on the way too. It just goes to show, no matter how much experience you may build up – there’s always something new to learn.

Now that you’ve got your chuckle for the day, let’s get cooking!


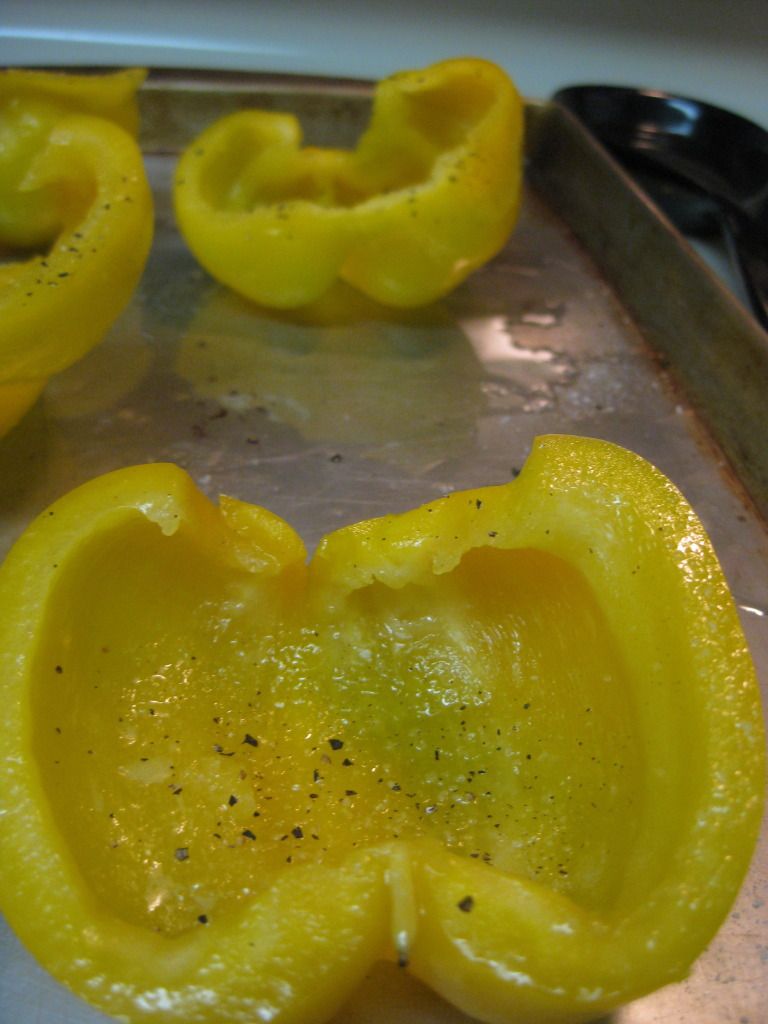
Begin by halving your peppers lengthwise, at the stem (leaving the stem on the pepper). Clean out the seeds and white portions of each pepper (using a melon baller or paring knife great helps do this). Discard the seeds and innards of the peppers before proceeding.

To expedite the process, you can steam these peppers via microwave. The original recipe calls for the methond outlined below. However, I've read that steamed peppers tend to lose their flavor and turn slightly "slimey" rather easily. Erring on the side of cuation, I opted to roast our peppers the oven (details on that method are below). If you prefer to use a steamer basket or other method (such as grilling) you’re certainly free to do so.

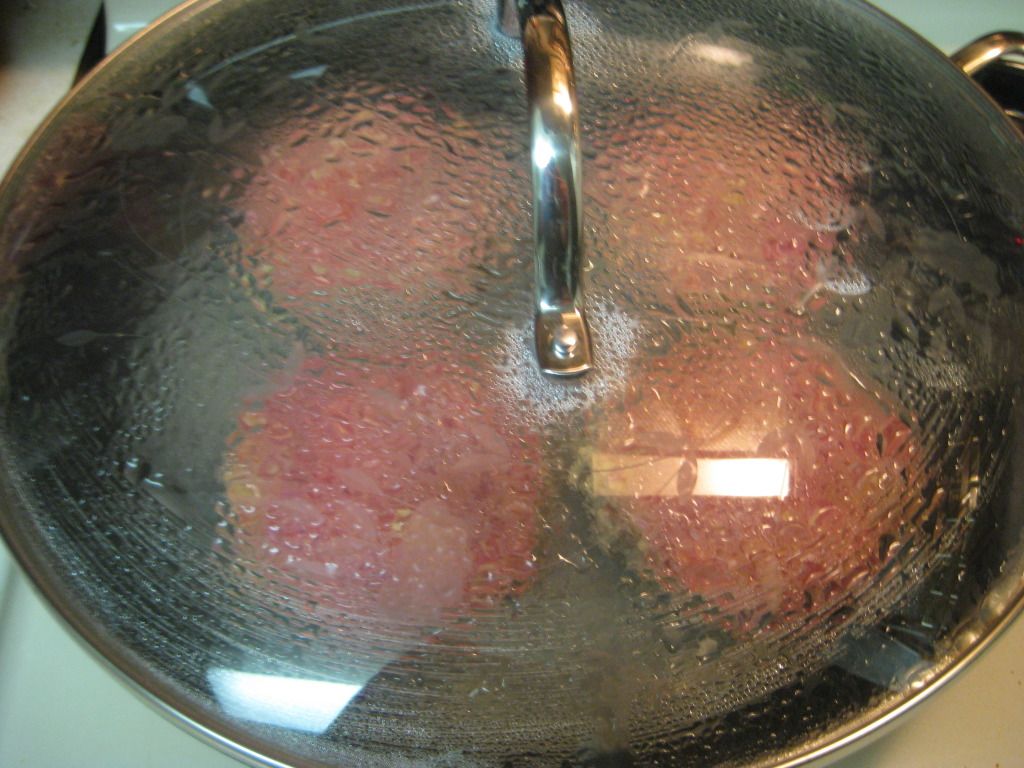
To steam the peppers, place them cut side down into a microwave safe dish. Add about ½ inch of water to the dish and microwave on high for 7 to 9 minutes or until the peppers have softened. Set them aside to cool before moving stuffing.

If you'd like to use the oven to roast your peppers, simply prepare them as you did above (sliced lenghtwise, scoop out the seeds and white ribs) this time also chop off the stem. Lightly rub each pepper half with a small amount of vegetable oil and place them (cut side up) on a rimmed baking sheet. Roast the peppers in a 425 degree oven until they begin to darken and turn brown on the edges (roughly 10 to 15 minutes). Remove the baking sheet from the oven and flip the peppers. Return the tray to the oven for an additional 5 minutes or until brown spots begin to form. Once nicely browned, remove the peppers from the oven and allow them to rest before adding the stuffing.


While the peppers are cooling, you can begin preparing the stuffing.

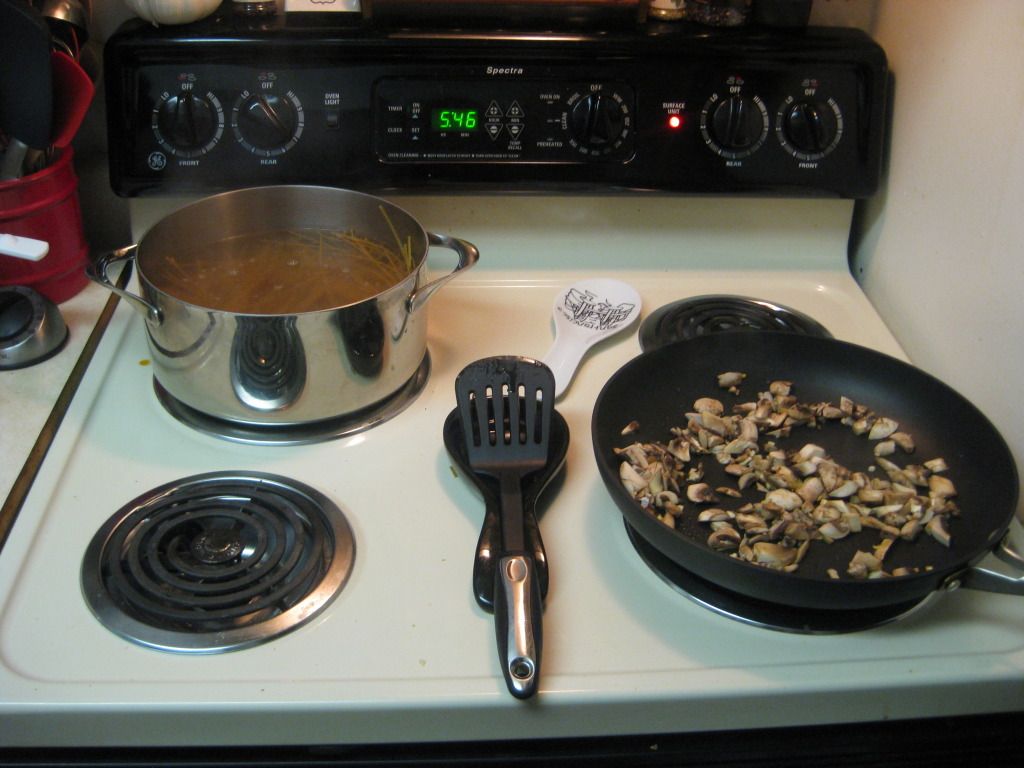
First, bring a large pot of water to a boil. Add your orzo and cook according to package instructions until the pasta is al dente. Once cooked, drain the orzo and rinse with cold water.

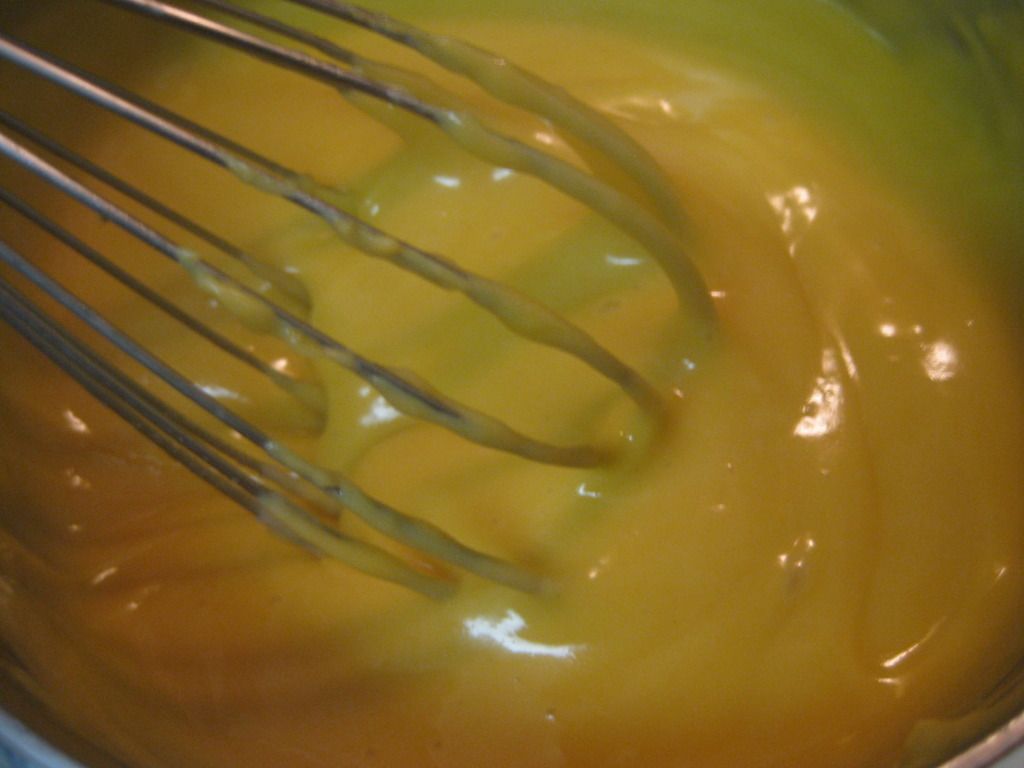
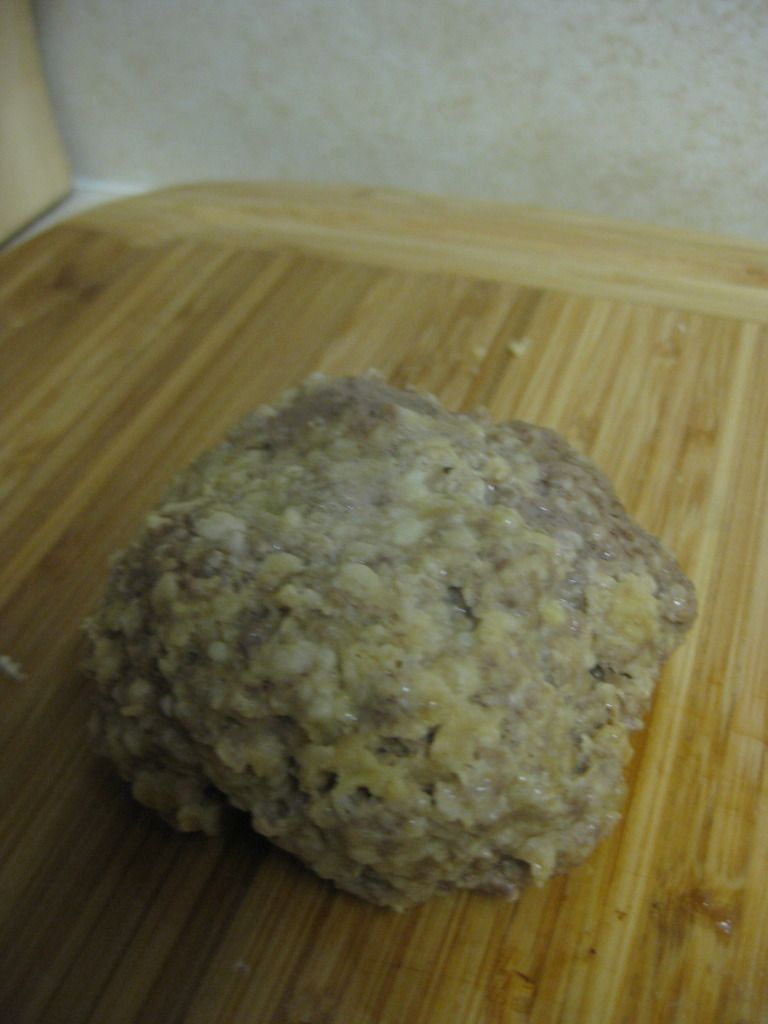
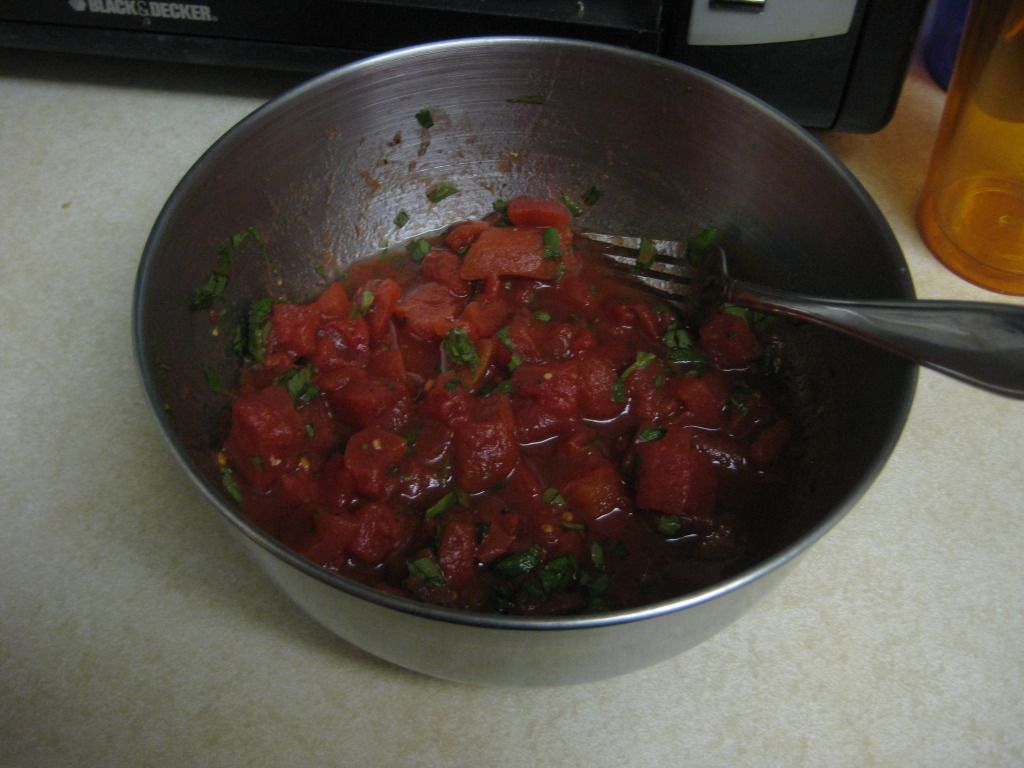
Next, add the chickpeas into a medium bowl and mash them with a fork or ricer until they become a chunky paste. You don’t have to mash all of the chickpeas – in fact, some can remain whole if you so choose.

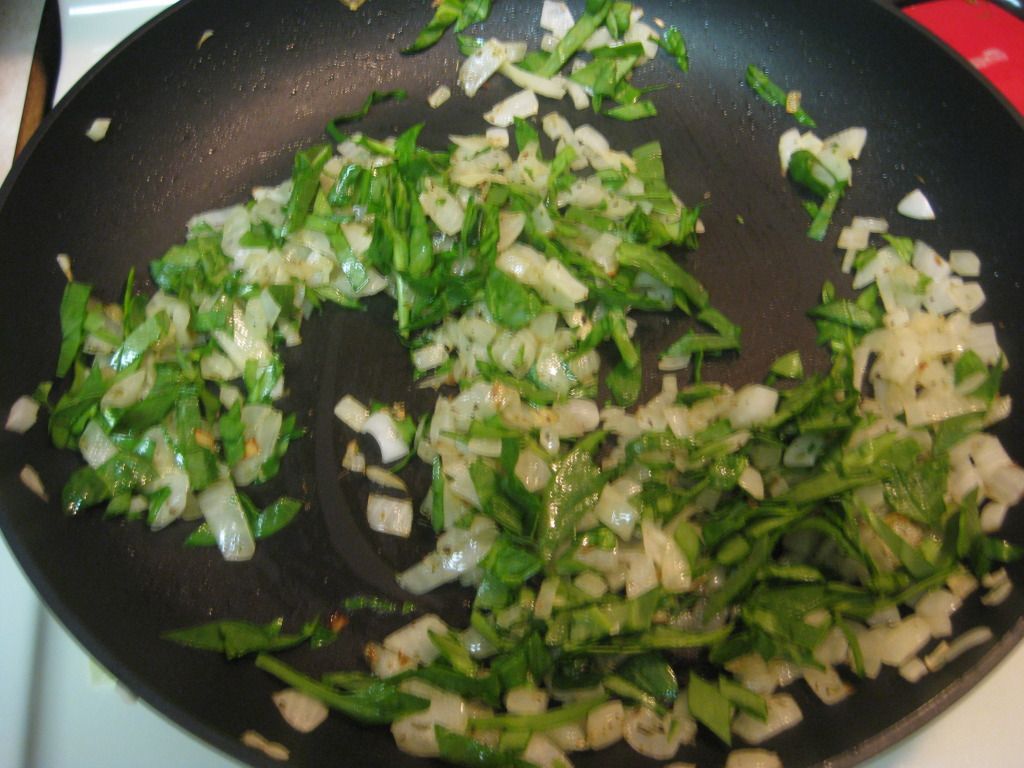
Add the olive oil to a large (12 inch) non stick skillet over medium heat. Once the oil begins to shimmer, add the chopped onion and cook for 4 minutes or until the onion softens and becomes translucent. Next, add the spinach and oregano. Stirring frequently, allow the spinach to cook for 1 minute or until it wilts. Finally, stir in the orzo, chickpeas, ½ cup feta, sun dried tomatoes, salt and red wine vinegar. Stir this mixture until it is well combined. Cook until the mixture is heated through – roughly 1 to 3 minutes. Once heated through, divide the filling amongst the pepper halves. Sprinkle each pepper with the remaining feta. Serve and enjoy!
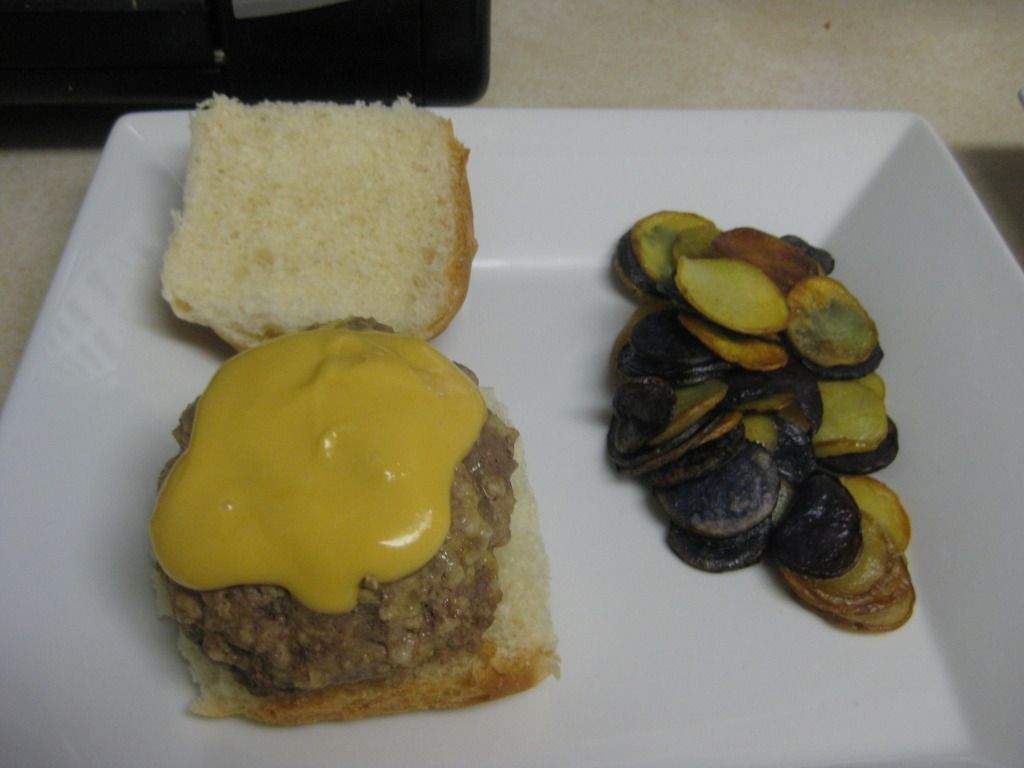
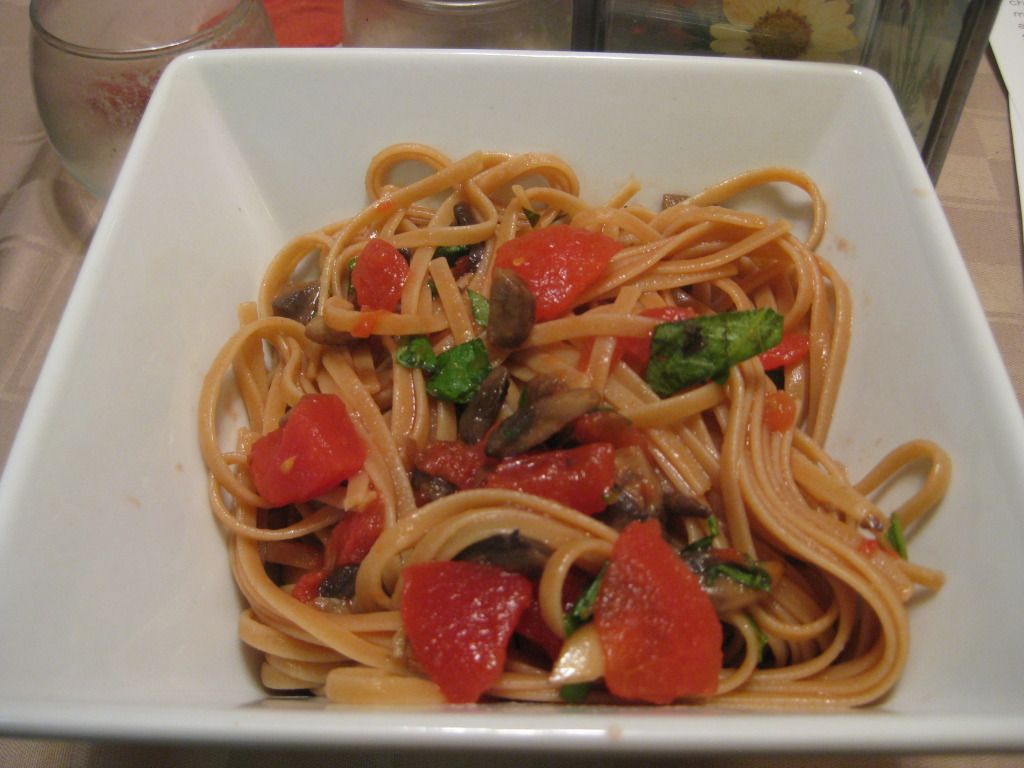
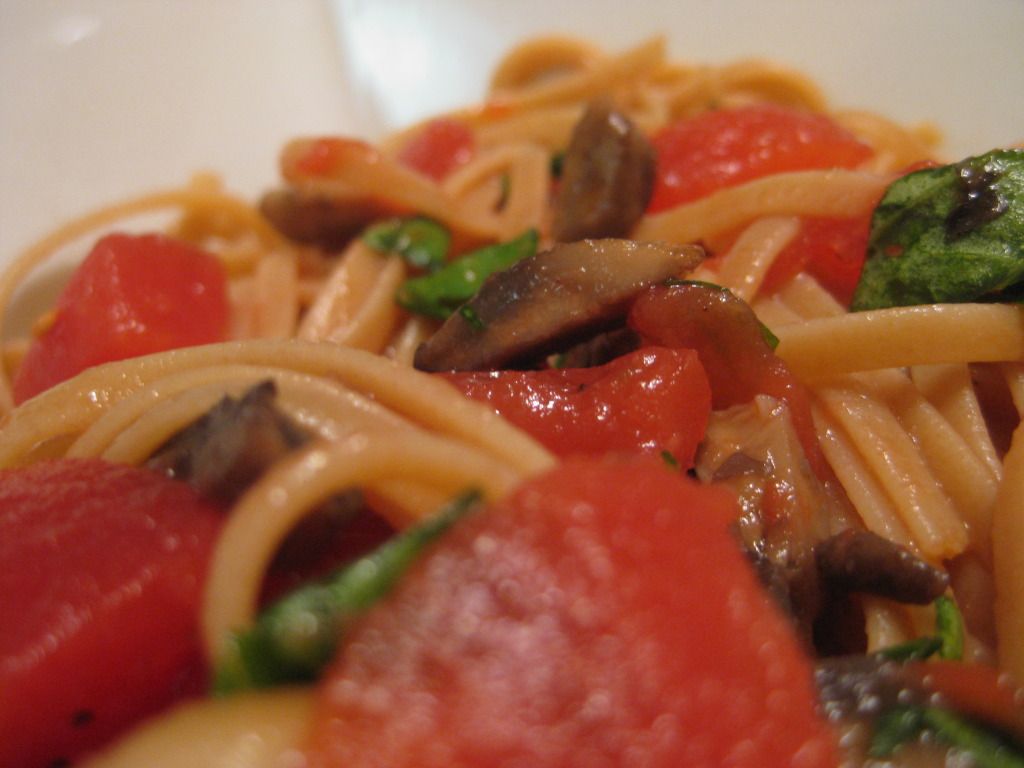


The Results:


This dish was decidedly Mediterranean – the feta (a first for the blog) blended beautifully with the sun dried tomatoes and orzo to create what could best be described as Greek pasta. The chickpeas (another blog first) created a flavorful “paste” that carried and married all of the flavors nicely. The yellow bell pepper (a new color we haven’t tried before) acted as a great vessel to the entire dish – adding a little spice and flavor without overpowering the final result.

All in all, this meatless dish is a nice little treat to change things up from the standard weeknight fare. It’s flavorful enough to keep even the stubborn meat eater happy and healthy enough to keep everyone’s belt line in shape as well. 

That’s all we have for you this week. We’ve back on Monday with either a new “quick hit” recipe or another edition of Around the Culinary World – honestly, we haven’t decided yet! With the summer news cycle in full swing, the culinary news has died down to a crawl. We’re also coming across more and more “quick fix” recipes that we want to share – but that don’t call for an entire weeknight blog. Whatever we decide to share, it will be up on Monday! Until then,

~Cheers

Tuesday, May 29, 2012

Grilled Cheese Heaven

Good evening everyone!  Let me tell you, it was rather difficult going back to work today after such a relaxing (long) weekend.  I vote for extended weekends for every weekend!  Alas, we can't have everything we want (aww).  But enough about me ranting about four day weeks, let's get cooking!  Tyler proposed an idea of cooking another vegetarian week.  With the theme of Meatless Monday making the rounds, it's a great idea to trade one or two meals a week with no meat in them.  Surprisingly, it's not that hard to do and you'll feel great about cooking au natural.


But there was one more surprise Tyler had in store:  I couldn't cook with pasta.  Granted, there was a twinge of relying on go-to recipes, but this made me amp up my creative skills.  Tonight, even though it's not completely vegetarian, it's something delicious and wildly original.

The Recipe:  Parmesan Crusted Pesto Grilled Cheese Sliders
Original Recipe From: www.twopeasandtheirpod.com

What You'll Need:
(Serving Size: One Sandwich)

2 Slices Ciabatta or French Bread
1 Tablespoon soft Butter (for brushing the bread)
1-2 Slices Mozzarella Cheese
2 Tablespoons Basil Pesto*
1/3 Cup finely shredded Parmesan Cheese

*Note:  It is much more cost effective to use store bought pesto rather than making your own.  But if you prefer to have homemade pesto (and store the rest for use later,) there's nothing wrong with that.  Also, we are using a Genova pesto, which, according to a little bit of research, isn't any different than regular pesto. But it seemed to have a milder taste, which was great for both our pallets.  


To start, heat a nonstick skillet over medium high heat.  Next, butter the outside of each slice of bread to an even consistency.  Spread a thin amount of pesto on the inside of each slice of bread.  Inside the pesto lined slices, place a slice of mozzarella cheese.  If you want real your sandwich to be super cheesy (like mine) you can place another slice of mozzarella cheese in between the bread slices.  Sprinkle half of the Parmesan cheese on the outside of one side of the sandwich.


Next, place the sandwich, cheese side down, in the hot pan.  I've had too many dishes that I've thought I waited long enough to heat up, but for this dish, you really want to wait that extra amount of time to ensure the skillet is nice and hot.  Grill the sandwich for 2-4 minutes, or until the Parmesan cheese is crusted and golden brown.  Sprinkle the rest of the Parmesan cheese on the bread slice that isn't being grilled.  Flip the sandwich over and grill the other side of the sandwich until the cheese has crusted and started to brown, 2-4 minutes.  Serve and enjoy!


The End Result:


If you are a fan of grilled cheese sandwiches, this is the ultimate in grilled cheese heaven.  The mozzarella cheese is a delectable difference from the standard American or cheddar cheese.  The pesto adds an herby depth that is not a norm for this type of sandwich, even though it was rather mild.  The Parmesan crust is also a great addition to this standard American dish.  I would imagine this dish at a little bistro.  I would definitely try this recipe again, given if I had mozzarella cheese and pesto in my refrigerator.


Join us tomorrow as Tyler introduces two (count 'em TWO) new ingredients to the blog's ingredient list.  Until then,


~Cheers!

Monday, May 28, 2012

Bonus Recipe: Breakfast Burritos

Hello again everyone! We hope you're enjoying the extra long weekend and the unofficial start to the summer. It's been a absolutely intolerably warm and humid weekend here in the greater Des Moines metro - we've hit 90 for two straight days (with heat indexes in the 100's) and our "cool" day today reached 85. Yikes.

The most important part of the Memorial Day weekend is to remember the reason behind the day off. Take a few moments today to pay tribute to veterans both past and present. It was their sacrifice that has made our great country what it is today.

Since it's a longer holiday weekend, we thought we'd share a quick fix recipe that you can enjoy on a lazy morning or even for an afternoon meal.


The Recipe: Breakfast Burritos
Original Recipe From: Out of the Culinary (This is an original recipe)

What You'll Need:
(Serves 4)

4 Farm Fresh or Free Range Eggs
1/4 Pound Fresh Chorizo Sausage
3 Slices Thick Cut Bacon
4 Whole Wheat Tortillas
Sriracha Hot Sauce
Soy or Low Fat Milk

Begin by cooking up the bacon and chorizo in two separate 8 to 10 inch non stick skillets. Once the bacon has browned, transfer it to a paper towel lined plate to blot off the excess grease.

While the chorizo is cooking, add a few squeezes of the sriracha hot sauce to the pan. Mix well to incorporate the sauce. The sauce will add a nice touch of heat and intensify the final flavor nicely. When the chorizo is browned and cooked through, remove it from heat and set aside as well.


In a medium bowl, combine the eggs and a few splashes of milk. Whisk well until everything is well combined and creamy. In a large 10 - 12 inch non stick skillet, melt two tablespoons of butter and then add the egg mixture. Scramble the eggs until they are firm and cook through.


Use a chef's knife or kitchen shears to chop up the bacon pieces into smaller bits.

Once the eggs are cooked, add the chorizo and bacon bits into the mixture. Cook the mixture for an additional 2 to 4 minutes (or until everything is heated through). Spoon the mixture into the warmed tortillas and top with some shredded Mexican cheese (optional) enjoy!

The Results:


This is a tasty little treat for breakfast or anytime of the day. The chorizo, egg and bacon mixture blend to create the perfect breakfast style hash. If you're a fan of breakfast burritos or just a fan of breakfast in general, you can't go wrong with this simple little treat.

That's all we have for you today - we've got a full week of cooking lined up. We're going with a vegetarian menu this week (today notwithstanding) - I even added a caveat for Maggie - no pasta dishes. Stop in tomorrow night to see what meatless treat Maggie is brining to the blog. I'll follow her with a veggie dish of  my own on Thursday. Until then,

~Cheers

Wednesday, May 23, 2012

Beer Cheese Burger Heaven

Good evening everyone! We're no strangers to a good burger recipe. From the classic, to the complex and everything in-between, if its burger based, we'll give it a shot. The biggest reason for this willingness to explore is our fantastic 'base' burger recipe. We tried and have perfected Jamie Oliver's 'Cracking Burger' recipe to the point where it's downright foolproof. This flavorful base provides and rich and juicy burger every time. The best part is, with fresh ingredients, even the traditionally not-so-healthy burger is an okay addition to your healthy eating plan. (It's okay to splurge once in a while - especially when everything is made fresh!)

Tonight I'm trying a new burger recipe with a twist. Instead of cooking up the burger the usual way (via skillet, grill pan or George Forman Grill) I'm trying a cooking technique that I've always wanted to use - steam cooking.

The steam cooked burger is starting to gain in popularity across the country. When you see the end result, it's not hard to imagine why. The burger that is cooked in steam retains a great deal of moisture and flavor. I've read countless tales of people trying steam cooked burgers and then never wanting to return to the traditional cooked burgers again. Tonight, we get to see what all the hubbub is about. Let's get cooking!


The Recipe: Beer Cheese Burgers
Original Recipe Found In: Food Network Magazine - June 2012

What You'll Need:

1 Pound 85/15 Ground Beef*
12 Unsalted Saltines (Ground into a powder)
2 Tablespoons Dijon Mustard
1 Egg
Pinch of Dried Parsley
2 Tablespoons Butter
2 Tablespoons All Purpose Flour
1/4 Teaspoon Mustard Powder
3/4 Beer (Your choice of type)
1/2 Cup Half and Half
1 1/2 Cups Sharp Cheddar Cheese (Shredded)

*Despite our usual insistence of using a leaner style of ground hamburger, you'll want to go against the grain with any burger recipe and pick up 80/20 or 85/15 ground beef instead. The higher fat content helps create a juicer and more flavorful burger. So long as you're not cooking these up each and every night, the extra 5% fat content isn't going to hurt you.

Begin by preparing the cracking burgers. If you need detailed step by step instructions, feel free to read the original cracking burger recipe HERE. If you're familiar with the process of constructing the burger, simply mix the beef, saltines, dijon, parsley and egg well and then form 4 burger patties by hand.


Once the patties have been formed, press your thumb into the center, creating a 1/2 indentation in each patty. This indentation keeps the burgers from "puffing" during cooking. This indentation technique isn't just for steam cooked burgers - you can use this for just about any burger method - grill or oven. That way you don't have to press on the burgers with a spatula (big burger no-no) during cooking.

Once the patties have been prepared, set them aside and begin preparation of the beer cheese sauce.

In a small sauce pan, melt the 2 tablespoons of butter and then slowly whisk in the flour and mustard powder. All this mixture to simmer for 2 to 3 minutes, stirring occasionally - but be careful not to brown the mixture (you don't want to create too dark / heavy of a flavor).

Next, whisk in 3/4 cup of the beer (we're using my personal favorite - Red Hook ESB) and bring the mixture to a light simmer. Once simmering, slowly whisk in the half and half. All this mixture to simmer, with occasional whisking, for 4 minutes or until it begins to thicken. (My experience with this step found that the mixture thickened almost immediately. This is probably highly dependent on the type of beer you're using. I also had to occasionally add splashes of extra beer to keep the sauce thinned out slightly. This seems like a "your results will vary" area, so pay close attention to the sauce).


Once thickened, stir in the sharp cheddar cheese (working it in small groups) until the cheese is completely melted. Set the completed sauce aside until the burgers are ready.


Now, on to steam cooking the burgers!

Place a large skillet over medium high heat and add the burgers to the skillet (indentation side up). Next, add 1/3 cup water to the skillet and cover (make sure you're using a skillet with a tight fitting lid - you don't want the steam escaping from the edges). Allow the burgers to cook undisturbed for 4 minutes or until they are slightly firm to the touch in the center of the patty.

Steamin' away 
The only downside to steamed burgers? They're not that visually appealing when finished 


Once the burgers have been steamed to perfection, serve with the beer cheese sauce and top with your favorite veggies and enjoy!


The Results:


Steam cooking certainly has a large following for a reason. The burgers were amazingly juice and moist - it was almost a surprise after the first bite at just how much moisture was still in the burger. We've tried many burger cooking methods and even have a prefaced burger recipe that is supposed to keep most of the moisture and flavor in the burger - but we've never had a burger that was THIS juicy.

The beer cheese sauce was exactly as you would expect it to be; rich, flavorful and with the nice undertone of a flavorful beer. Luckily, all of the alcohol flavor cooks off fairly quickly - making the sauce a simple, safe for the whole family topping.

You'll notice in the final picture that I served these burgers with a side of fried potatoes. Those were made by simply slicing some red, yukon and purple potatoes (leftover from last week's recipe) very thin and frying them in a skillet with a little olive oil. They added a classic "french fry-esque" flavor to the plate without all of the extra fat and sodium of traditional french fries.


That's all we have for you this week. We're back on Monday with a new edition of Around The Culinary World (We've got a stockpile of stories to share since it's been a few weeks since our last iteration of that feature). Everyone enjoy the long weekend! Until Monday,

~Cheers

Tuesday, May 22, 2012

Simply Pasta

Good evening everyone!  It's quite well known now that I tend to favor easy recipes.  Every now and then, I throw in a complicated dish.  Creating a recipe from very few ingredients is something that speaks to me; simplicity is my bread and butter.  Tonight's recipe is no different.  With a handful of ingredients, and a little creativity thrown in, something brilliant can be created from a few pantry items.

The Recipe:  Linguini with Tomatoes and Basil
Recipe Adapted From:  www.foodnetwork.com

What You'll Need:
1 Pound Linguini*
4-5 medium ripe Tomatoes, diced*
1 1/2 Teaspoons kosher Salt
1 large clove Garlic
1/2 Cup Extra-Virgin Olive Oil, plus an extra 1-2 Tablespoons
1 Tablespoon White Wine Vinegar
Large handful fresh Basil leaves (approximately 3/4 cup)
2-4 Ounces grated or shredded Parmesan cheese
8 Ounces sliced Mushrooms*

*I first want to note the adaptations I made to this dish.  To make the dish a little more healthy, I chose a whole grain linguini.  Whenever possible, we like to swap whole grain or whole wheat in place of white or enriched pasta - it's always a healthy upgrade.  Instead of whole tomatoes, I went with pre-diced canned tomatoes (low sodium), as we use numerous times on the blog.  I'm also adding mushrooms to the mix in this recipe.  Not only did we have some leftover from last weeks blog, but they will add a new flavor to this dish.


To start, bring a large pot of salted water to a boil.  Add the pasta and cook for 10 minutes, or according to package instructions.  While the pasta is cooking, heat 1-2 tablespoons of olive oil over medium high heat in a large, nonstick skillet.  Once the skillet is hot, add the sliced mushrooms.  Saute for 10 minutes, stirring occasionally, making sure the mushrooms don't stick to the pan.  After the mushrooms have softened, remove from heat.


A busy oven is always a good sign.


Next, in a large bowl, toss the tomatoes with 1 1/4 teaspoon salt and freshly ground black pepper.  On a cutting board, smash and peel the garlic clove and sprinkle with the remaining 1/4 teaspoon of salt.  With the flat side of a knife, mash and smear the garlic mixture to a coarse paste.  I've seen this technique done before and it's a creative way to release all the flavor from the garlic, without having to cook it.  Add the garlic paste, olive oil, and vinegar to the tomatoes.  Tear the basil leaves into pieces and add to the tomatoes.


If you are using pre-diced tomatoes, a la our variation, don't add the olive oil or vinegar to the tomatoes.  With the whole tomatoes, this creates a sort of sauce. As the canned tomatoes are packaged in tomato juices, we don't need any additional moisture.  To the tomatoes, add the torn basil leaves and stir well to combine.  Alternatively, you could also mince the garlic and add it to the cooking mushrooms.  The smell of sautéing garlic is one of my favorite smells to come from the kitchen - I take any opportunity I can to create it!


Once the pasta is done cooking, drain well in a colander and add to the tomato bowl.  If you are using mushrooms, you can add them into this bowl at this time.  Season the pasta/tomato mixture with salt and pepper and toss to coat evenly.  Sprinkle with desired amount of cheese, serve, and enjoy!

The End Result:


The diced tomatoes gave the dish an almost marinara sauce feel, without all the added salts and preservatives that would normally be in spaghetti sauce.  The remaining sauce leftover from the tomatoes helped to bond the tomatoes, basil, and mushrooms to the linguini.  The mushrooms were an excellent addition to dish.  It's almost an alternative to a meat sauce, but with a vegetarian dish.  The fresh basil added a great kick of flavor that brings the whole recipe together.  As we were eating, Tyler thought the dish was missing a little flavor - he grabbed the garlic salt and added a dash to the dish. This slight addition greatly added to the flavor - creating a uniquely Italian flavored dish.


 You can't go wrong with a pasta dish, but when all the ingredients are fresh and that work in harmony, it's great to have a dish taste so delicious.


Join us tomorrow as Tyler takes a summer standby and makes it uniquely his own.  Until then,


~Cheers!

Monday, May 21, 2012

Scheduling Update

We were away for my sister's graduation over the weekend and simply put - we're exhausted. So, we have a bit of change to our schedule for this week. Instead of Around The Culinary World tonight, we're going to take the night off (buying groceries actually).

We'll return on Tuesday night with a brand new recipe, courtesy of Maggie. I'll follow her on Wednesday with a brand new dish of my own.

Apologies for the jumbled up schedule, but we're a little worn down from a busy weekend. We'll be back to cooking tomorrow. Until then,

~Cheers

Wednesday, May 16, 2012

Grilling With Adobo


Good evening everyone! We’ve officially entered that splendid time of year known as grilling season. Each evening, the air is filled with the aroma of searing steaks, sizzling chicken and flame broiled veggies. There’s little in this world that can compare with the flavors and aromas of grilling season.

This is why our total inability to grill at our current dwelling is such a letdown. (We don’t have a balcony or patio – and the apartment complex frowns on grilling indoors). Tonight’s recipe is designed for the grill, but it can easily be adapted for the oven or grill pan for those who find themselves in the same situation.

So, whether you’re the master of the grill or adapting for apartment friendly use – let’s dive in to tonight’s recipe!


The Recipe: Adobo Pork & Potato Packets
Original Recipe Found On: Eatingwell.com

What You’ll Need:
(Serves 4)

4 Boneless Pork Chops (Bone-in chops if grilling)
1 Large Sweet Potato (Peeled)
1 Large Red Potato
1 Large Yellow Potato (Peeled)
1 Medium Red Onion (Diced)
3 Tablespoons Extra Virgin Olive Oil
2 Tablespoons Sherry Wine Vinegar
2 Teaspoons Garlic (Minced)
2 Teaspoons Paprika
½ Teaspoon Salt (Divided)


Begin by preparing the adobo sauce. In a small blender or food processor, combine the olive oil, sherry wine vinegar, paprika, garlic and ¼ teaspoon of salt. Pulse the mixture until smooth, making sure to work down any residual mixture on the sides of the blender every few seconds. Set this mixture aside.

You may have already figured this out by the name, but adobo sauce is a Mexican style marinade built with vinegar, paprika, garlic and other spices. It was originally created as a means of preserving food, but with the invention of modern refrigeration, the sauce was adapted to become a food flavoring. It’s a fairly common marinade in Spanish style cooking, so if you’re a fan of Mexican flavors (like we are) it’s not a bad marinade to learn – you can throw it on any piece of meat and instantly create a Mexican inspired dish.

Next, begin preparing your potatoes. Once the sweet potato and the yellow potato (Yukon or gold are the most common yellow potatoes) are peeled (it’s not necessary to peel the red potato) you can begin slicing them. To expedite the cooking process (and allow the marinade to penetrate fully into each potato) it’s important to slice them thin – no thicker than 1/8 of an inch. Use a mandolin for this step to make quick work of this process.

Once all of the potatoes have been peeled and sliced to 1/8 inch thickness, add them into a medium mixing bowl along with the diced red onion. Add the remaining ¼ teaspoon of salt to the bowl along with 3 heaping tablespoons of the adobo sauce. Toss the mixture well to ensure even coating.

Preheat your oven to 400 degrees or set your grill to high.

Next, spread about 2 feet of aluminum foil out on your work surface. Fold the foil in half evenly (1 foot per side) and then unfold (this process is identical to the assembly of our carrot pouch from Monday’s recipe). To the right of the crease, spread the potato mixture evenly in the center (as pictured). If you have an abundance of potatoes, you may have to create two pouches. Fold the left side of the foil over the potato mixture and then fold over the sides and top of the pouch. Once the pouch (or pouches) have been tightly sealed, place them on a rimmed baking sheet and into your 400 degree oven. If you’re using a grill, place the pouches over the hottest portion of the grill.  Allow the potatoes to cook for 20 minutes in the oven (flipping the pouches after 10 minutes) or 10 minutes on the grill (flipping after 5 minutes).


While the potatoes are cooking, you can begin preparation of the pork chops. Spread the remaining adobo sauce mixture evenly over both sides of all the chops. If you’re cooking the pork chops on the grill, go ahead and place them on immediately following the potatoes. Keep the pork chops towards the front of the grill (or in the cooler zone of the grill) and allow them to cook for about 4 minutes per side.


If you’re not using a grill, break out the next best thing – a grill pan. You’ll want to wait to start the pork chops until after you flip the potatoes (10 minutes into cooking). Place your lightly oiled grilled pan over high heat and let the pan’s surface get nice and hot before adding the pork chops. Cook the chops for 4 minutes per side.

Once the chops have finished cooking (regardless of method used) transfer them to a plate tented with aluminum foil to keep warm while the potatoes finish cooking.

Once the potatoes are tender (watch for hot steam coming from the foil packets!) serve them with the pork chops and enjoy!


The Results:


This recipe was an easy way to take a traditional summer time dish (pork and potatoes) and twist it on its head. The flavors were a blending of spicy barbeque and Mexican (hard to imagine – but trust me, it’s a good thing).

It’s hard to believe with as much as we love to cook Mexican inspired dishes, but this was our first run in with adobo sauce. As I mentioned above, it’s a versatile sauce that adds just a hint of Mexican flavoring – it’s easy to whip up and completely changes the standard flavors of whatever you add it to. Be sure to try it out during your summertime grilling – you won’t regret it.

***

Before we finish tonight, I’d just like to take a moment and say thank you. Today (more accurately, tomorrow but we will be gone tomorrow and unable to mark the occasion) marks the 2nd anniversary of Out of the Culinary. Yes, two years ago we debuted this blog as two amateur chefs with little to no (closer to no) cooking ability. All we had was an ambition to eat healthier and to learn to cook on our own.

I launched this blog as a tool to do so. I thought that if we had to make our cooking public and available, we would have to be held accountable and keep to a schedule of healthy eating. It worked.

What I didn’t expect when we launched the blog is that we would discover a passion. What started out as a means to an end (healthy eating) became something fun and a true hobby. It turns out I liked to cook – a lot. Soon the blog turned from a tool for ourselves to a portal for everyone. It wasn’t about being held accountable; it was about sharing our passion for cooking and eating healthy.

We started off with 10 readers a day – and we were thrilled. By the end of last year, we were up to about 50 readers per day and averaging around 1500 page views a month.

Then, something happened. We were featured on Jamie Oliver’s website (I’m still elated to see our humble little blog listed in the links on Jamie’s website!) and we started to gain a wider web presence. Suddenly, this little project born out of a moment of inspiration one May afternoon has developed into a full fledged cooking website.

We average between 100-150 viewers per day and are breaking our monthly viewing records each and every month (4,000 last month). Our readers are from all over the world (!) and we can’t thank each and every one of you enough. If you’re a long time reader, thanks for sticking with us as we’ve grown and developed into what we are today. If you’re a new reader –Welcome!

We have no plans to stop blogging now. We’re going to keep sharing recipes, cooking techniques and our culinary adventures for as long as there’s someone who wants to keep reading them. Here’s to another year of cooking adventure and exploration!

We’re back on Monday with another trip Around the Culinary World. Until then,

~Cheers

Tuesday, May 15, 2012

Vegetarian Mexican In a Flash

Good evening everyone!  I must confess:  I've been finding myself on an endless pursuit of cooking healthy Mexican food.  Whether it's the variety of the Mexican genre or just my constant longing for it, I just keep ending up with a Mexican dish.  I hope to break free of these limitations soon and start exploring more culinary ground.  But for tonight, I present another delectable dish.  There isn't a real market for "vegetarian Mexican" recipes out there (that I've seen.)  And if there is, it's often ladled with cheese or other condiments.  Tonight's recipe hopes to shake up that particular culinary scene with a delicious, and low calorie, alternative to standard Mexican faire.

The Recipe:  Vegetable and Rice Burrito with Quesadilla Cheese
Original Recipe Found In:  Cooking Light, May 2012

What You'll Need:

4 Teaspoons Canola Oil, divided
1/3 Cup uncooked Long-Grained White Rice
1 Teaspoon chopped Garlic, divided
2/3 Cup Water
1/4 Teaspoon Salt, divided
1 Tablespoon chopped Jalapeño Pepper*
1/4 Cup reduced-fat Sour Cream
1 Tablespoon chopped Cilantro
1 Teaspoon fresh Lemon Juice
1/8 Teaspoon ground Red Pepper
1 Cup chopped Onion
1 Cup sliced Cremini Mushrooms
1/2 Cup fresh Corn kernels
1 small Zucchini, halved lengthwise and sliced (about 3/4 cup)
3/4 Cup halved Grape Tomatoes*
4 (7 to 8 inch) Whole-Wheat Tortillas
4 Ounces Quesadilla Cheese, shredded

*These ingredients will be omitted for our version of the recipe tonight.

To start, heat a small saucepan over medium-high heat.  Add one teaspoon of the canola oil to the pan and swirl to coat.  Add the rice and 1/2 teaspoon of garlic and sauté, stirring constantly for a minute.  Add the water and 1/8 teaspoon of salt.  Bring this combination to a boil.  Cover the saucepan, reduce the heat, and simmer for 15 minutes.  After the rice is done cooking, remove the saucepan from the heat and let it stand for 10 minutes.  Fluff with a fork and stir in the jalapeño.  Alternatively, if you are not using jalapeños, you could stir in a teaspoon of dried cilantro to add flavor to the rice.


Next, in a small bowl, combine the sour cream, chopped cilantro, lemon juice, and red pepper.  Stir until thoroughly mixed.


Over medium-high heat, begin to heat a large non-stick skillet.  Add the remaining tablespoon of oil and swirl the pan to coat.  Add the chopped onion, sautéing and stirring frequently for 2 minutes.  Add the remainder of the garlic and mushrooms and sauté for 1 minute.  After this combination becomes fragrant, add the corn and zucchini and sauté for 2 minutes.  Add the remaining salt and tomatoes and continue to sauté until the tomatoes are heated thoroughly heated, about 30 seconds.  Remove the vegetable mixture from the pan to a bowl, covering to keep warm.  Wipe the skillet clean with a paper towel.


Next, heat the tortillas according to package directions.  This will help the tortillas from tearing or cracking during the filling part of the recipe - nothing is worse than a cracked tortilla.  Divide the sour cream mixture evenly amongst the 4 tortillas, spreading a thin layer in the middle of the tortilla.  Top the sour cream mixture with a 1/4 cup of cheese, 1/4 cup of the rice mixture, and 1/2 cup of the vegetable mixture.  Roll each tortilla up to the likes of a jelly roll.


Return the skillet to medium heat.  Add 2 burritos to the pan, seam side down, and cook for 1 minute on each side, until all sides are browned.  Repeat the process with the other 2 burritos.  Serve and enjoy!

The End Result:


(I apologize for the lack of pictures - the recipe picked up rather quickly and I didn't have time to pick up the camera!)

It is well known here on the blog that we are big fans of the restaurant Chipotle, heck, Tyler tried to duplicate one of their famous burritos.  But if we were in the mood for creating our own similar style burritos, but not going to Chipotle to get them, this would be the recipe to duplicate.  Everything is incredibly flavorful and super tasty.  It doesn't take more than 40 minutes to whip up this winning combination of Mexican flavors.  And, as a bonus, each burrito is only 363 calories, which won't bust your gut when you eat one.  I would definitely make this recipe again, only to add different flavors to make it something completely unique.


That's all we have for you this evening.  Join us tomorrow as Tyler brings the grill inside (a figure of speech, of course) for a summer inspired dish.  Until then,


~Cheers!

Monday, May 14, 2012

Bonus Blog: Oven Baked Carrots


Good evening everyone! It’s Monday once again, which typically means it’s time to take another trip Around The Culinary World. Sadly, this week didn’t provide us with enough exciting culinary stories to share (slow news week I guess). So, in its place we decided to share a bonus recipe. This simple dish makes a great side dish to a larger meal or can even be featured on its own as the main attraction. Let’s start the week off right with a brand new recipe!

The Recipe: Oven Baked Carrots
Original Recipe Found In: Jamie Oliver’s Food Revolution

What You’ll Need:

1 Bag Baby Carrots
1 Medium Navel Orange
1 Garlic Clove (Minced)
1 Slice Thick Cut Bacon (Chopped into bits)
1 Tablespoon Butter

Preheat your oven to 400 degrees.

To begin, pull out a 2 foot sheet of aluminum foil and fold it evenly in half (1 foot per side) unfold the aluminum foil and spread it out on your working surface.

Next, place the carrots on one side of the fold. Over the carrots, zest the orange (using the entire peel). Next add the minced garlic as well as the chopped bacon bits. Mix everything well with your hands until the mixture is evenly blended. Season this mixture with a few shakes of dried rosemary. Place the pat of butter right on top of the mixture.


Begin making a pouch out of the aluminum foil. First, fold the other half of the foil back over the top of the mixture. Next, turn over the sides of the foil multiple times to create a seal (make sure to leave the far end of the pouch open for now). Stand the pouch up on end (the crease acts as the ‘bottom’ of the pouch) squeeze the juice from the orange into the opening at the ‘top’ of the pouch. Once the juice has been added, seal the top of the pouch as well.


Place this tightly sealed pouch on a baking sheet and into the oven for 55 minutes. Once they’ve finished slowly roasting (carefully) open the pouch and serve.

The Results:


This recipe takes the cake when it comes to cooking carrots. Oranges and carrots are one of the culinary combinations that seem odd on the surface, but turn out to be a beautiful matchup. The citrus of the orange becomes a subtle addition to the carrots – neither overpowering nor disappearing from the dish. This dish is the textbook definition of balance flavors. The salty bacon, bite of the garlic, acid of the citrus, cream of the butter and herby influence of the rosemary all combine to create a great, even final dish. If you’re a big fan of carrots, this recipe will be one of your favorites. If you typically don’t like carrots – you may end up changing your tune after trying this recipe. Simple in preparation and great in flavor, there’s not reason not to try this dish yourself.

That’s all we have for you this evening. We’ve got two new recipes on the docket this week. Maggie takes to the kitchen on Tuesday with a vegetarian twist on a blog favorite. I’ll follow her on Wednesday with dish perfect for the summer grilling season. Be sure to stop in Tuesday night to see what Maggie has cooking. Until then,

~Cheers