
The Recipe: Chicken With Dumplings
Original Recipe Found In: The Complete America's Test Kitchen TV Show Cookbook: Every Recipe from the Hit TV Show With Product Ratings and a Look Behind the Scenes, 2001-2011
What You'll Need:
5 Pounds Bone-In, Skin On Chicken Thighs (About 12)
4 Teaspoons Vegetable Oil
4 Tablespoons (1/2 stick) Unsalted Butter
4 Carrots, Peeled & Sliced 1/4 Inch Thick
2 Celery Ribs, Sliced 1/4 Inch Thick
1 Medium Onion (Sliced)
6 Tablespoons Unbleached All Purpose Flour
1/4 Cup Dry Sherry
4 1/2 Cups Low Sodium Chicken Broth
1/4 Cup Whole Milk (Do not substitute a lighter milk)
1 Teaspoon Minced Thyme Leaves (1/4 Teaspoon dried)
2 Bay Leaves
1 Cup Frozen Peas
3 Tablespoons Minced Fresh Parsley Leaves (1 Teaspoon dried)
Dumplings:
2 Cups Unbleached All Purpose Flour
1 Tablespoon Baking Powder
1 Teaspoon Table Salt
1 Cup Whole Milk (Do not substitute lighter milk)
3 Tablespoons Melted Butter*
*The original recipe calls for the reserved chicken fat from cooking the thighs. However, since we're trying to err on the side of health and good eating - we're substituting butter in place of the chicken fat. While butter is not 'healthy' it is slightly better for you than liquified chicken fat.
Begin by patting your chicken pieces dry with paper towels and season them lightly with salt and pepper. In a large dutch oven, heat 2 teaspoons of the vegetable oil until just smoking. Add as many of the chicken pieces as possible (if the dutch oven is large enough, you should be able to do this in two batches). Cook the chicken pieces over medium heat until the outside is golden brown - roughly 5 minutes per side. Remove the cooked pieces from the dutch oven and set aside on a plate. Place the remaining chicken pieces in the dutch oven (add the remaining vegetable oil if necessary) and repeat the cooking process until golden brown. Remove and discard the skin from the chicken pieces.
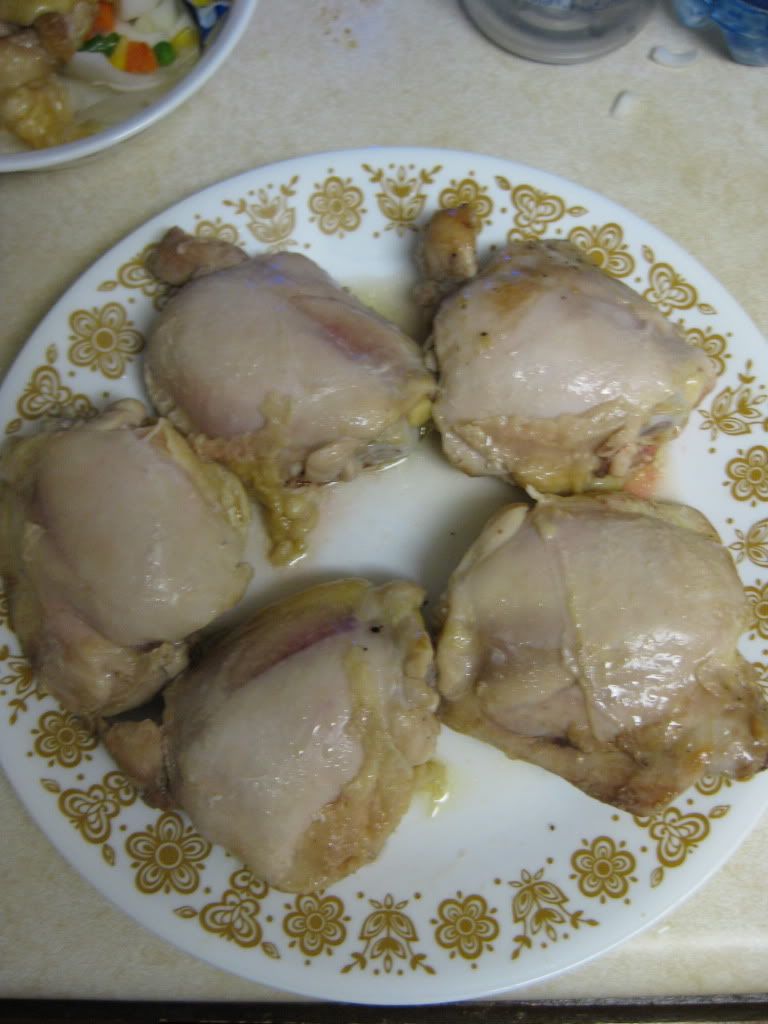
The concept of cooking the chicken skin-on first is to reduce the cooking time while maintaining the natural juices of the chicken. By cooking the chicken 'skin-on' you reserve the juices - when you remove the skin, you're allowing the juices to seep out and into whatever else you're cooking - which is great for our next steps.
Check the dutch oven to see if you need to remove any remaining chicken fat/grease. A little grease is okay, but a big pool:
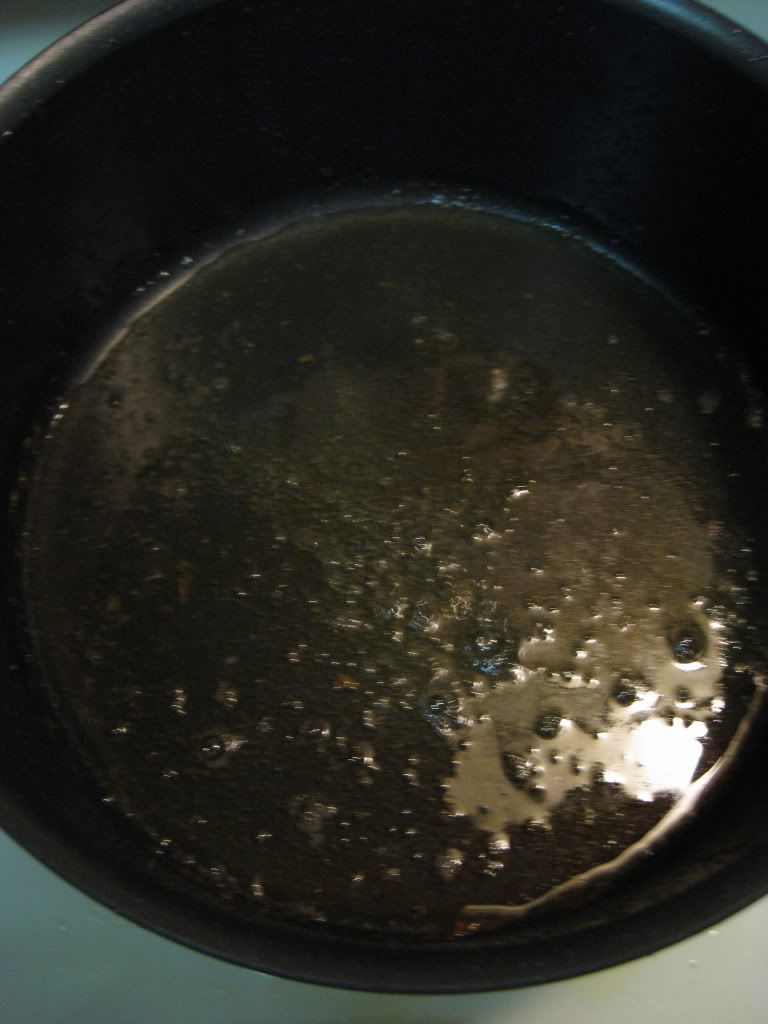
Not so much. Drain the excess grease if needed. Next, melt 4 tablespoons of butter in the dutch oven (medium heat). Add your carrots, celery, onion and 1/2 teaspoon of salt. Cook until the vegetables soften - about 8 to 10 minutes. Next, stir in the flour, combining until everything is well blended. Add the sherry, making sure to scrape up any browned-on bits from the chicken with a wooden spoon while mixing. Finally, stir in the broth, milk, thyme an bay leaves. Nestle the (naked) chicken into the pot and cover. Allow the mixture to simmer until the chicken is full cooking - roughly one hour.


Once the chicken is cooked and tender, remove the pieces of chicken from the stew and place them on a cutting board. (Now is also a good time to fish out and discard your bay leaves). Shred the chicken from the bones (after the hour long cook, it shouldn't be too hard to do) and place the meat aside in a small bowl. After you're shredded the chicken meat, return to the stew and skim off any of the excess fat/grease that may have risen to the surface. Finally, return the shredded chicken meat to the stew. Return the stew to a simmer and add the peas and parsley.
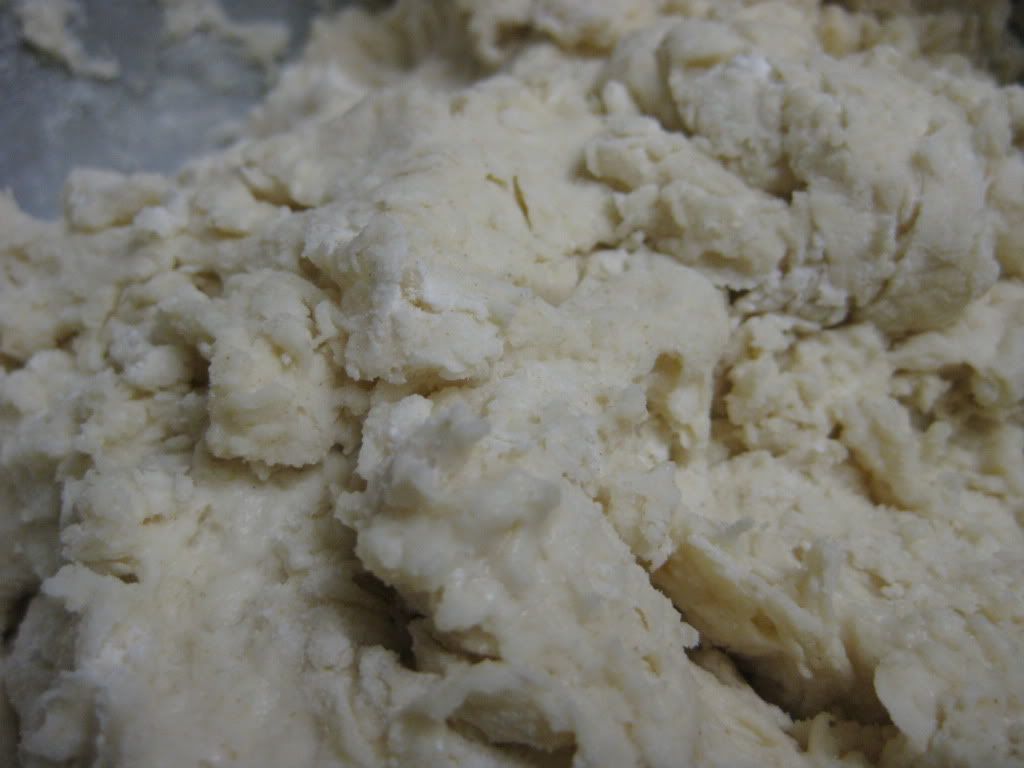
Now you can begin to work on your dumplings. In a medium bowl, combine the flour, baking powder and salt. Next, microwave the milk and melted butter in a small bowl (high power) for about 45 seconds to 1 minute. You want to heat up the mixture, but not cook it. Adjust the cooking time based on your microwave's power.
Stir this warmed milk mixture into the flour bowl. Combine until the mixture is smooth and well mixed.
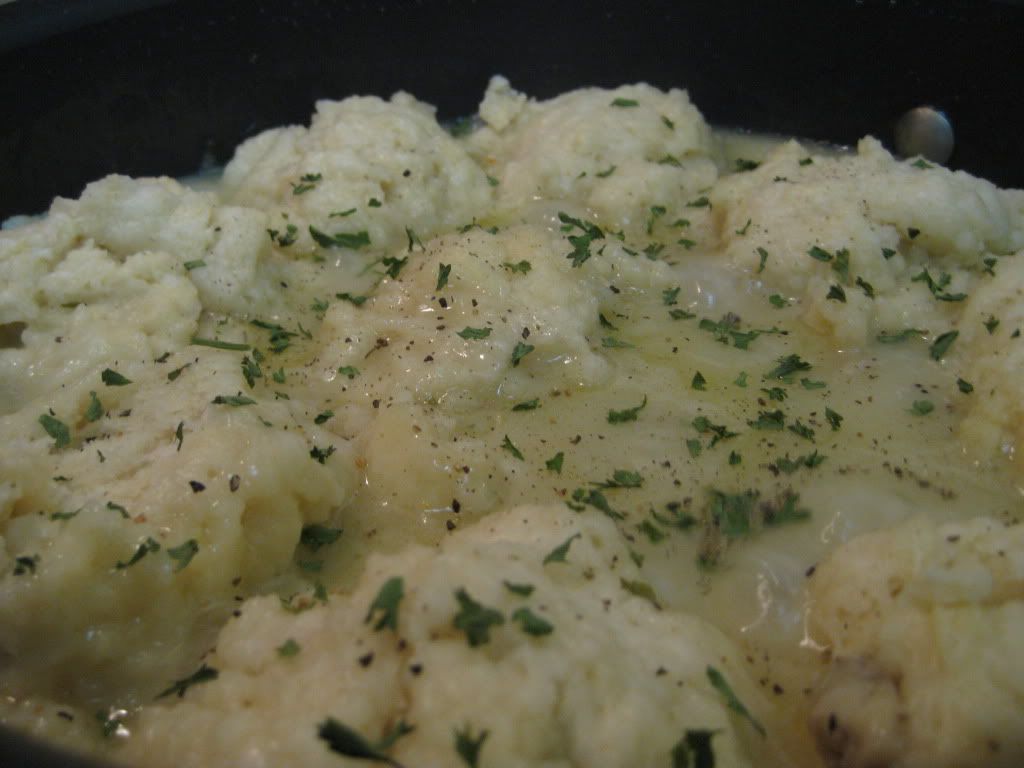
Using a wooden spoon or cookie scoop - drop golf ball sized dough balls on the top of the stew (leaving about 1/4 inch of space between each ball). Reduce the heat to low and allow to cook until the dumplings have doubled in size. This should take about 20 to 30 minutes.
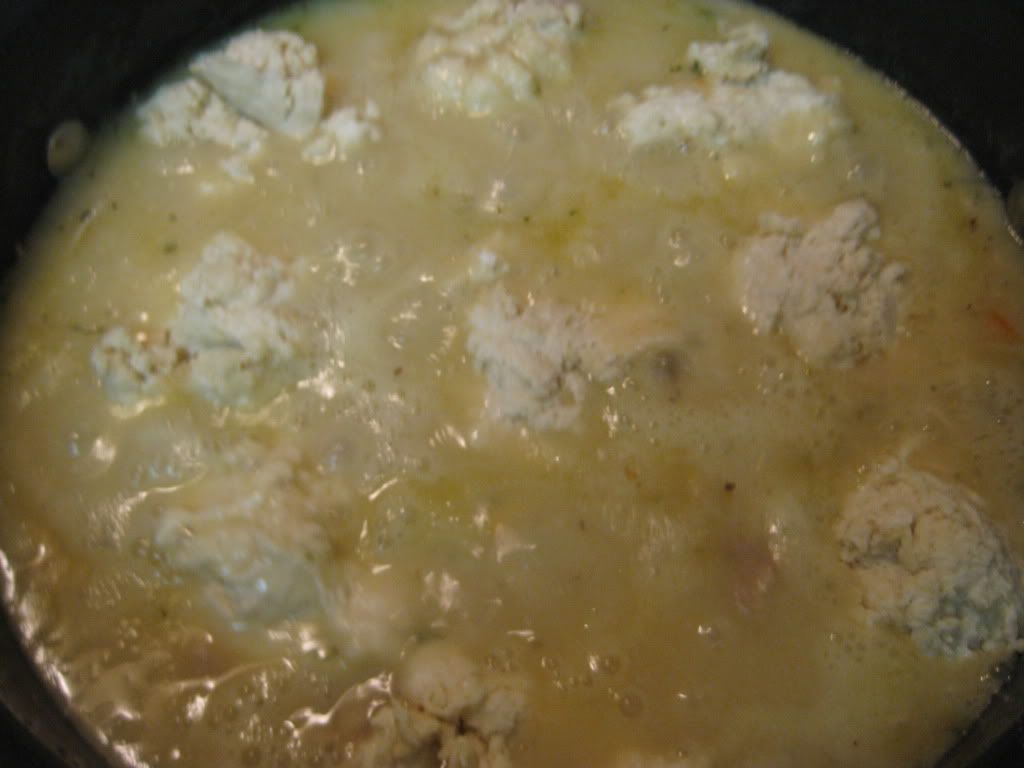
Serve and enjoy!
The Results:
One of the time saving cheats for this recipe is using ready-made biscuits and simply serving the stew on top of those. While that may work for those in a time crunch, I feel that the homemade dumplings really make the dish. The stew itself boasts great flavor and an amazing aroma. Add in the fresh, slightly doughy dumplings and the dish moves to a brand new level. Simply delectable. A great way to end the week. (And, as a bonus, there are a lot of leftovers to enjoy for lunch the next few days!)
That's all we have for you this week! Maggie heads into surgery tomorrow morning, and should be out be early afternoon. We'll return to the world of blogging and cooking as soon as we can. Until then,
~Cheers
No comments:
Post a Comment