
Good evening everyone! On tonight's menu, we're trying something that I've always wanted to make - chicken pot pies. Now, the modern day chicken pot pie has become demonized and a little 'overused'. The frozen food industry has turned what used to be a healthy hodgepodge of chicken and veggies into a sodium filled, preservative laced bowl of 'yuck'.
By returning to its roots, however, you can turn this humble dish into a healthy eating option. Remember, healthy eating is only about low calories - as Jamie Oliver likes to point out, you can completely change your lifestyle simply by eating with fresh foods and cooking things yourself. That beings said, tonight's dish is also light on calories (win - win situation right there) due to the unique way we're preparing it. Without further ado, let's get cooking!
The Recipe: Individual Chicken Pot Pies
Original Recipe Found In: Cooking for Two: 2010
What You'll Need:
(Makes 2 individual pot pies)
1 Savory Pie Dough Recipe*
2 Tablespoons Unsalted Butter
2 Carrots (Peeled, sliced 1/4 inch thick) **
1 Small Onion (Minced)
1 Small Celery Rib (Sliced 1/4 inch thick)
2 Garlic Cloves (Minced)
1 Teaspoon Fresh Minced Thyme (1/4 teaspoon dried)
1/4 Teaspoon Soy Sauce
3 Tablespoons Unbleached, All Purpose Flour
1 3/4 Cups Low Sodium Chicken Broth
1/3 Cup Heavy Cream
(1) 8 Ounce Boneless, Skinless Chicken Breast (Trimmed of fat)
1/4 Cup Frozen Peas
2 Teaspoons Fresh Minced Parsly (1/2 teaspoon dried)
1/4 Teaspoon Fresh Lemon Juice
*You can choose to make your own crust, which is preferred, or if you so wish, you can opt to go the easy route and buy a store brand. While the chefs at America's Test Kitchen really don't like the second option, they do recommend the Pillsbury brand of refrigerated pie crust. They note that the flavor is not as great as making the dough yourself, but in a pinch, the pre-made version would be a suitable substitute. Tonight, I'm choosing to use a the pre-made crust. Admittedly, I wanted to make the homemade version (I prefer things from scratch) but I had a slight time crunch and this would help cut another 30 minutes of the preparation time.
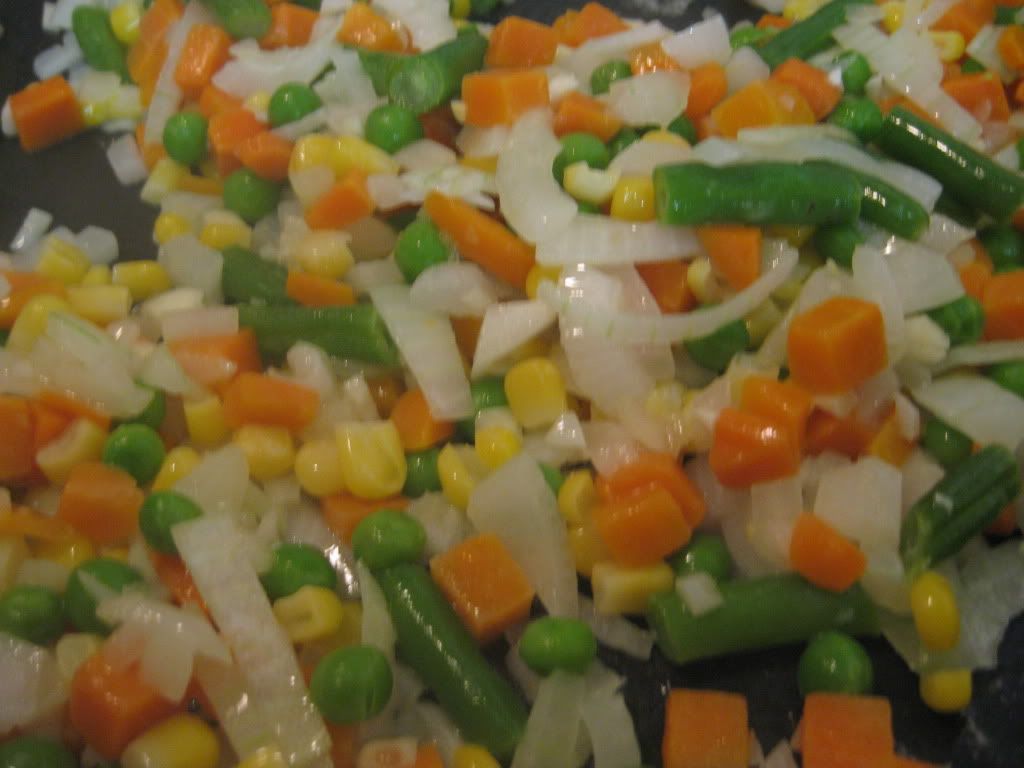
** If you're in a pinch for time, you can substitute the fresh veggies for the frozen vegetable medley alternative. We've found many store brands and name brands that contain carrots, corn, beans and peas and this method is a lot faster than chopping and peeling all of the veggies yourself. You sacrifice a little of the fresh flavor, but speed up in cooking time in return. We've found that 1 cup of frozen veggies substitutes nicely for the carrots, celery and peas in this dish.
Begin by adjusting your oven rack to the middle position and preheating your oven to 450 degrees.
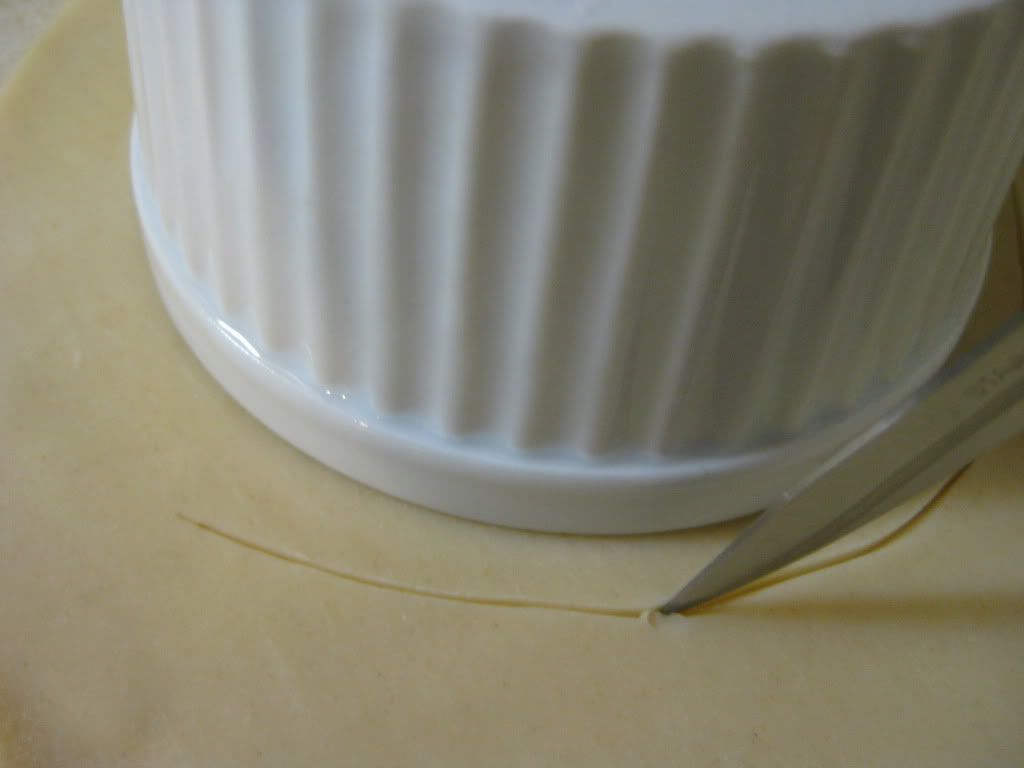
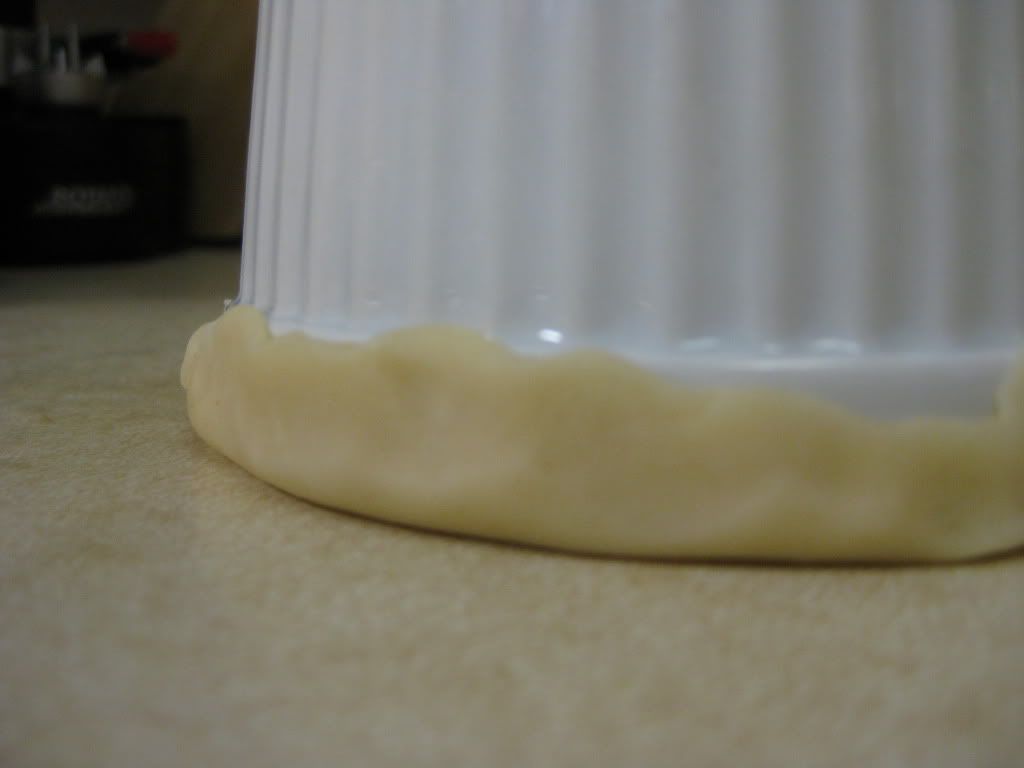
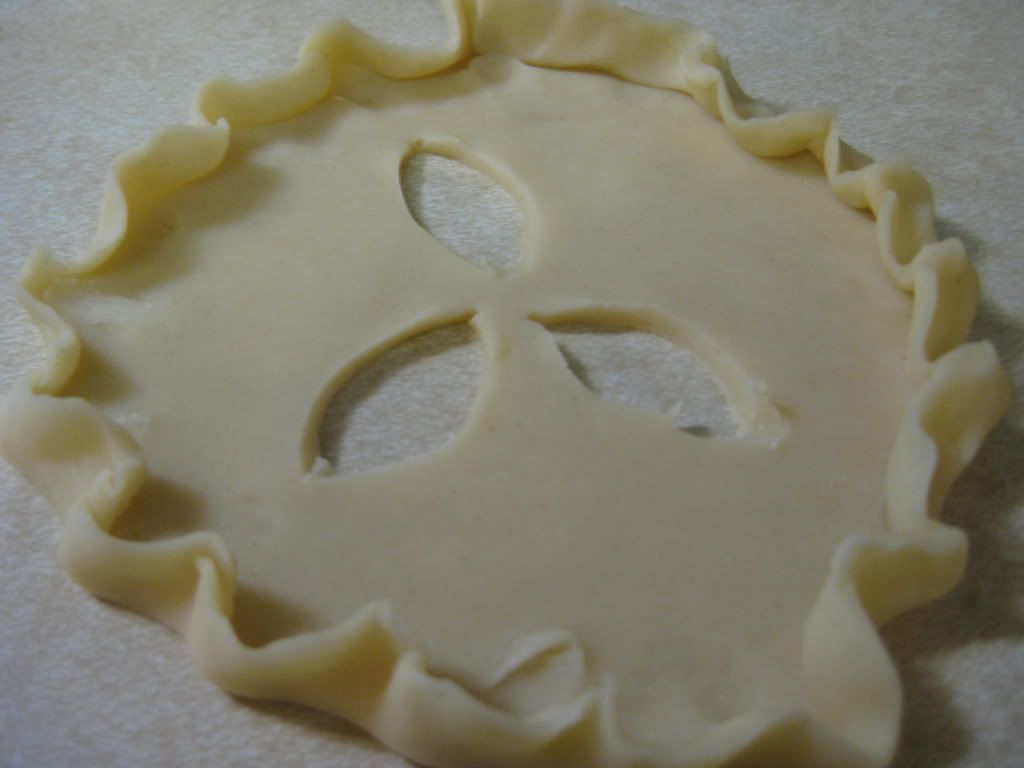
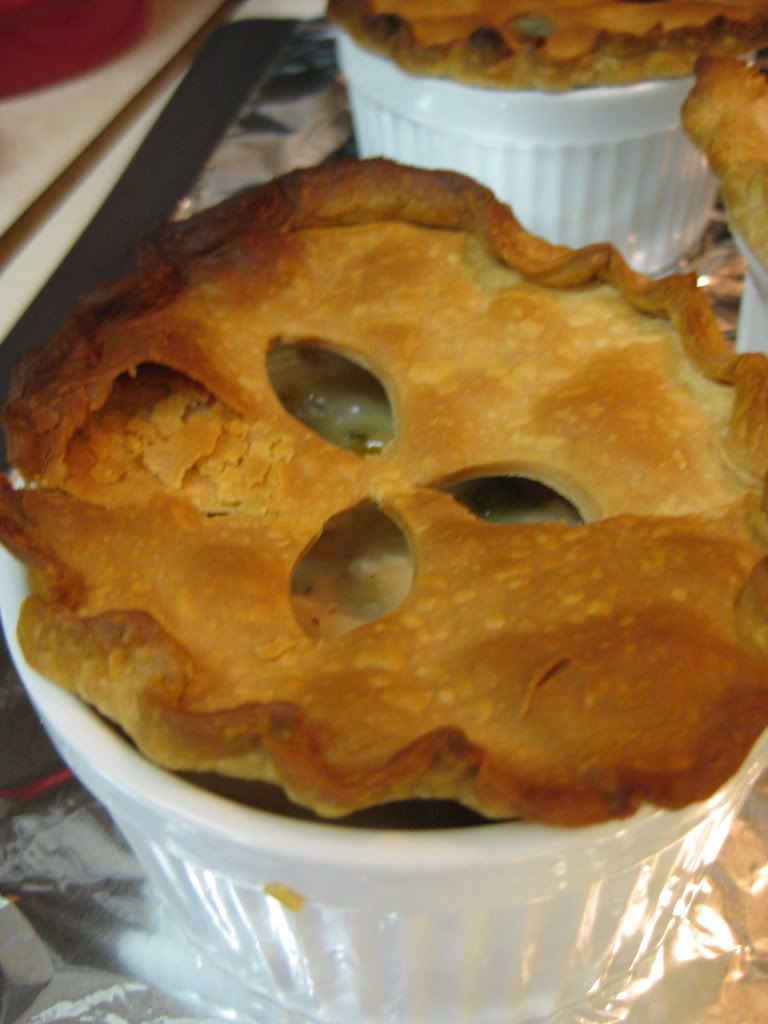
Next, roll out your pie dough onto the counter top. Using a 12 ounce ramekin as a guide, trim a circle about a 1/2 inch wider than the ramekin into the pie dough. Cut 3 ovals into the center of the pie dough (as pictured) to act as vents. Fold the excess edge up around the ramekin, then pinch the newly created lip between your index finger and thumb to create a ruffled edge. Repeat this process again to create a second lid. Place the dough on a greased baking sheet and cook for 7 minutes if you're using ready made dough - if you're using the dough recipe, cook for about 10 to 12, or whenever the dough no longer looks raw. (Set the lids aside when done)
While the dough bakes, add the butter to a medium skillet over medium heat. Add your onion, carrots and celery with a pinch of salt and cook until softened and lightly browned, roughly 8 to 10 minutes. Alternatively, if you are using frozen veggies, add them to the onion and butter mixture but reduce the cooking time to about 5 minutes.
Once browned, stir in the garlic, thyme and soy sauce and cook until fragrant, roughly 30 seconds. Next, stir in the flour and mix until well combined.
Begin whisking in your broth and cream. Use a wooden spoon to work up any browned bits on the bottom of the skillet. Nestle in the chicken breast and bring the mixture to a simmer. Cover the skillet and cook until the chicken breast reaches 165 degrees. This should take about 15 to 20 minutes. Once at 165 degrees, transfer the chicken to a plate and allow it to cool before shredding it with a fork.
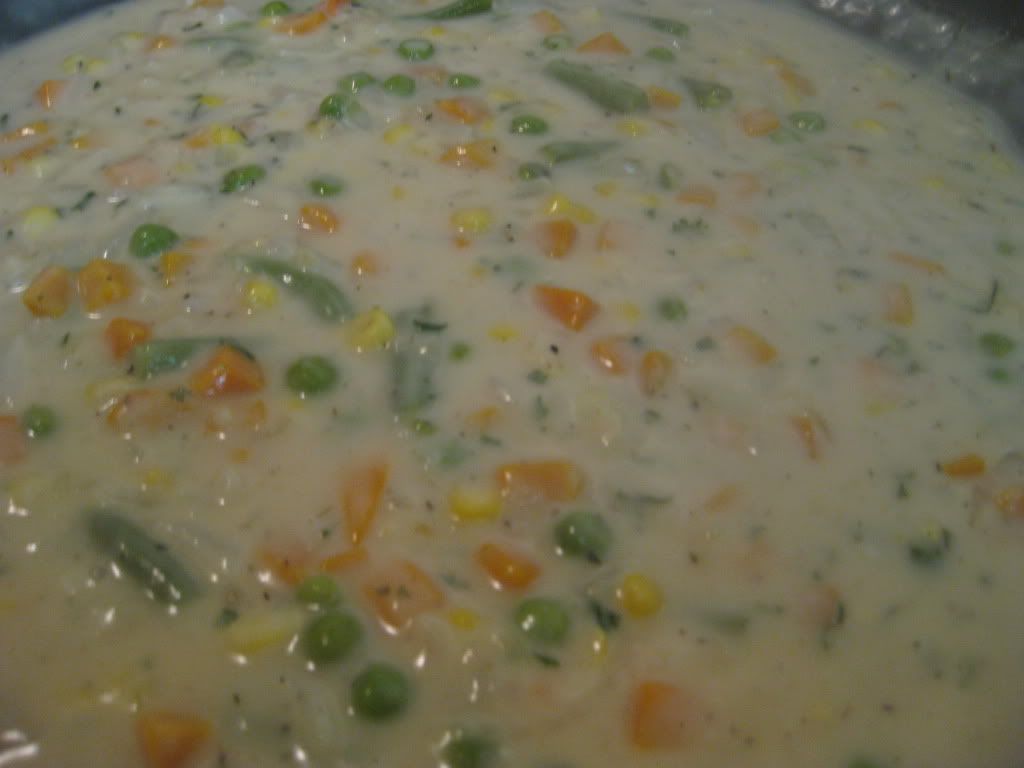
Meanwhile, return the skillet to heat and allow the mixture to simmer until the sauce thickens and reduces slightly, roughly an additional 5 to 7 minutes. Off of the heat, return the shredded chicken to the skillet. Also add the parsley, lemon juice and peas (if you are not using the frozen vegetable mixture - which already likely has peas in it). Season with salt and pepper to taste.
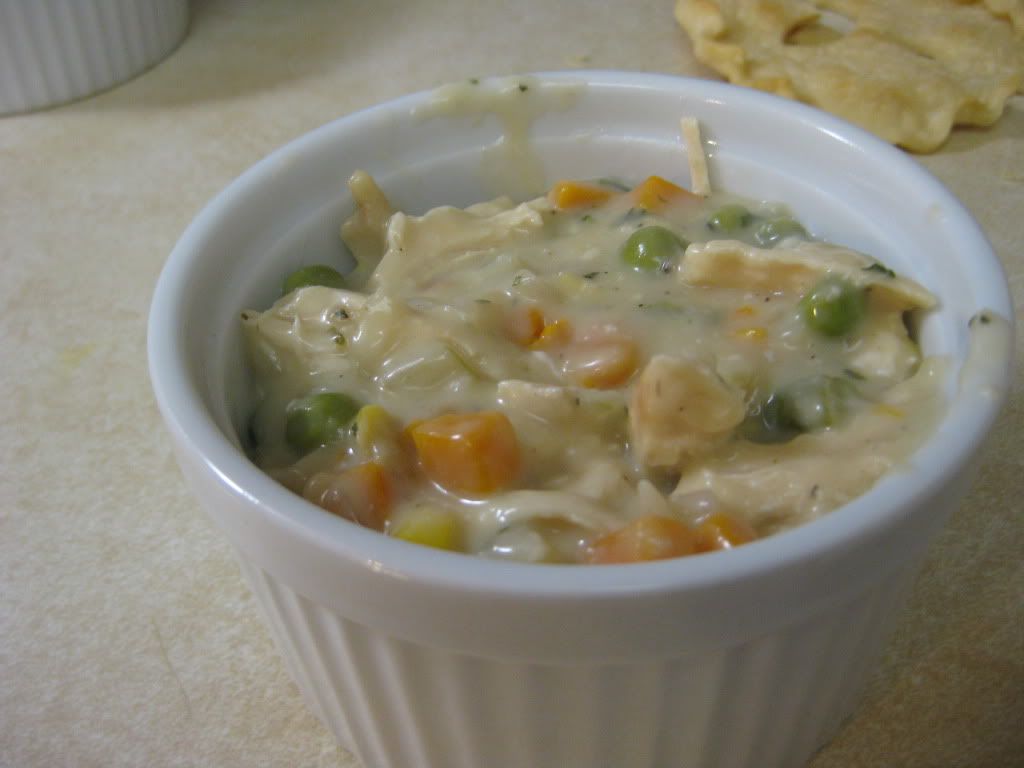
Next, split the mixture evenly between two ramekins and cover each with the dough lids from the first step. Place the pot pies on a baking sheet and cook in the oven (450 degrees) until the crusts are a deep golden brown and the filling is bubbling. About 10 to 15 minutes. Allow the pies to cool for 10 minutes before serving and enjoy!
The Results:
Savory and amazing. We've dabbled with this basic premise before, (heavy whipping cream, chicken broth and veggies) so I knew going in that we were going to end up with a fantastic, creamy and full of flavor mixture. Thankfully, I was right. Rich, creamy and bursting with flavor this pot pies' filling was everything that the modern frozen pot pie is not. In addition, the crispy flaky crust provided a nice extra touch to this dish. Each pot pie was sized about right, just big enough to leave you feeling full, but no so big that you gorge yourself and eat too much. (Yes, too much of a healthy dish is still a bad thing - everything in moderation - remember?)
A relatively easy dish that can quickly be customized (due to the individual nature of preparation) with a great flavor? That's a recipe for 'try this one at home' right there. It will be well worth the effort.
That's all we have for you this week. Thank you for stopping by and reading our cooking expeditions for another week, our site's traffic is higher than it has ever been. It's great to see! We're back on Monday with another 'Around The Culinary World' until then,
~Cheers
No comments:
Post a Comment