
Now, almost a full year later, I am more experienced, and better equipped. I decided that now was the time to face my first blogging failure. I was going to take on the crunchy garlic chicken and this time I would kick it's (hopefully delicious) rear end!
The Recipe: Crunchy Garlic Chicken
Original Recipe Found In: Jamie's Food Revolution
What You'll Need:
(Serves 2)
2 Boneless, Skinless Chicken Breast Fillets
1 Clove Of Garlic
1 Lemon
10-12 Unsalted Saltines*
2 Tablespoons Butter (Unsalted)
4 Sprigs Fresh Parsley (1/4 to 1/2 Teaspoon Dried)
2 Tablespoons All Purpose Flour
1 Large Egg
*The original recipe calls for 6 unsalted saltines, but I've found that with the butter, 6 simply isn't enough. The crackers become 'sticky' and group together - 10 to 12 makes the mixture much more usable.
Preheat your oven to 475 degrees.
Begin by placing your crackers, garlic, lemon zest, butter and parsley into the bowl of a large food processor. Pulse for about 15 to 20 seconds or until the mixture is a very fine powder. As I learned during my first crack at this dish, this is the most important aspect of this recipe. You have to have a very fine powder for the breading to work at all. I found that 30 seconds to a minute of full pulsing (with a few second breaks) was the best way to get a fine cracker mixture, like the one pictured below.
 |
| Lemon zest, much better than the first time |
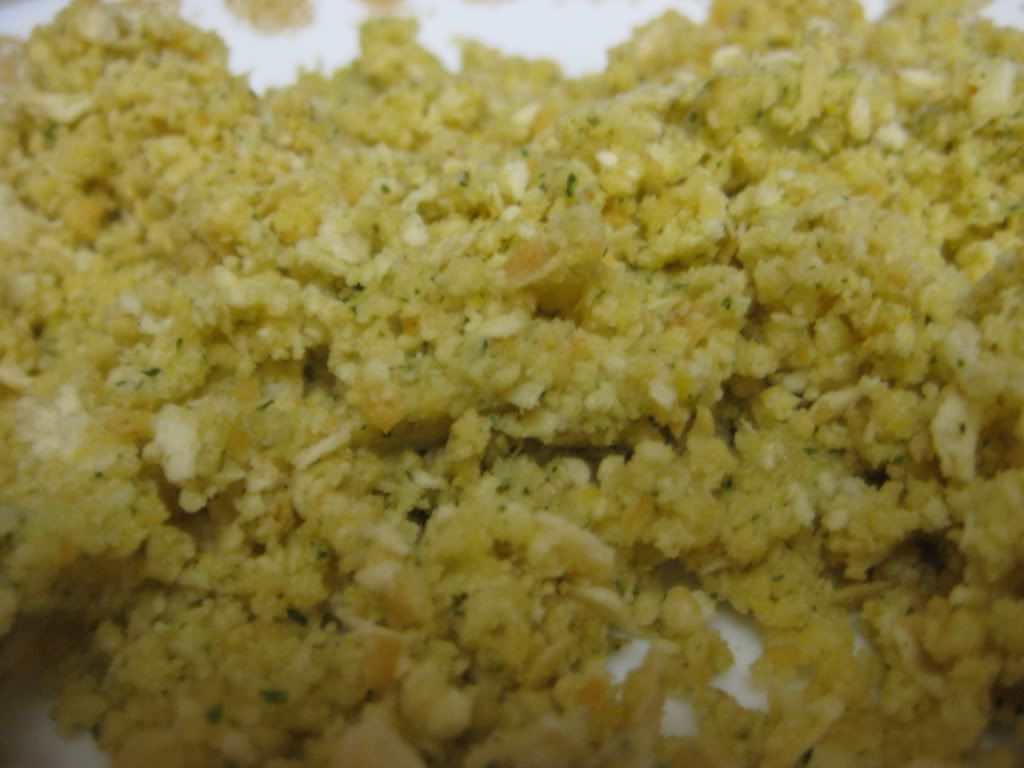 |
| Breading mixture - finely ground |
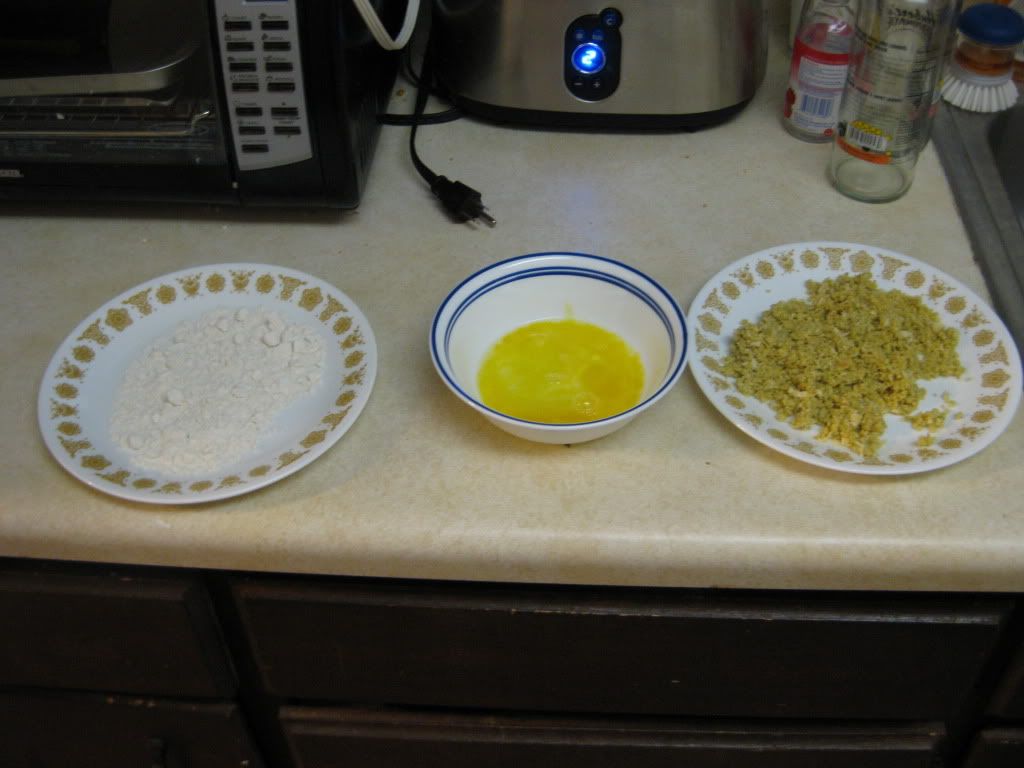
Pour the bread crumb mixture into a large bowl. Next, add your flour to a large plate or bowl and crack the egg into a second bowl. Much like every breading recipe we've ever tried, it's time to set up an assembly line. Place the flour plate first, followed by the egg and finally the bowl with the breading mixture.
Using a paring knife, score the underside of the chicken breasts lightly. Place a small square of plastic wrap over the breast and use a meat tenderizer to flatten out the chicken. You're looking for 1/4 to 1/4 inch of thickness here. The scoring should help the chicken flatten out a little easier - reducing the stress on both your arm and your countertop!
Now you're ready to begin breading the chicken. First, dip the breast into the flour, making sure that it's completely covered. Shake off any excess flour. Dip the chicken into the egg mixture, allowing the excess to drip off. Finally, press the chicken into the bowl of breading, making sure every portion of the chicken is covered.
Finally, place the chicken breasts on a wire rack over a baking sheet.* Place the chicken in the oven and cook for 15 minutes or until the center of the breast measures 165 degrees. Slice the breasts into strips, or serve whole with a side of lemon and enjoy!

*Previously, I had pan fried the chicken. But, over the past year I've found that breading and oil frying tends to...well...not always work. I have had a lot of success using the wire baking rack over a baking sheet, however, so tonight I opted to 'wing' it and use my previous experience to help me with the recipe.
The Results:
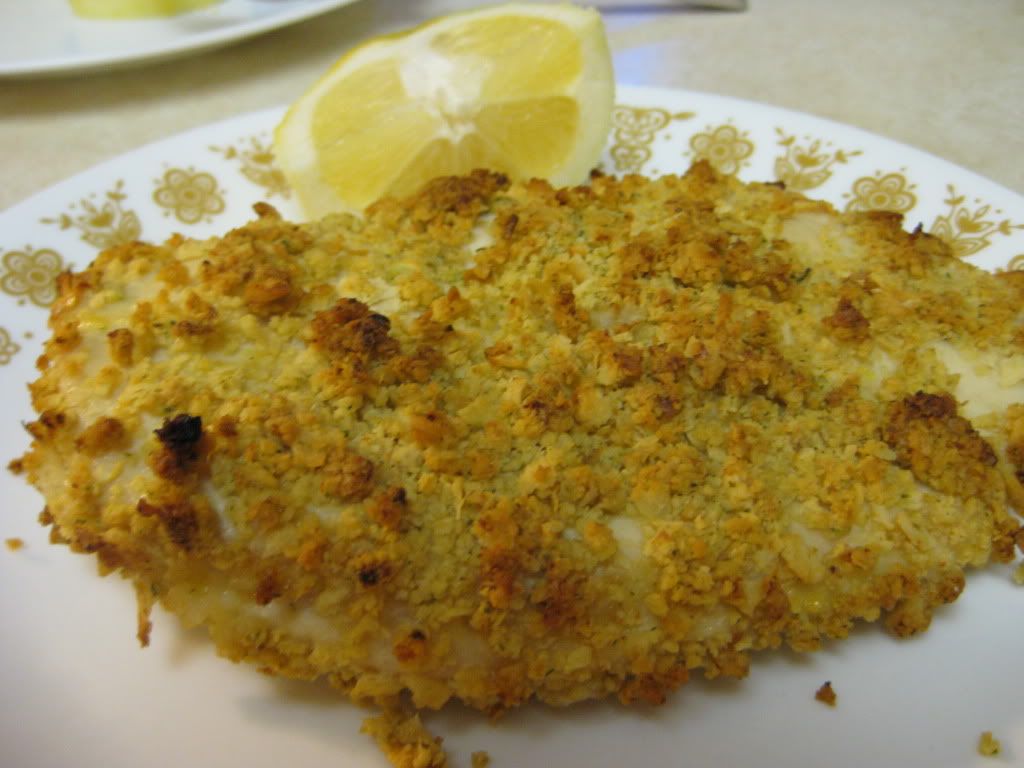
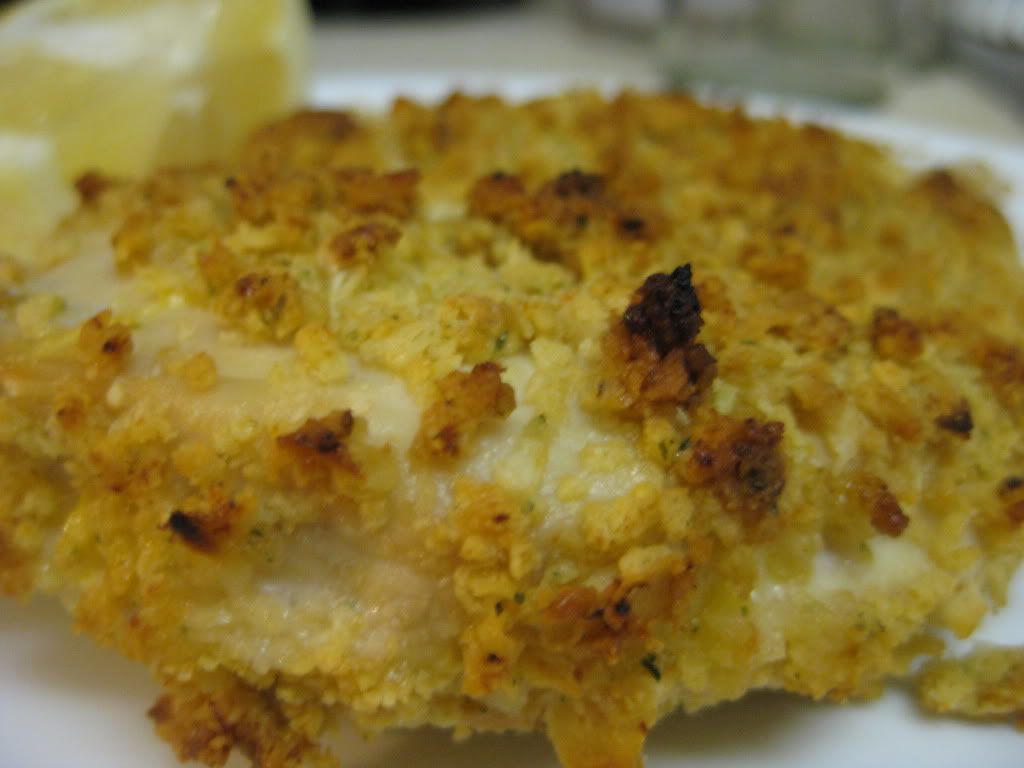
It's amazing what a little more cooking experience, the right equipment and more confidence can do for you. Tonight's revisit turned into a huge success. The chicken was perfectly breaded, crispy, crunchy and full of flavor. The lemon didn't dominate the dish - instead it simply complimented the overall flavor. I certainly prefer the baking method to the oil frying method - both for the reduced fat content and for the ease of an all around browned finished product. The oven cooks the breast evenly and crisply, certainly the recommended way to go! (Although I still stand by my 'it should be named lemon chicken assertion - the lemon flavor is certainly the dominant one of the dish)
That's all we have for you this week. We're back on Monday with another Around The Culinary World. Be sure to stop in then to see what's new in the world of food and cooking. Until then, enjoy your weekends everyone!
~Cheers
No comments:
Post a Comment