
The Recipe: Classic Pot Roast
Original Recipe From: America's Test Kitchen (Season 11) TV Show
What You'll Need:
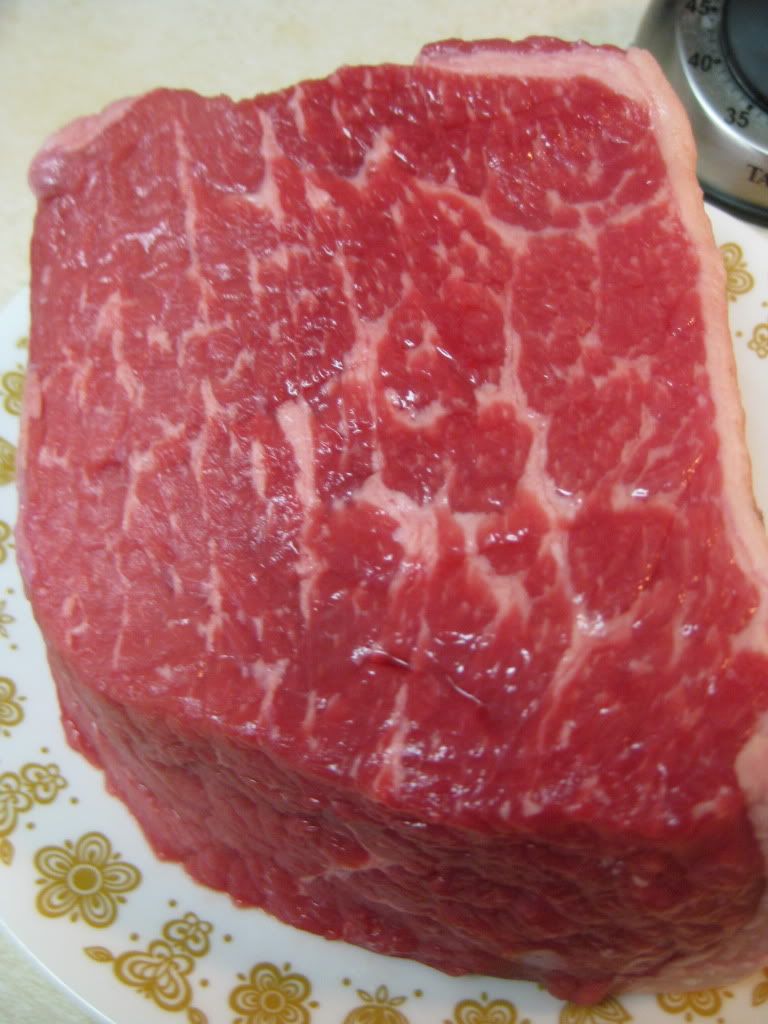
1 X 3-4 Pound Boneless Chuck Eye Roast *
2 Tablespoons Unsalted Butter
2 Medium Onions (Sliced thin)
1 Large Carrot (Chopped medium)
1 Celery Rib (Chopped medium)
2 Garlic Cloves (Minced)
1 Cup Beef Broth (Plus 1 to 2 cups for sauce)
1/2 Cup Dry Red Wine (Plus 1/4 for sauce)
1 Tablespoon Tomato Paste
1 Bay Leaf
1 Sprig Fresh Thyme Leaves (Plus 1/4 teaspoon chopped fresh thyme)
1 Tablespoon Balsamic Vinegar
* Chuck eye roast is the preferred cut of meat for this recipe because of its heavy marbling. The thick ribbons of fat that run through this roast will melt down during cooking, adding amazing amounts of flavor to the dish. You can choose shoulder or rump roasts, however, they will be a bit leaner and therefore be a little tougher (muscle tissue doesn't break down like fat does) but it should still yield an amazing dish.
To prepare the chuck eye roast, you'll want to split it at its natural seam. Pull the roast in to two sections at this seam and cut off the thick, nobby portions of fat from each side. The ribbons of fat you can leave, but anything that is large or rough to the touch should be trimmed off. These fat portions will not melt like the other fat, instead they will 'gum up' and become tough, chewy, gristly portions of the roast. Obviously, you don't want that!
After the beef is trimmed, sprinkle the roast with 1 tablespoon of salt. Place the beef on a wire rack and let sit at room temperature for an hour. Just like brining a chicken, this step will add great amounts of moisture to the roast. Unlike chicken or turkey, however, beef contains a lot of natural moisture. By adding salt to the equation, you are opening the proteins of the beef, which draw in more of the salt from the surface. This salt creates a natural barrier within the beef, preventing the moisture from escaping while cooking. When you brine a chicken in water, you are opening the proteins and pulling in the salt water solution. This process works the same for beef, but adding more water would ruin the beef - so you simply allow the salt in and let the natural juices do their job.
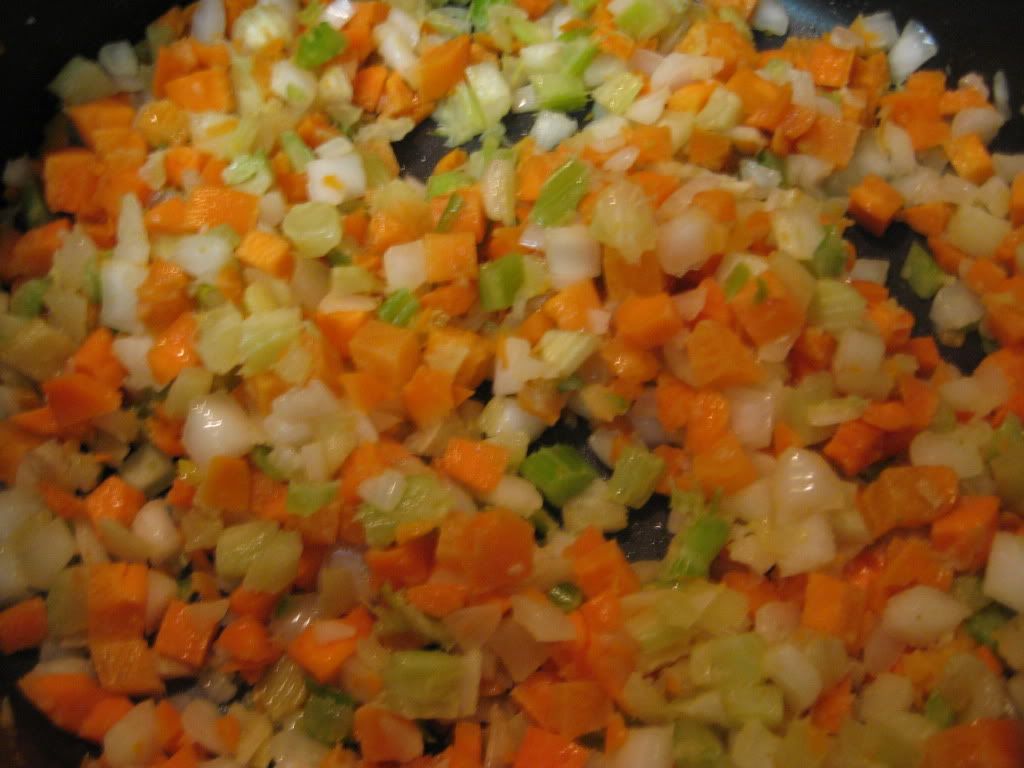
After an hour, you're ready to start cooking! Begin by adjusting the oven rack to the lower-middle position and heating the oven to 300 degrees. In a large dutch oven, melt the 2 tablespoons of butter on medium high heat until lightly bubbling. Next, add your onions and begin to brown them, stirring constantly on medium heat until they soften and turn a light golden color. This should take about 8 to 10 minutes. Add the carrots and celery, stirring occasionally, allow this mixture to cook for another 5 minutes.
Next, add the garlic and cook until fragrant - roughly 30 seconds. Finally, add the 1/2 cup of red wine, the cup of beef broth, the tomato paste, bay leaf and thyme. Bring this mixture to a simmer.
If you are using a chuck eye roast, you'll want to use cooking twine to turn the two pieces into 'meat loaves' essentially rolling them up into longer tubes to get a better, more even cooking surface. I opted to use a shoulder roast, which was already in a convenient cooking shape - so we did not have to do this step.
Nestle the roast on top of the vegetables and cover the dutch oven with aluminum foil and the lid. The aluminum foil prevents any and all moisture from escaping the dutch oven while cooking. Place the pot in the oven and allow to cook for 3 1/2 to 4 hours - making sure to turn the roast about 1/2 way through cooking.
Now, you may be asking yourself if we missed a step. After all, most roasts have some sort of browning step during the preparation process. Browning causes a chemical change at the surface of the meat that bonds some of the proteins and fats together - creating a very delicious flavor. As such, nearly every recipe I've ever done for a roast has told me to brown the meat. However, the folks at America's Test Kitchen have discovered that you do not need to brown the roast if you're cooking the meat at a relatively low temperature for a long period of time. After 3 hours at 300 degrees the meat will actually have browned on its own in the pot. This negates any need for browning in the early stages.
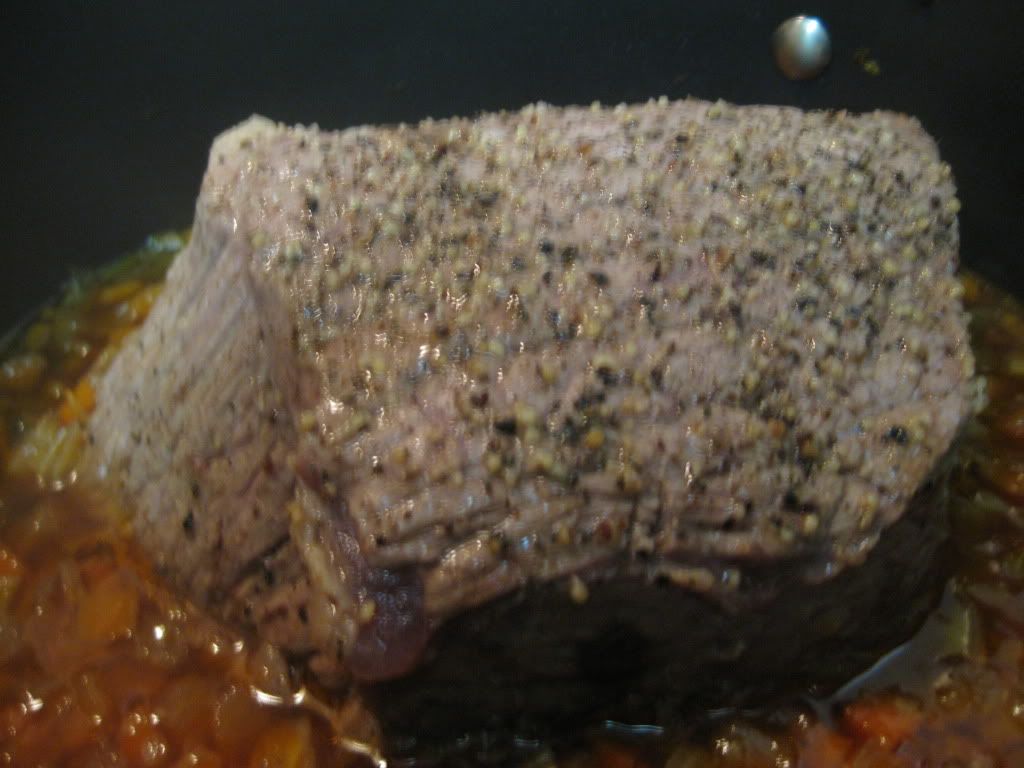 |
| 1/2 way through and already nicely browned |
Transfer the roasts to a cutting board and tent loosely with foil. Strain the remaining juice/vegetable mixture through a mesh strainer and into a 4 cup measuring cup. You are shooting for about 3 cups worth of liquid here, and will likely have somewhere between 1 1/2 to 2 cups after straining. Simply add beef broth to the mixture to bring the total up to 3 cups.
Remove and discard the bay leaf and thyme sprig. The vegetables that got caught in the strainer can still be used to your advantage. Transfer these vegetables into a blender and add the 3 cups of beef broth / strained juices to the vegetables. Blend this mixture until everything is smooth and there are no lumps. Transfer this sauce to a medium saucepan and bring to a simmer over medium high heat.
Begin slicing the roast into fairly thick cuts - roughly 1/2 inch thick (too thin and the roast will fall apart). When the sauce is simmering, add the red wine, thyme, balsamic vinegar and a dash of salt and pepper to the sauce. Mix well. Serve this sauce over the roast and enjoy!
The Results:
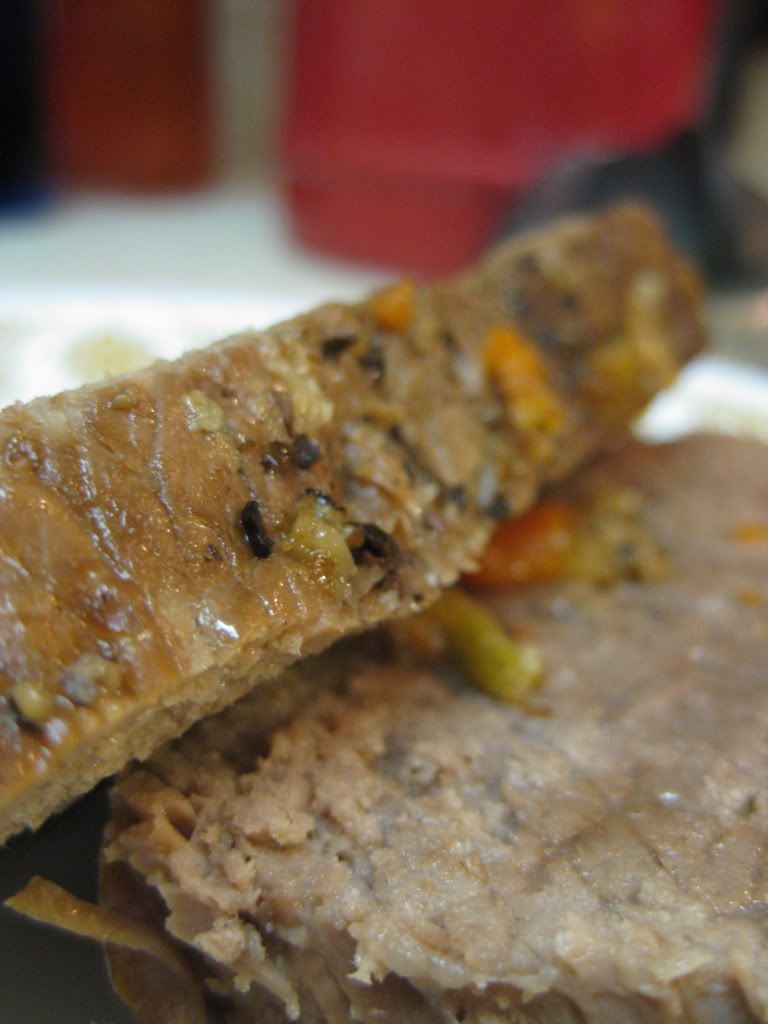
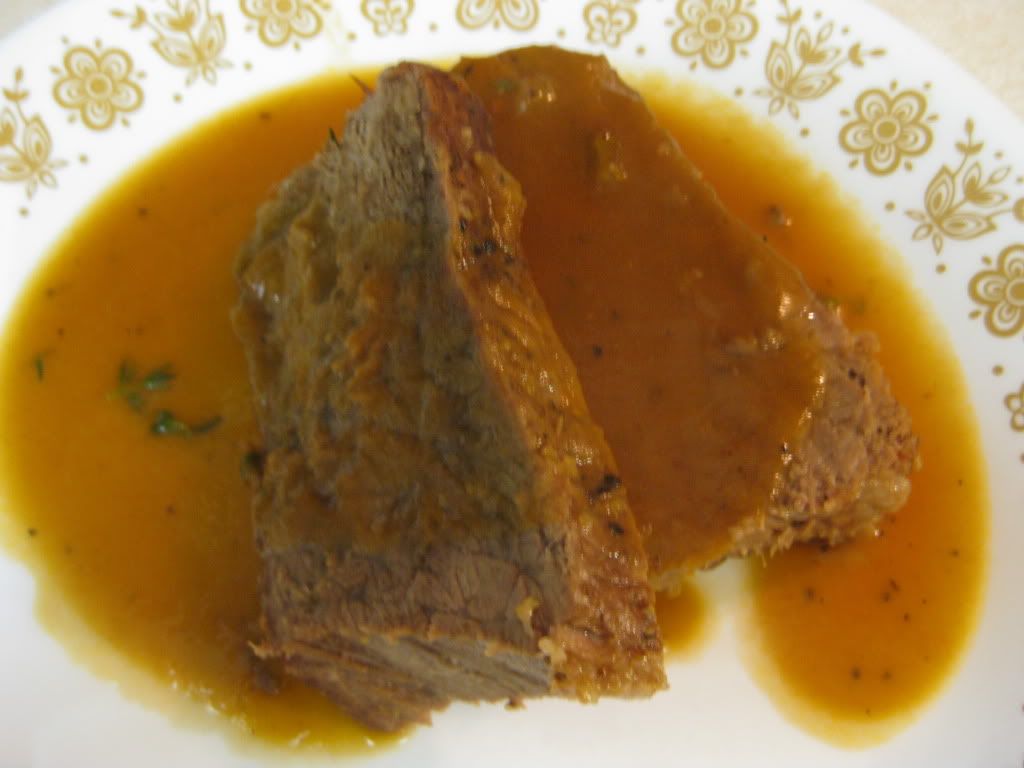
There are three guarantees in life; death, taxes and America's Test Kitchen recipes. This dish is the pinnacle of pot roast. The flavors are simply out of this world delicious. The meat was perfectly tender and soft enough to cut with a fork. The 1 hour salt process proved useful as the meat was still perfectly full of natural juices - a hard trick to pull of when you're cooking something for 3 to 4 hours! All in all, this recipe, while a long one, is a must try for everyone at home. It would make a great addition to the table for holidays or special occasions or even just a nice 'stay home with the family Sunday night meal'. You simply owe it to yourself to try this dish at home! You'll be glad you did.
That's all we have for you this week. We're back once again on Monday with another edition of Around The Culinary World so be sure to stop in for that. And, as always Maggie and I will have two new recipes to test out - it's sure to be a lot of fun! See you next week,
~Cheers
No comments:
Post a Comment