I recently found a recipe from America's Test Kitchen that caught my eye. The flavor combination and accompanying side dish sounded like a sure hit to me. There was, however, one small problem. The great cooks at America's Test Kitchen have a thing for chicken skin. They like to brown it up and make it nice and crunchy - and then (of course) eat it. Now, if you're splurging or a culinary puritan - there is certainly nothing wrong with eating a little chicken skin. However, if you're like us and are trying to eat healthy and take care of your arteries - the fat infused skin is not something you typically eat.
That posed a dilemma for me with this recipe as the entire point of the recipe was to produce nice crispy browned skin on top of flavorful chicken. I wanted to recreate the chicken but I didn't need to waste all the extra time and effort on creating beautiful golden brown crunchy skin. So, I started adapting the recipe to our needs. We'll get into the specific changes as we cross them, but just so you're aware, I'll be posting the original recipe instructions along with our 'healthy version' adaptations. You can follow along with either version you wish. Let's get cooking!
The Recipe: Crispy Chicken Thighs With Snap Peas
Original Recipe Found In: Cooking For Two
What You'll Need:
1 Tablespoon Unsalted Butter (Softened)
1 Small Garlic Clove (Minced)
1 Teaspoon Minced or Grated Fresh Ginger
1/4 Teaspoon Five Spice Powder*
4 Bone-in, Skin On Chicken Thighs (Brined if desired)
2 Teaspoons Olive Oil
9 Ounces Snap Peas (about 4 1/2 cups)
1 Teaspoon Rice Vinegar
* Five spice powder is not as hard to track down as one might think. Swing by the Asian food section of your local grocery store or Target - I'm sure you'll find it. In fact, even Tone's makes a variant of five spice powder ($.99) so don't fret about spending big bucks or searching all over town for this ingredient.
Adjust your oven rack to the middle position and heat the oven to 450 degrees. If you're going for the crispy skin (hereby called original) recipe - line the bottom of the a broiler pan with aluminum foil and place the broiler pan top over the bottom.
If you're going to give our healthy version a try, simply add 1 tablespoon of olive oil to the bottom of a non stick (oven safe) dutch oven.
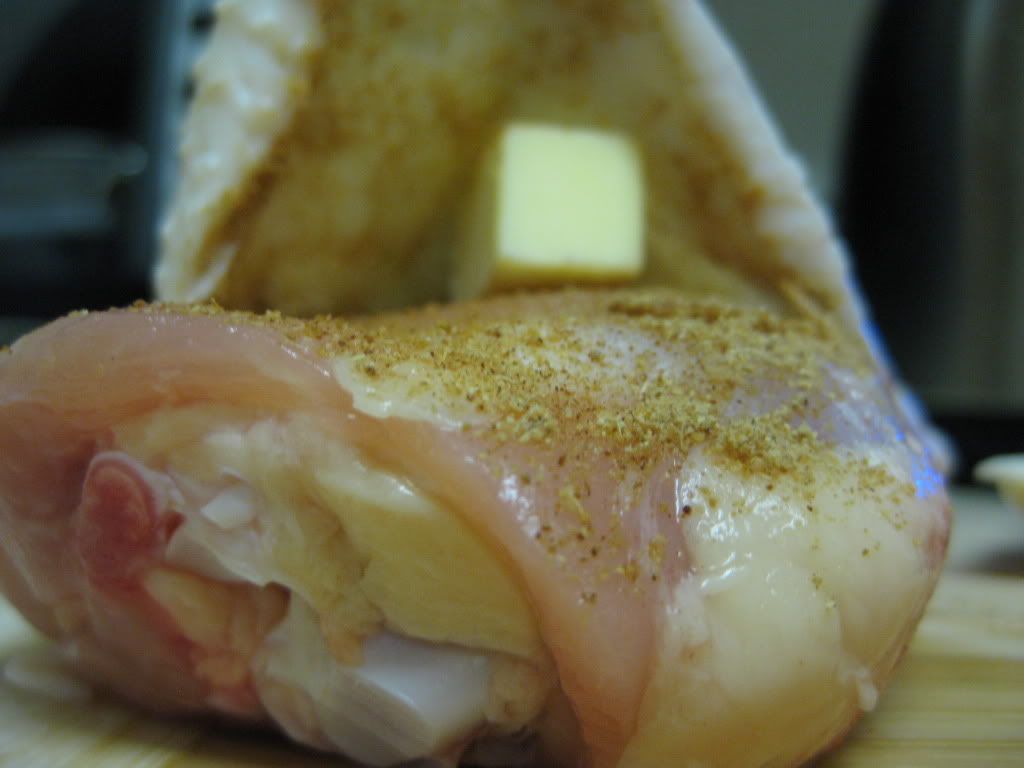
In a small bowl, combine the five spice powder, garlic, ginger and butter. Mix until combined. Now, I've found in my many cooking experiences over the past year and a half that mixing 'softened' butter with anything hardly ever works like it should. You typically end up with a clumpy mess or a runny mess. So, I adapted this step for easier use. I mixed the ginger, garlic and five spice powder separately and sectioned the butter into 4 equal pieces.
Carefully lift the skin from the thigh on the chicken and place the butter / spice mixture under the skin. If you're separating the butter and spices, rub 1/4 of the spice mixture under the skin and place the butter on top of the spices in the center of the chicken.
If you're following the original recipe, carefully take a paring knife and make three diagonal slits through the skin but do not puncture the meat underneath. This will allow the fat in the skin to render faster when the chicken is in the oven (this speeds up the cooking process for the chicken skin).
Place the chicken (skin side up) on the top of the broiler pan if you're following the original recipe or into the dutch oven if you're opting for the healthy variant. Roast the chicken in the oven for 30 to 40 minutes if you're using the broiler pan (until the chicken reaches 160 to 165 degrees). Alternatively, if you're using the healthy variant, cover the dutch oven and roast for 20 to 30 minutes until the chicken reaches 175 degrees.
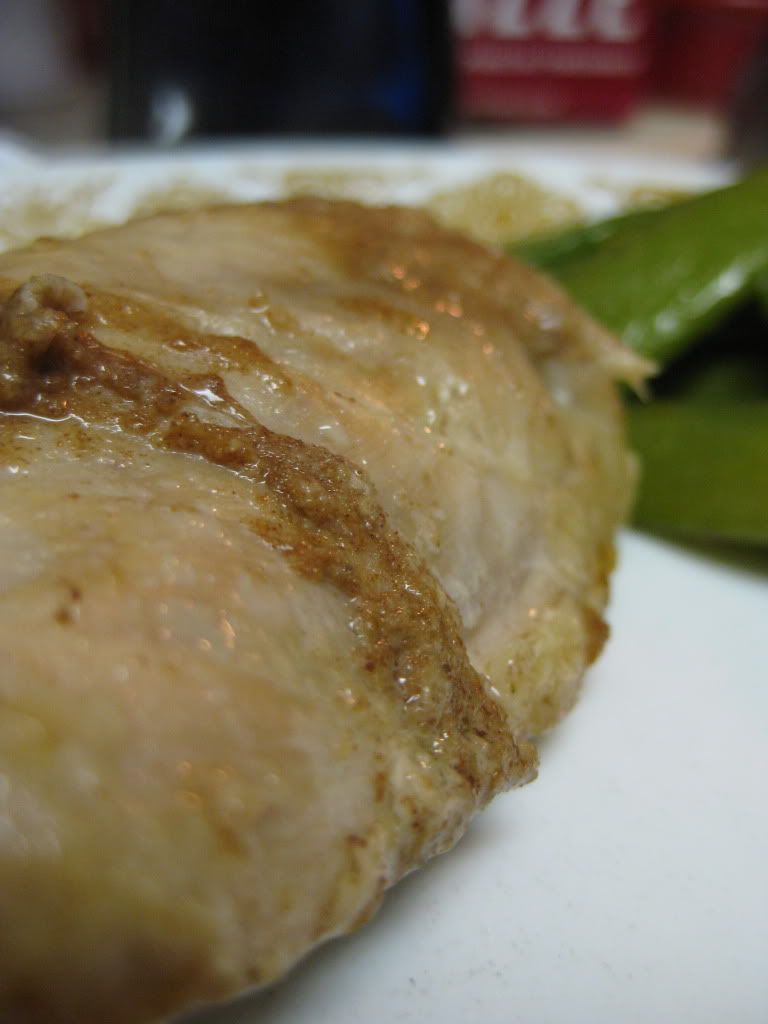
The dutch oven speeds up cooking because it keeps all of the heat contained whereas the broiler plate allows the heat to dissipate. (You're focusing the heat in a small pot vs. a large oven) The trade off is that the skin will be soft and still pretty flabby / rubbery in the dutch oven where the skin will be perfectly golden and crispy on the broiler plate. If you're not eating the skin - this won't bother you one bit!
(For the original recipe) Once the chicken reaches the perfect temperature remove it from the oven and set aside. Adjust the top rack in the oven to six inches below the heating elements. Switch the oven over to broiler and allow the elements to heat up. Carefully remove the broiler plate top and spread the snap peas on the foil covered bottom of the pan. Place the broiler plate top back on over the bottom and return the chicken to the top plate. Brush the olive oil over the chicken skin (this will greatly enhance the browning and crispiness) return the broiler tray to the oven.
Broil the chicken until the skin is nice and crispy and the thighs register at 175 degrees. This should take about 5 minutes. During this time, your peas should also cook to perfection. Transfer the chicken to a serving platter and allow the pieces to rest for about 5 minutes before serving. Immediately transfer the peas to a serving bowl and toss them with the vinegar. Serve with the chicken and enjoy.
(For the healthy variation) Now, you may be wondering how you're going to finish off this recipe if you're following the 'healthy' variation. I had the same questions when I was making adjustments. I believe I found two perfect alternatives to the original recipe.
Option 1 (riskier - but better flavor): Line an oven / broiler safe baking sheet with aluminum foil. Begin heating up the broiler element in your oven Carefully remove the chicken thighs from the dutch oven and transfer to a plate loosely tented with aluminum foil. Set aside. Next, pour the juices from the bottom of the dutch oven on to your baking sheet and evenly distribute the peas across the surface of the sheet. Make sure all of the peas are evenly covered in the juice mixture. Place the peas in the oven and cook for about 3 to 5 minutes until the peas are crisp. Be careful not to overcook the peas - they will cook very quickly under the broiler.
Option 2 (easier but with flavor trade-off): Boil the peas in lightly salted water for 5 minutes until they are crisp. Once cooked, strain the peas and toss them in the oil from the bottom of the dutch oven. While the flavor will not infuse into the vegetables as well as it would if you used the broiler, this cooking method is a lot easier and less prone to kitchen disasters. If you feel like bumping up the flavor a little, you can add a pinch of five spice powder on top of the peas after cooking. Once you've finished cooking (regardless of the option you chose), toss the peas in the rice vinegar and serve with the chicken. Enjoy!
The Results:
As I said from the outset, we were adapting this recipe to fit our healthier preferences. This is quite a risk when it comes to America's Test Kitchen recipes as they are almost always a sure hit on their own. When you start messing with the recipe, you're gambling the entire foundation of the dish on your changes. Luckily, my changes worked out nicely.
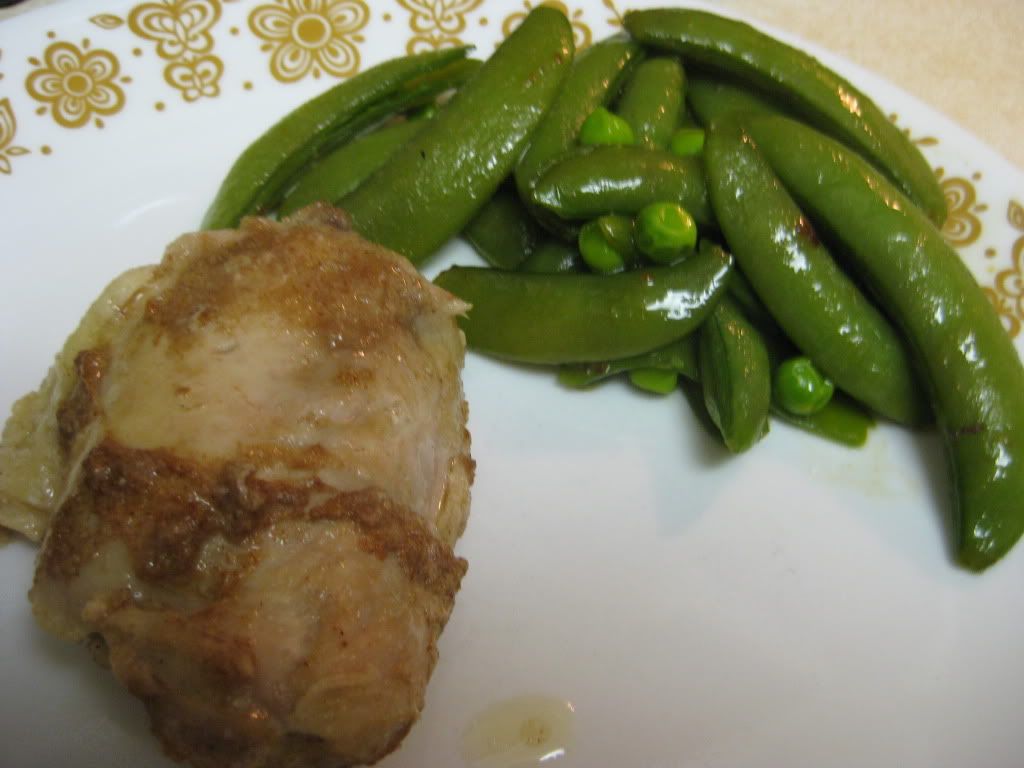
The skin was still flabby and pale, but since I peeled it right off - that didn't make a lick of difference. The chicken was packed with an amazing exotic flavor. The powder mixture infused this great, active and lively flavor into the meat. One of the main ingredients in five spice powder is cinnamon so this is the predominant flavor and scent that takes over this dish. This flavor transferred equally well to the peas - their brief bath in the juices allowed the green little veggies to soak up a flavor that I never knew was possible in peas. I ended up using option 2 for cooking the peas. While I knew I was trading off the infused flavor - I didn't want to chance cooking a sensitive vegetable at high heat with a method I had never used before. Still, simply tossing the peas in the cooking juices from the chicken provided a great side dish.
That's all we have for you this evening. We hope you enjoyed another foray into the world of cooking from your favorite amateur chefs. We'll be back next week with another installment of Around The Culinary World and two brand new recipes. Until then,
~Cheers


No comments:
Post a Comment